
Have you ever started a project thinking, “this should not be to bad?” Only to find out that things don’t really go like you thought they should. Well, that is pretty much what happened to me as a small maintenance project turned into a total disaster!
When we bought our home the one feature we were unsure of was the outdoor pond. It looks nice, has nice ambiance and is a great place to entertain, however we don’t know a thing about ponds, least of all how to care for it and all of the critters that live in it! So, in the fall, we hired a company to come educate us on the pond. It was worth the money and an hour of our time to learn what regular maintenance and upkeep was going to be needed. Fast forward to the spring time and a global pandemic keeping us home more and we decided it was a good time to get started on that maintenance.


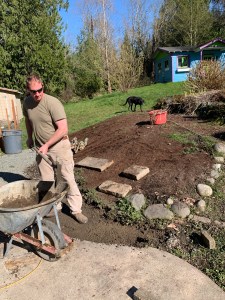
I picked up a “pond vacuum” at the pond store (Yes there is such a thing) and got started removing all of the sludge and muck from the pond. Man was it way more nasty than I thought it was! So much mud and junk. However, the lower pond went so well and I was so excited about the transformation that I could not wait to clean the upper pond.
In case you were wondering, just the lower pond took me one whole afternoon. I knew the larger pond would take a whole day. I threw my ear buds in with some great music, had the kids playing in the yard where I could see them and I went to town vacuuming out the most nasty sludge I had seen. Now, let me tell you, the stuff coming out of the pond has to go somewhere. I had the exhaust hose out positioned where I wanted it so I could clean up any mess that may spill over. It never occurred to me to check that earlier in my endeavor. Epic fail! At some point, I am not sure when exactly, the new puppy, decided to play tug-a-war with the exhaust hose. When I finally turned around, mud, sludge and nasty pond water were everywhere but where they were supposed to be.
Needless to say, the nasty stuff went everywhere. Up on the patio, down the yard where the rain run off goes and all over the rockery. The problem is, the stuff is nearly impossible to clean up. So after spinning our wheels trying to clean it enough to make it look nice and drain correctly we decided that we would just activate our vision for that area early! Commence fire pit retaining wall project!
Rock Retaining Wall
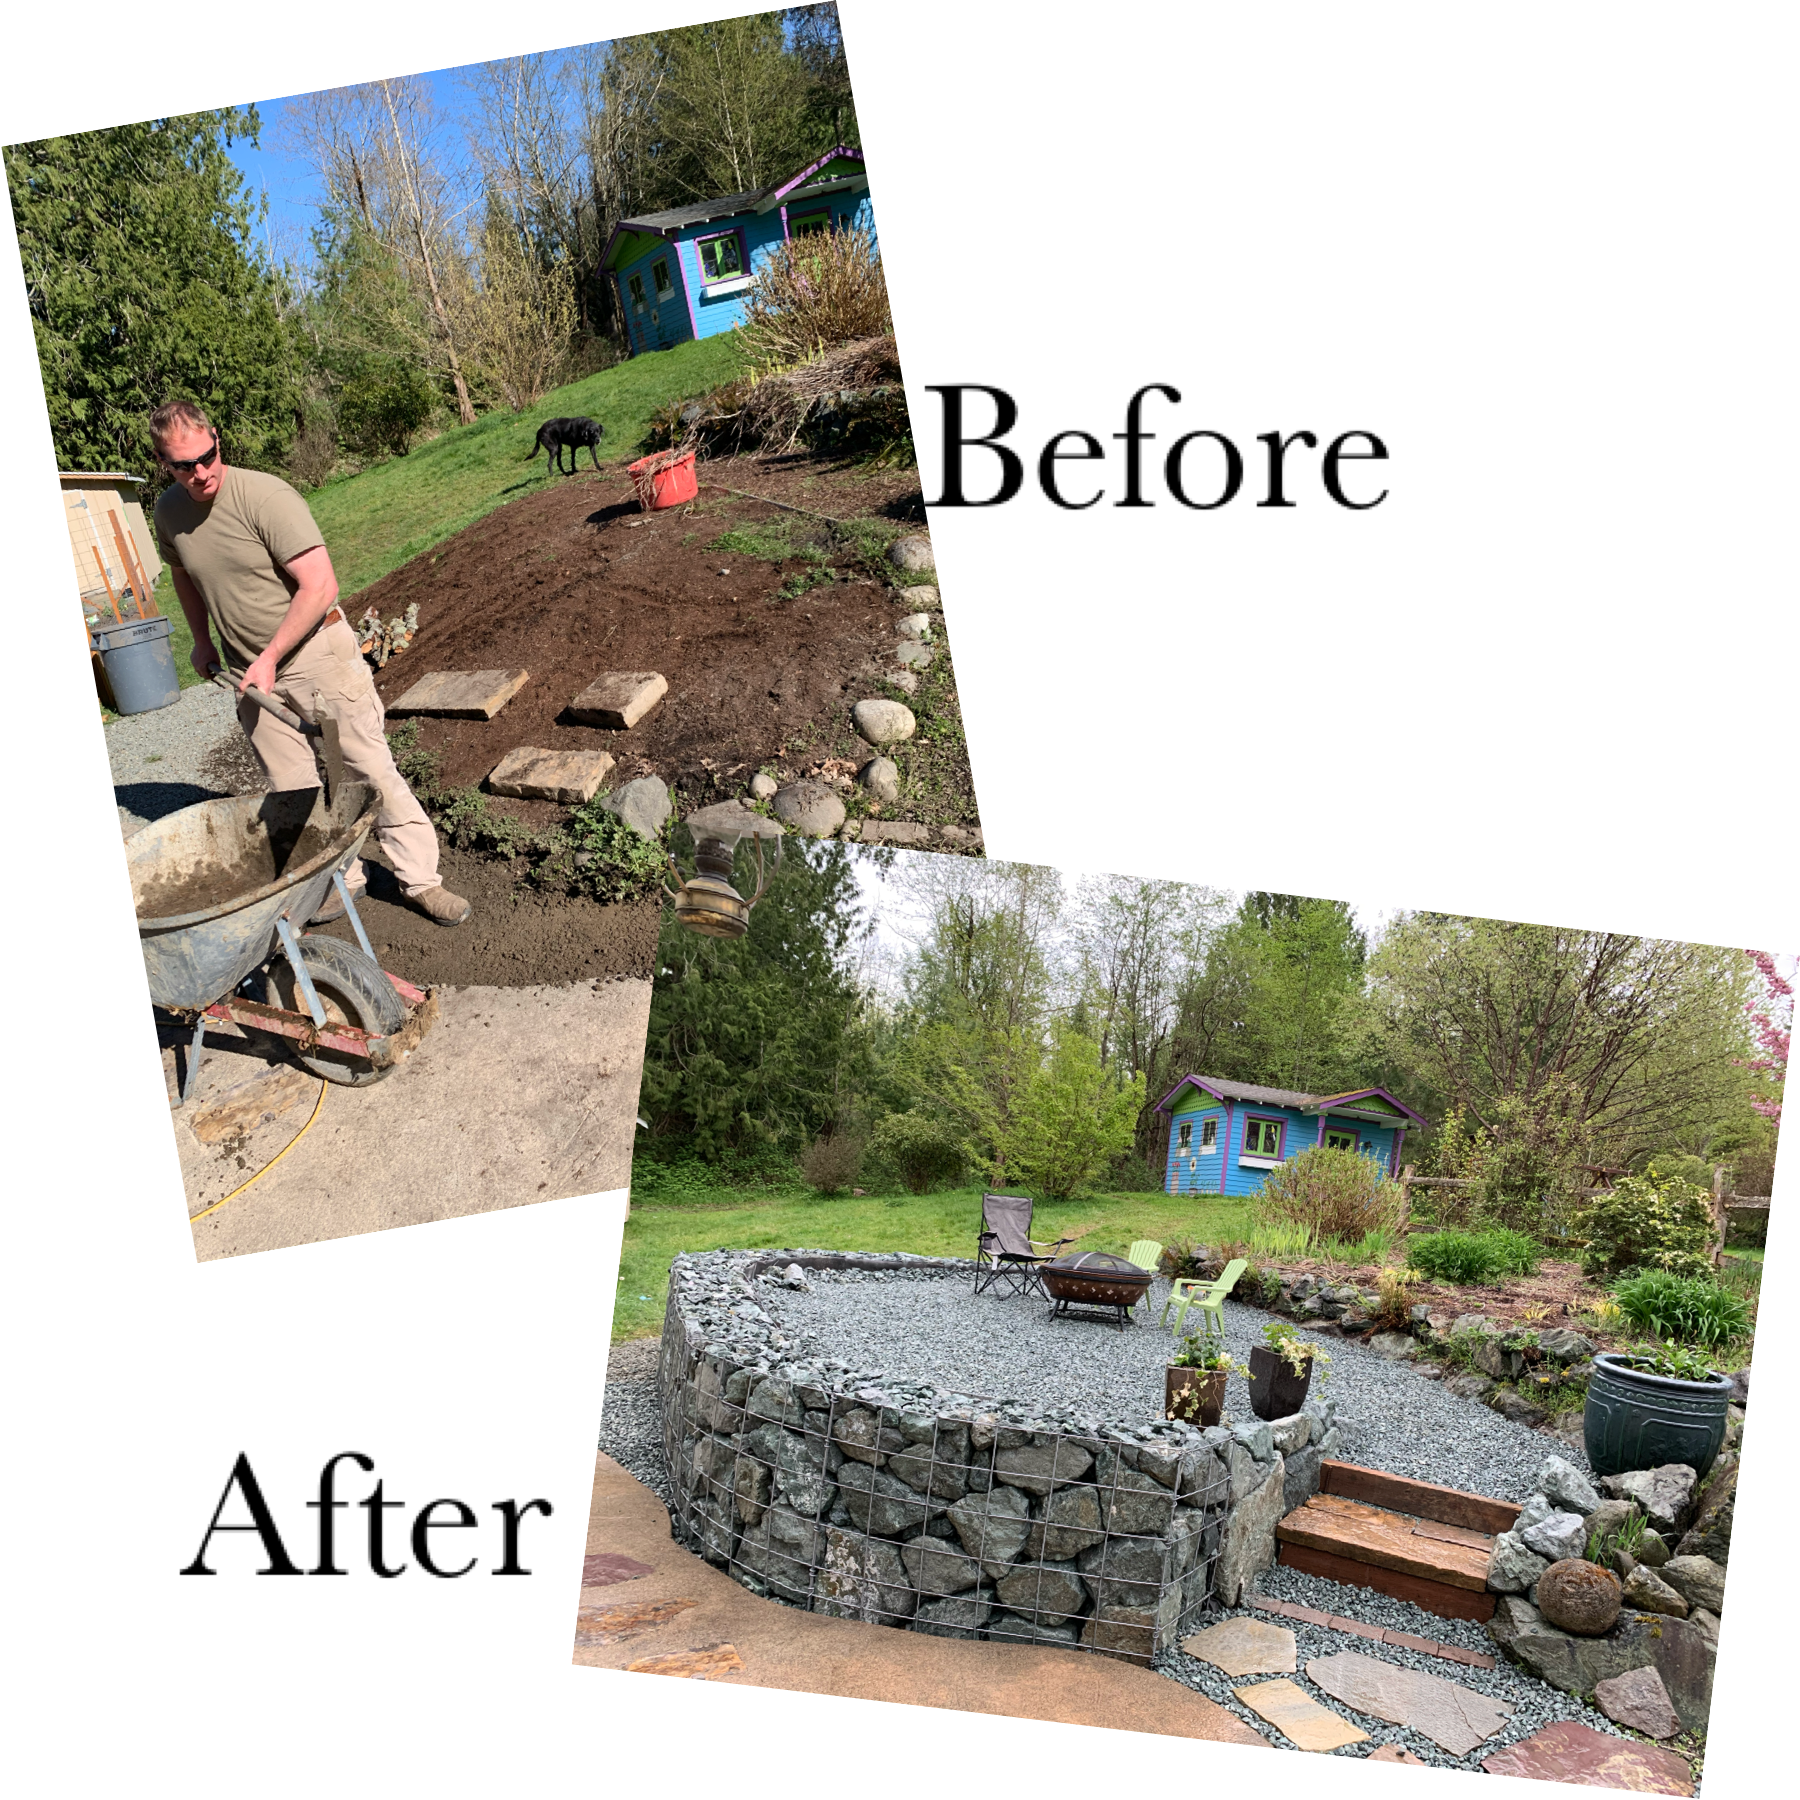
The area that I had the mess running to was not an ideal area. It was just a blank hill side that the dogs played in and got super messy. It was difficult to maintain and we were unable to enjoy it. It needed some help!
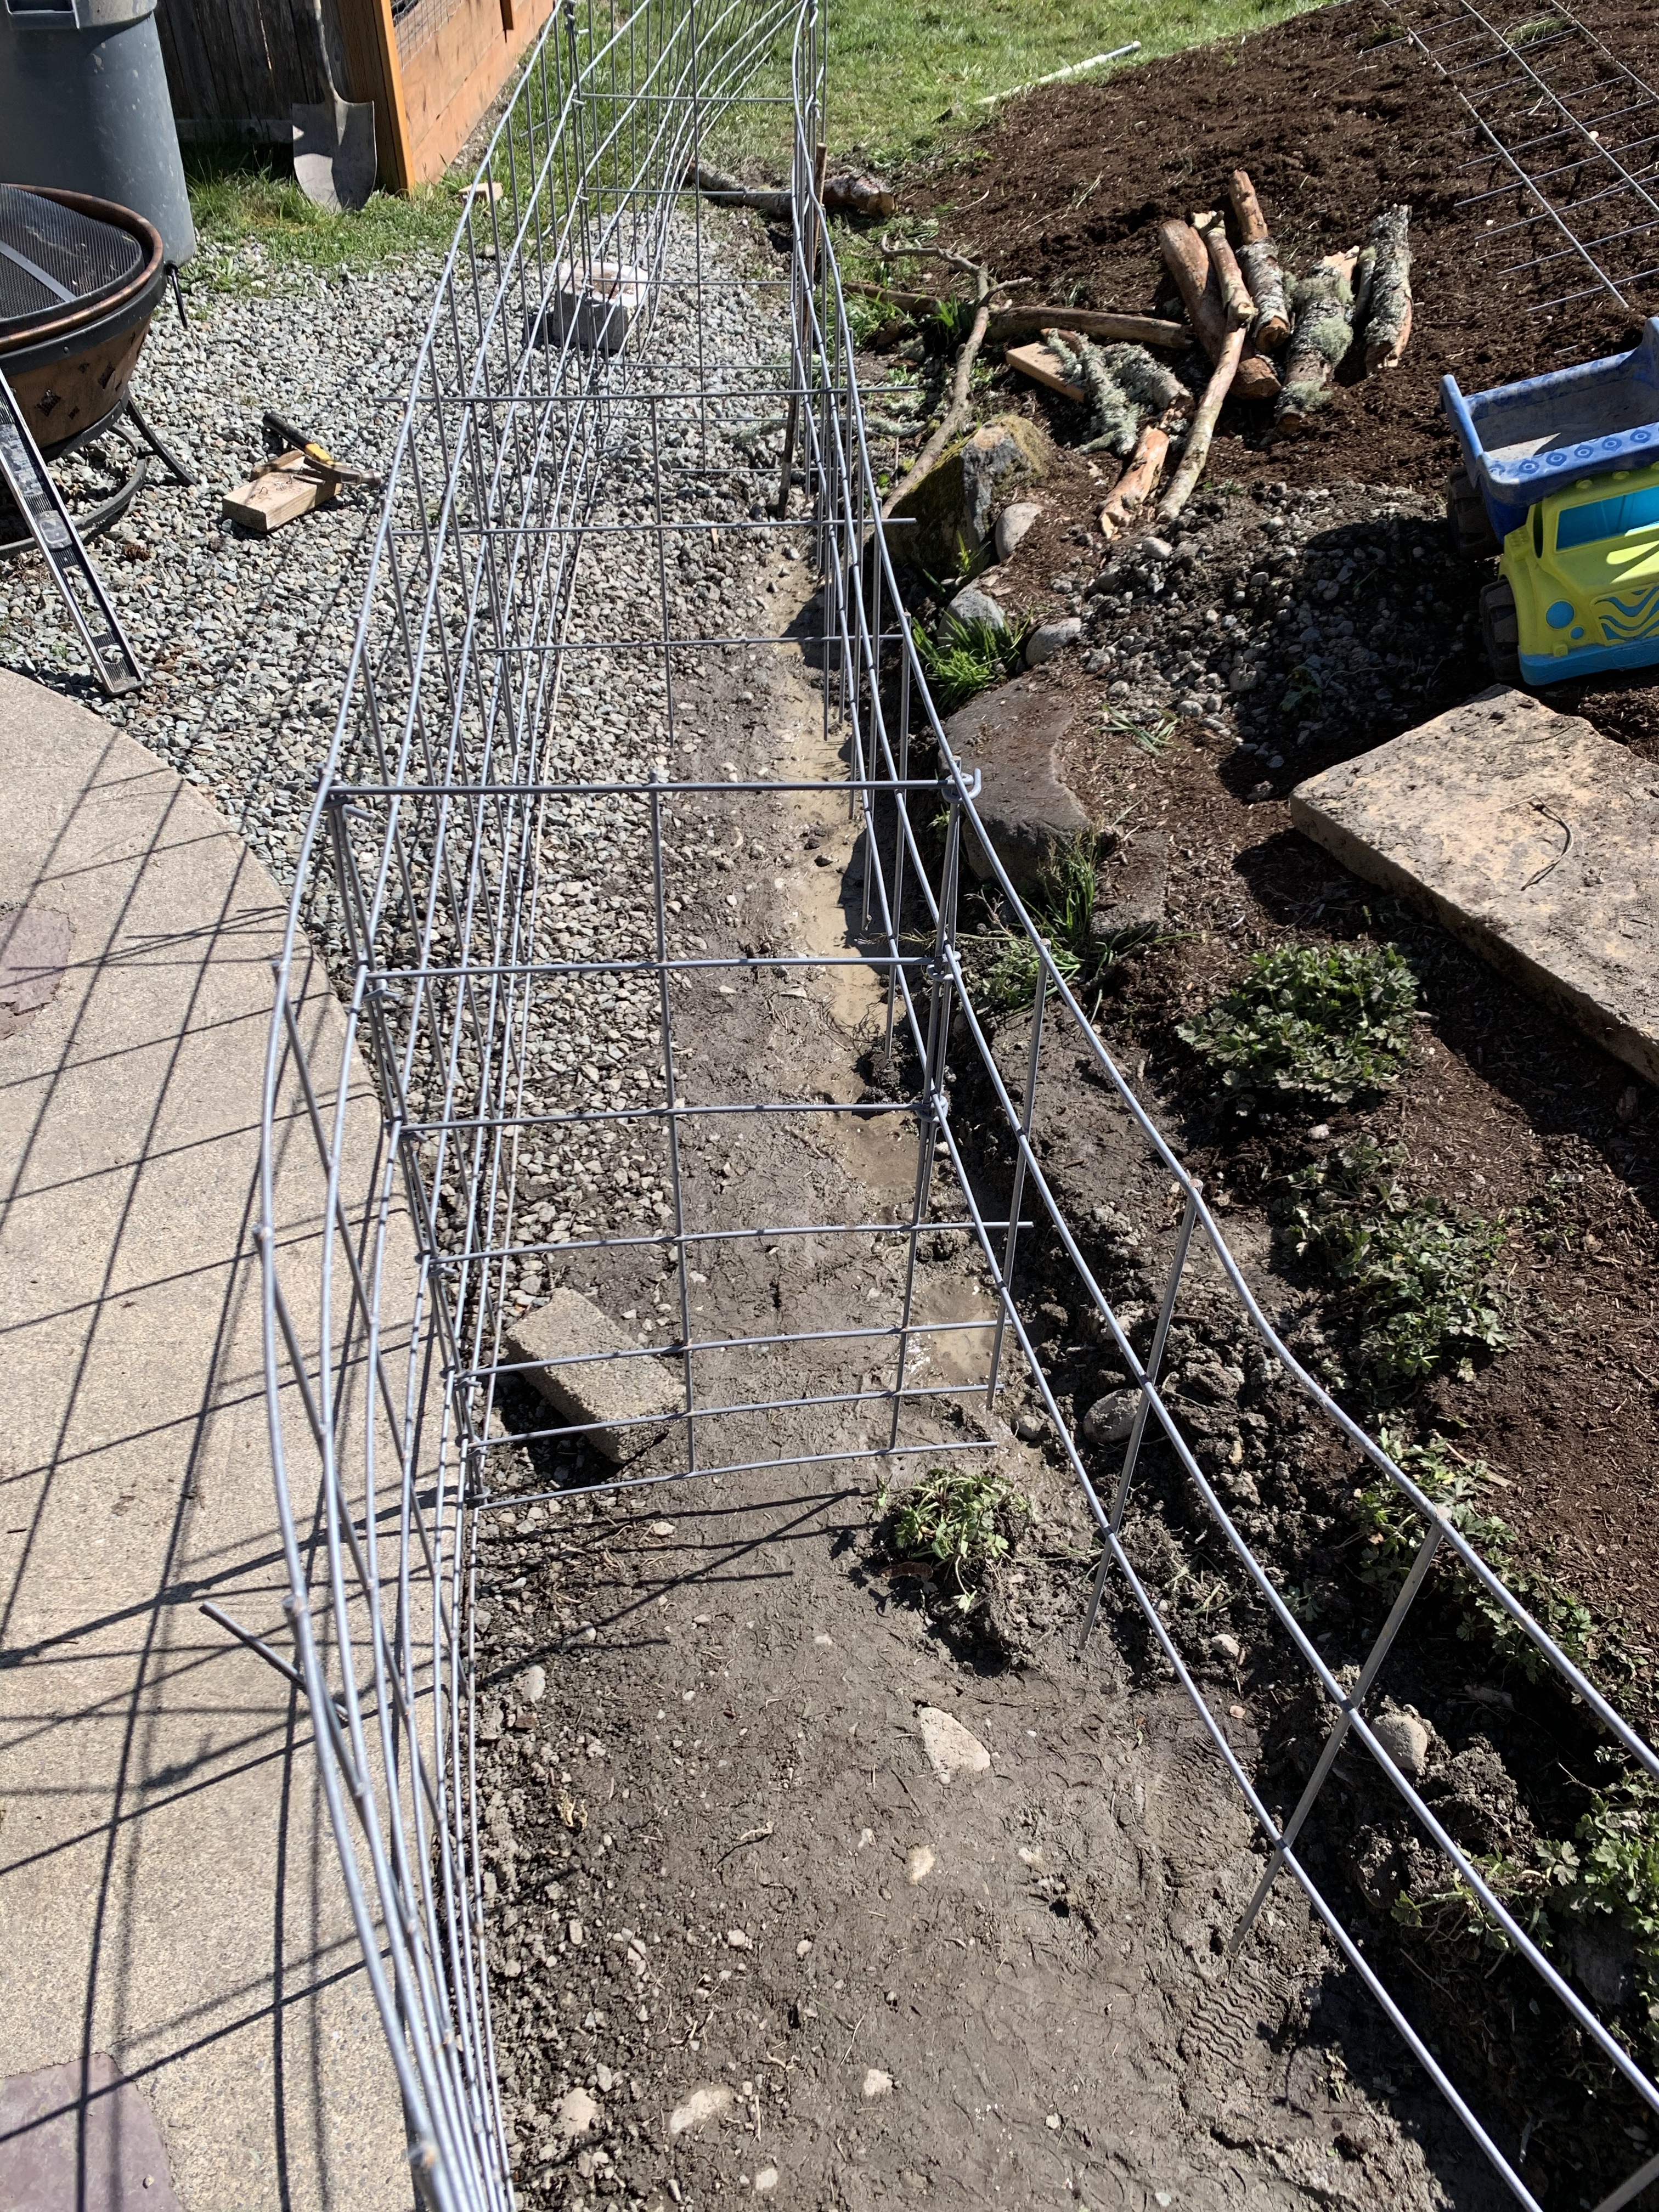
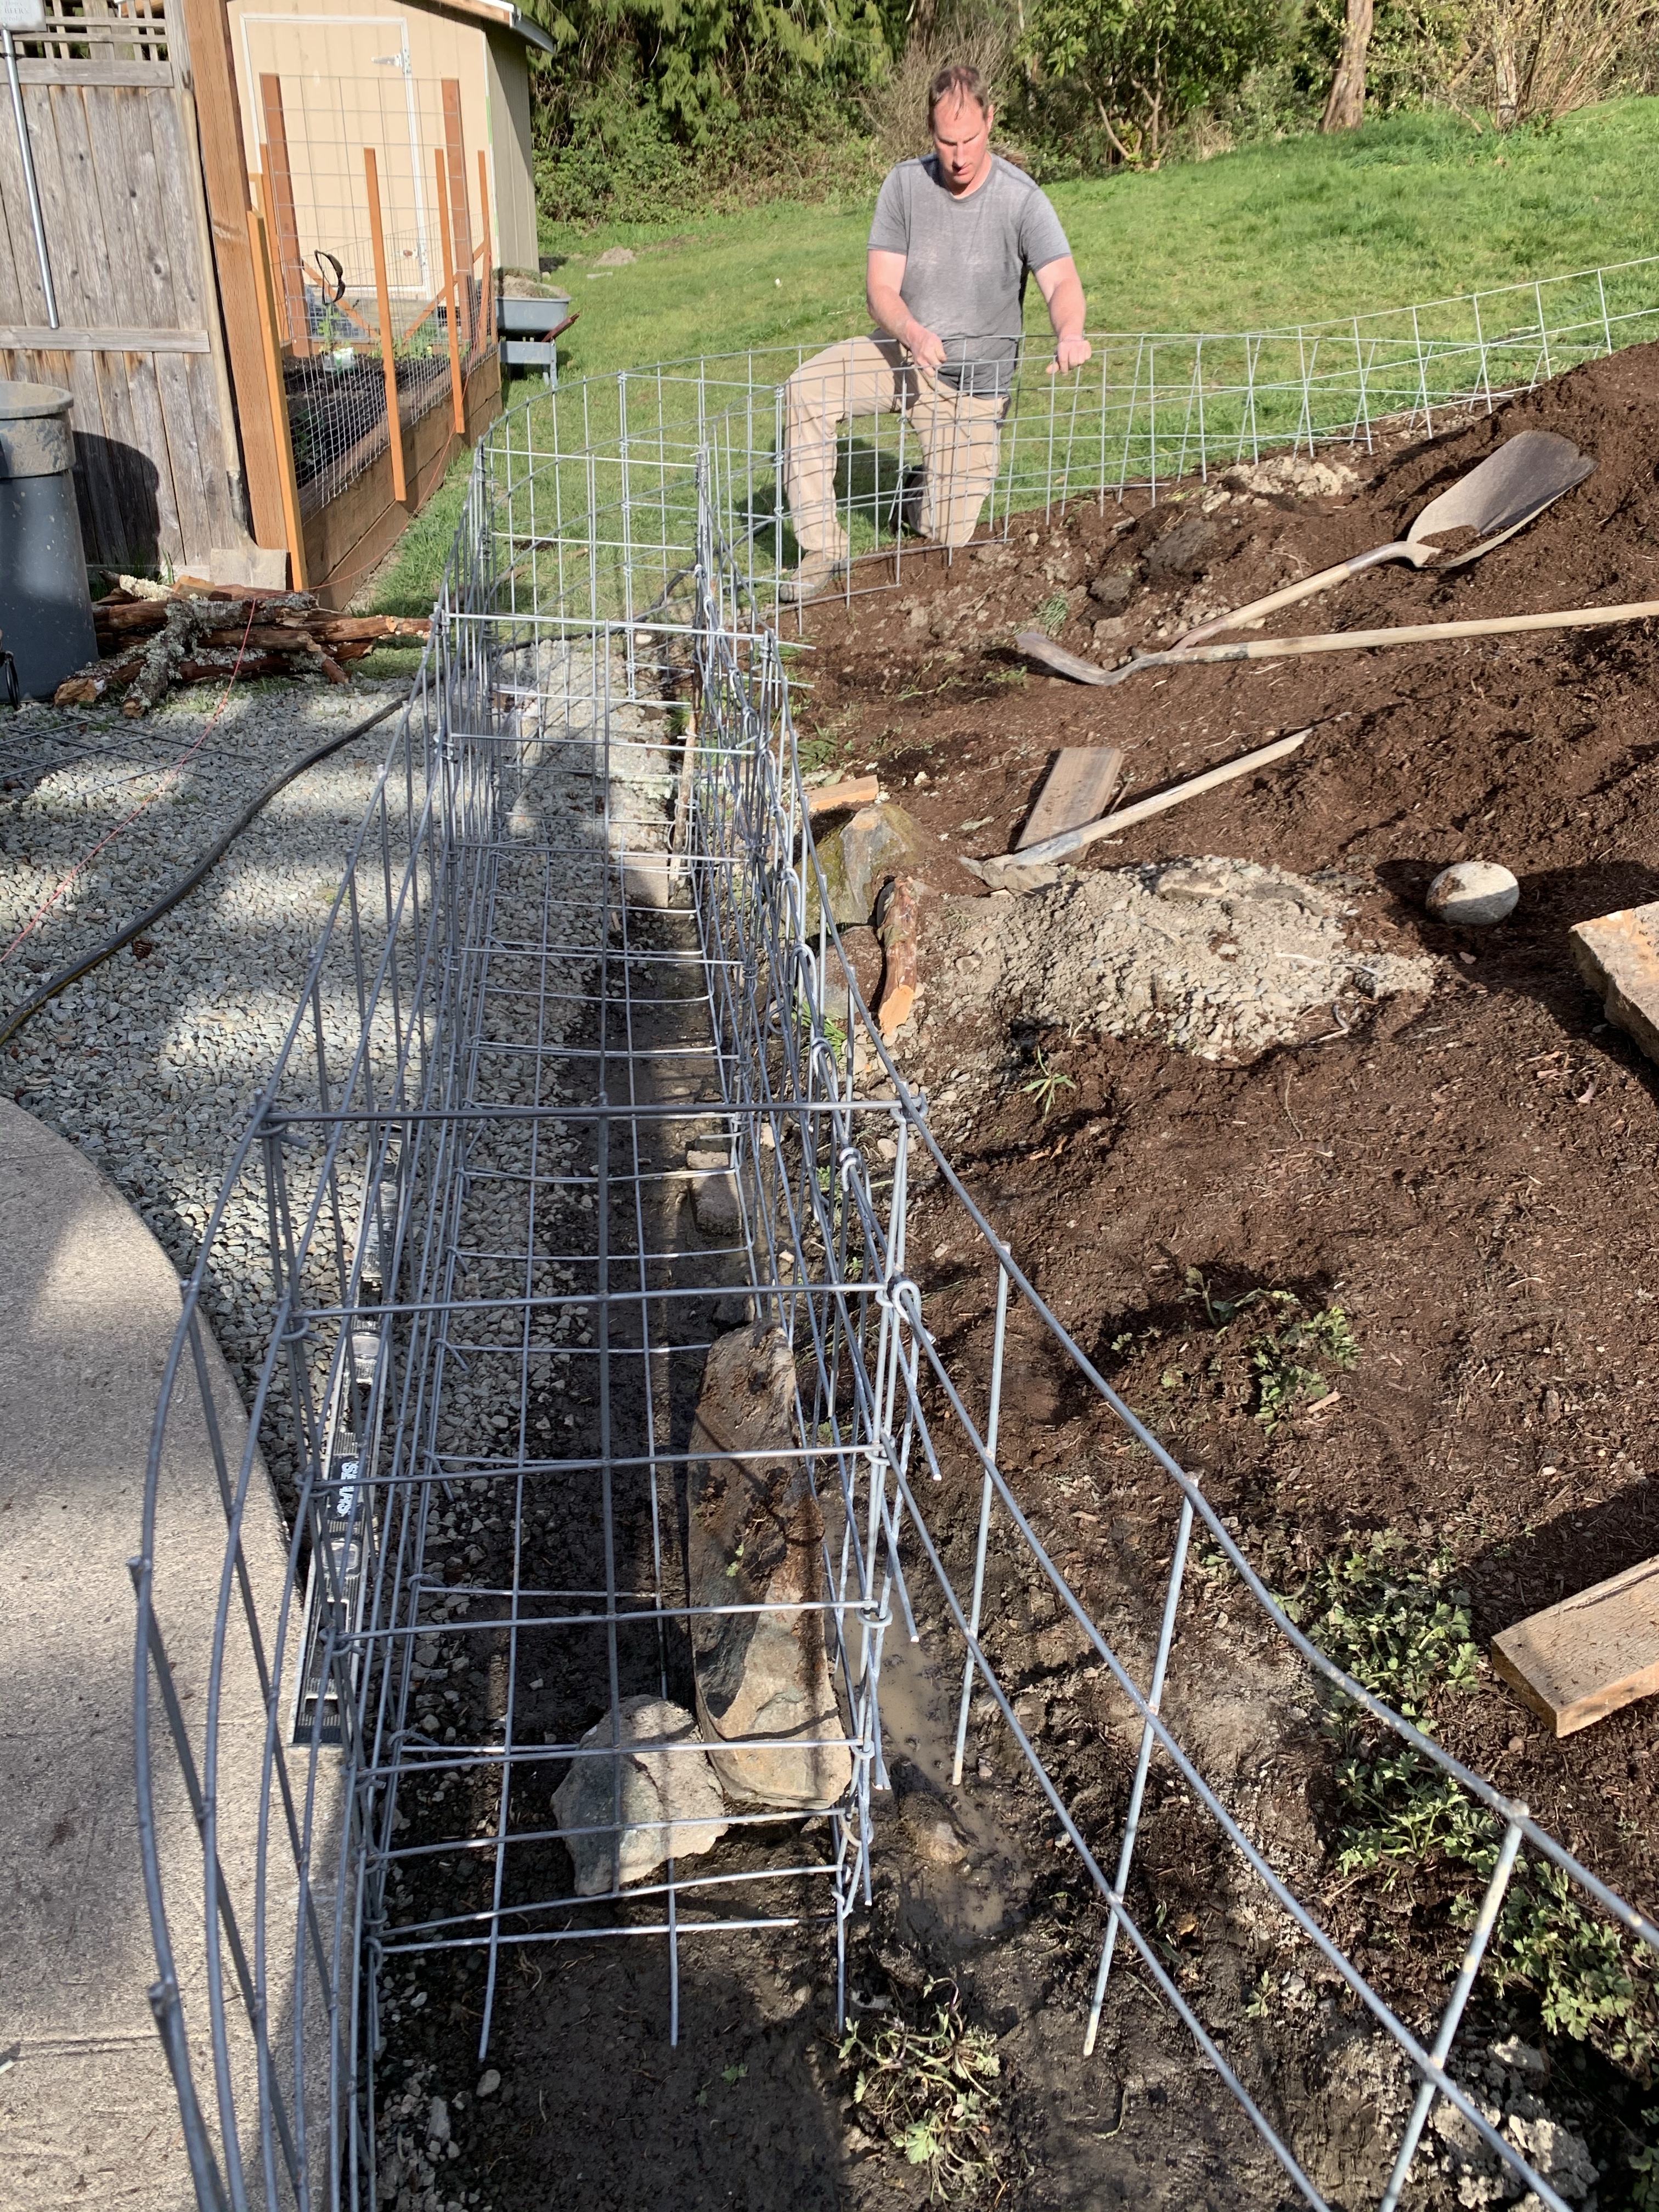
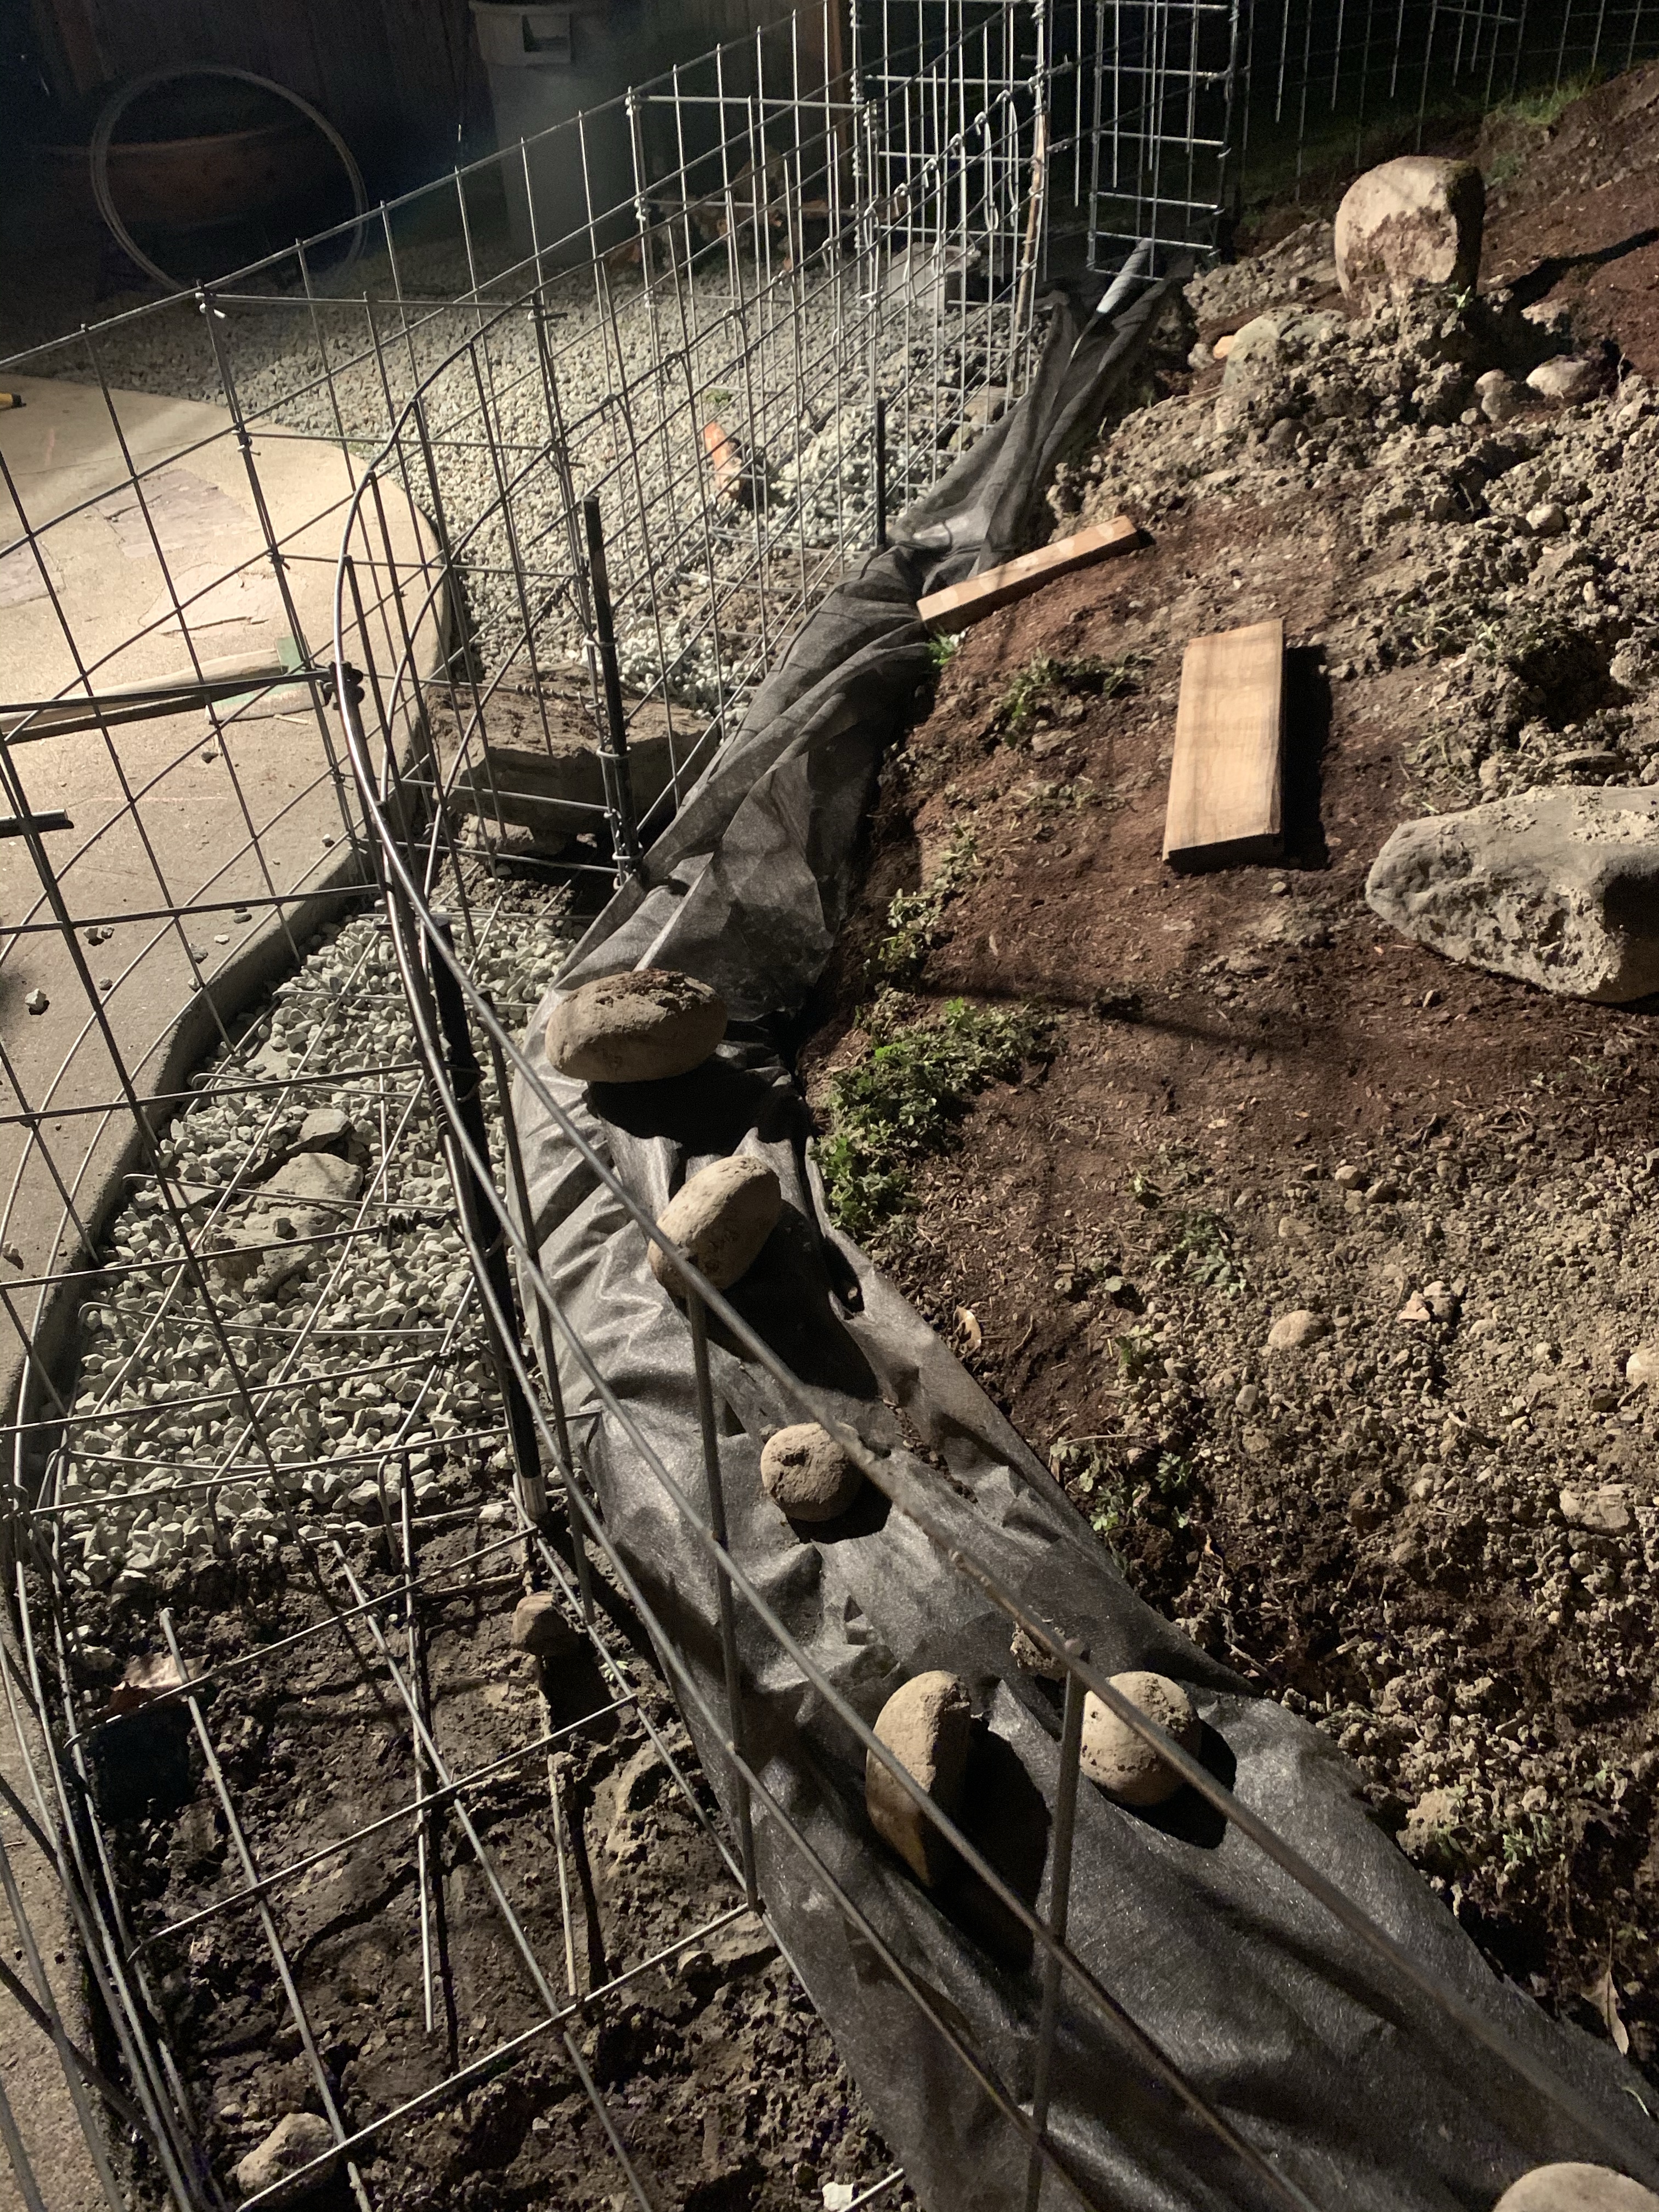
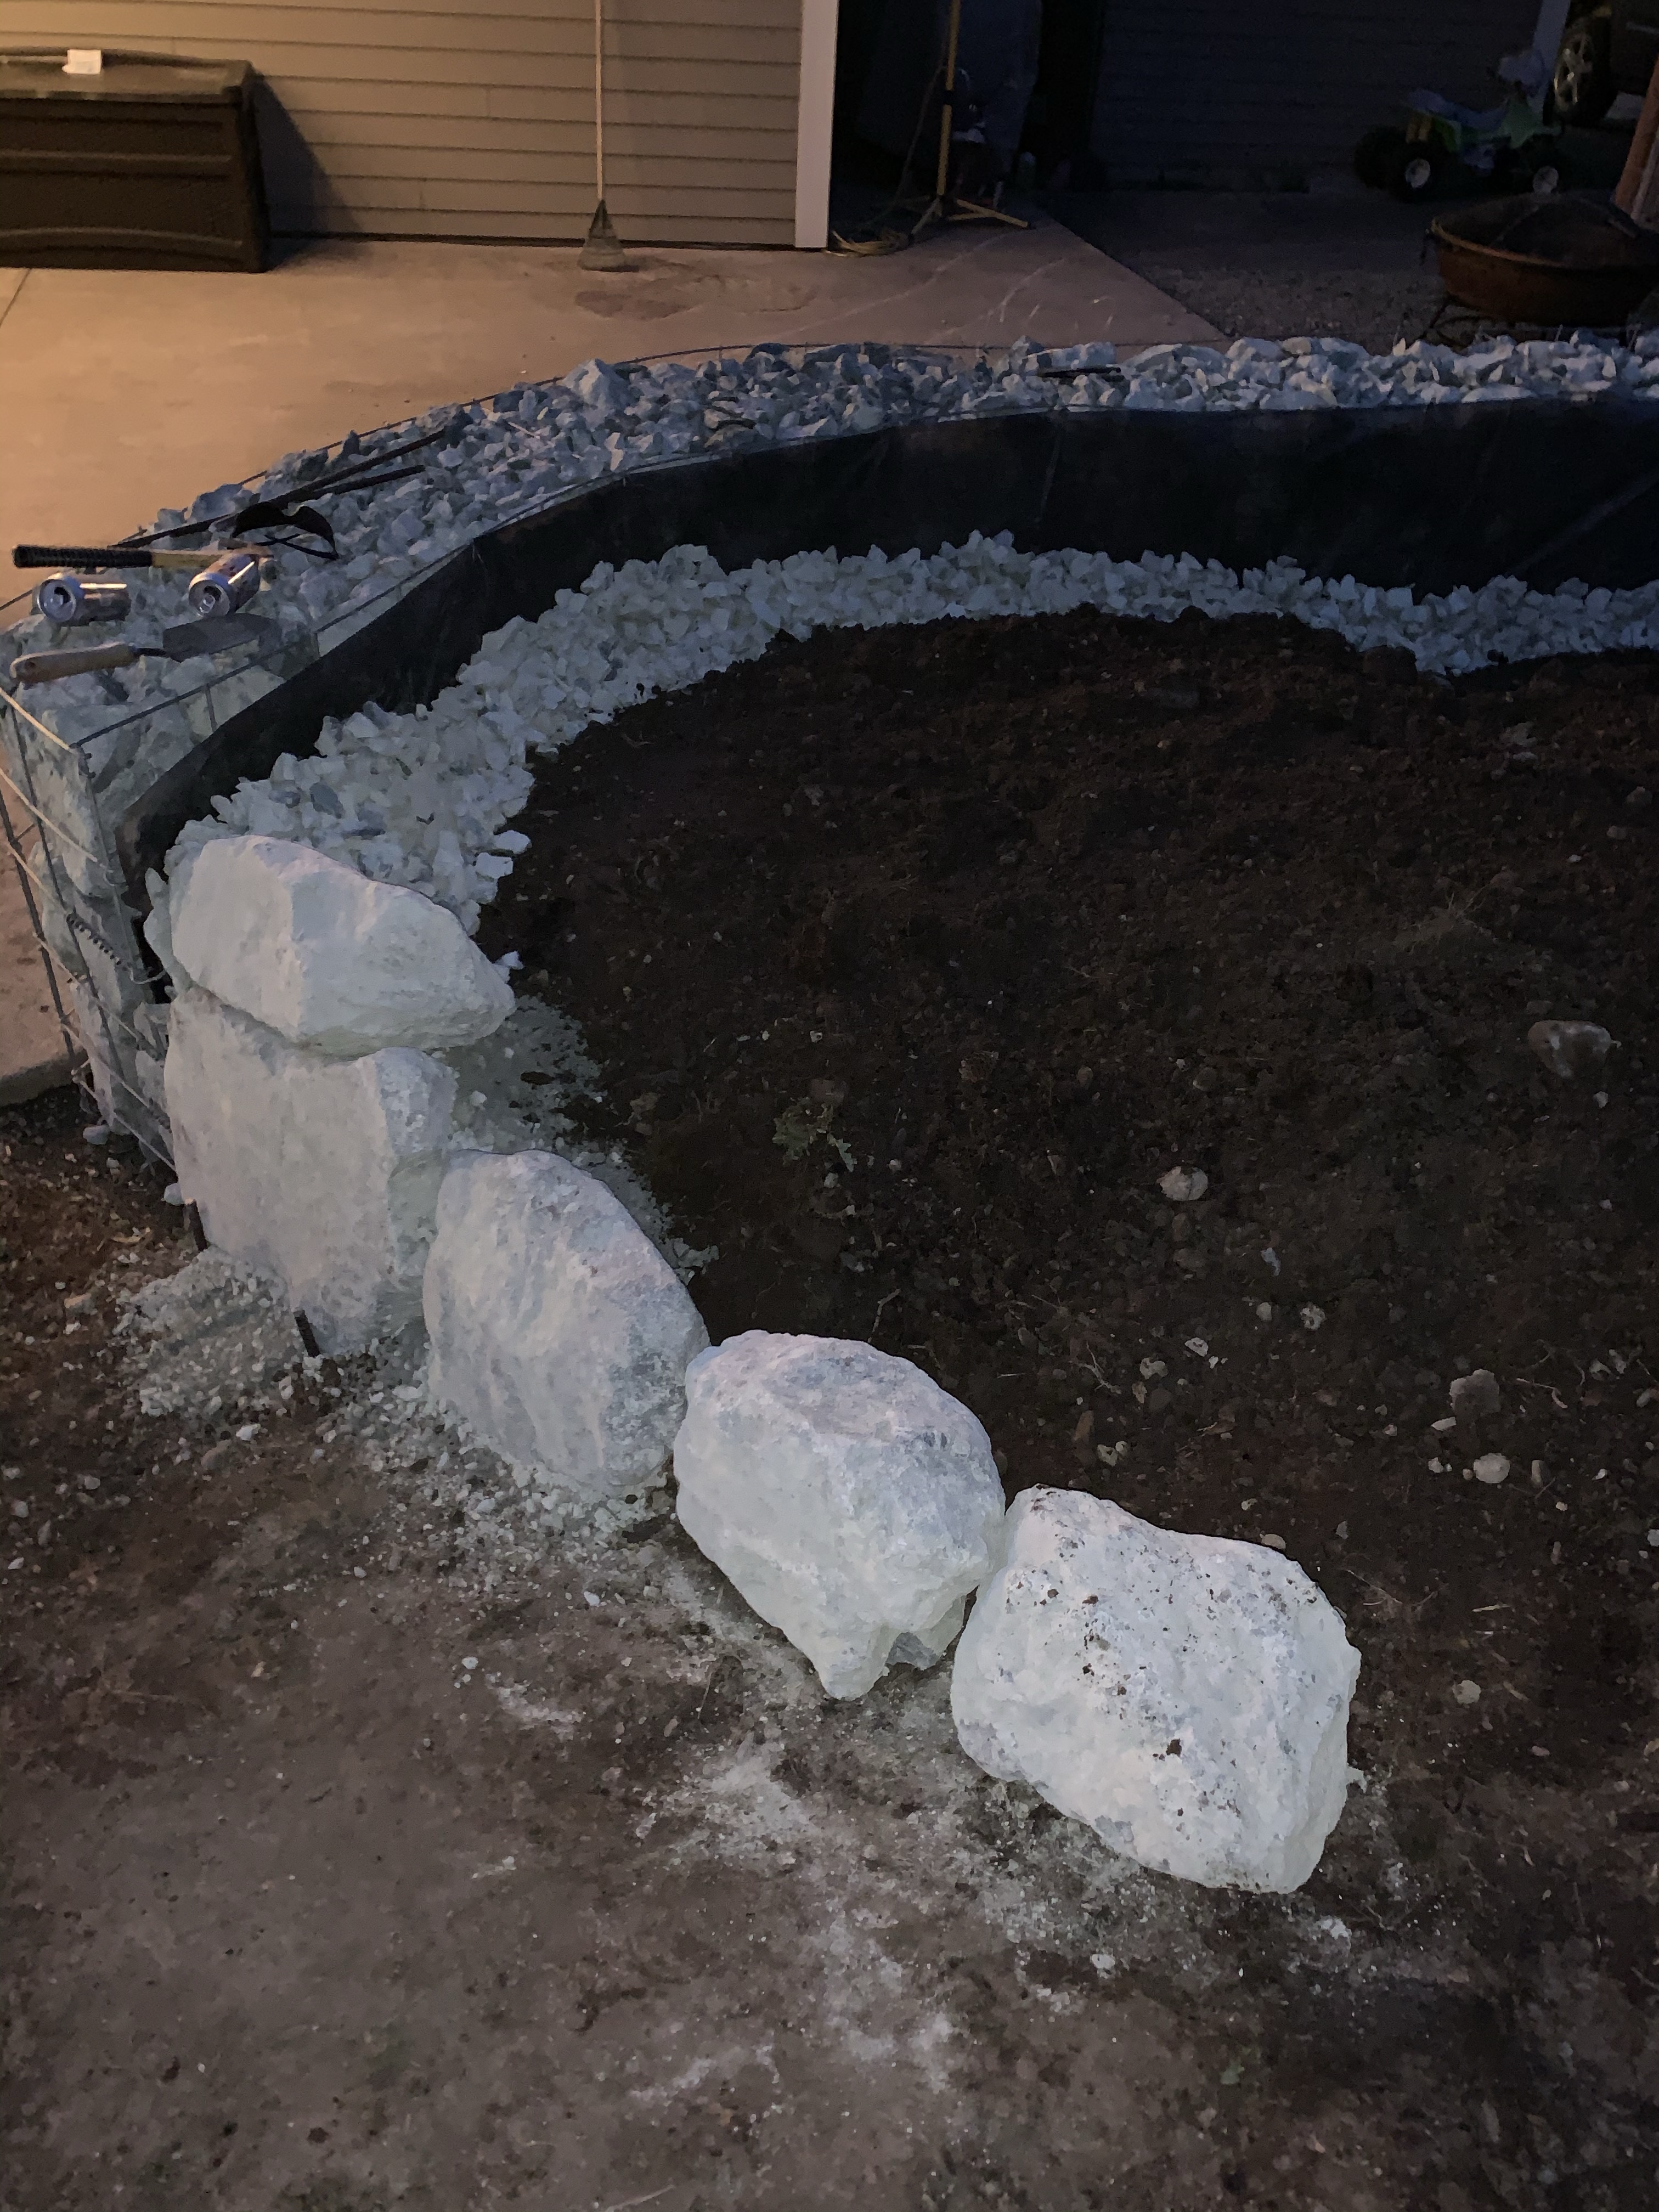
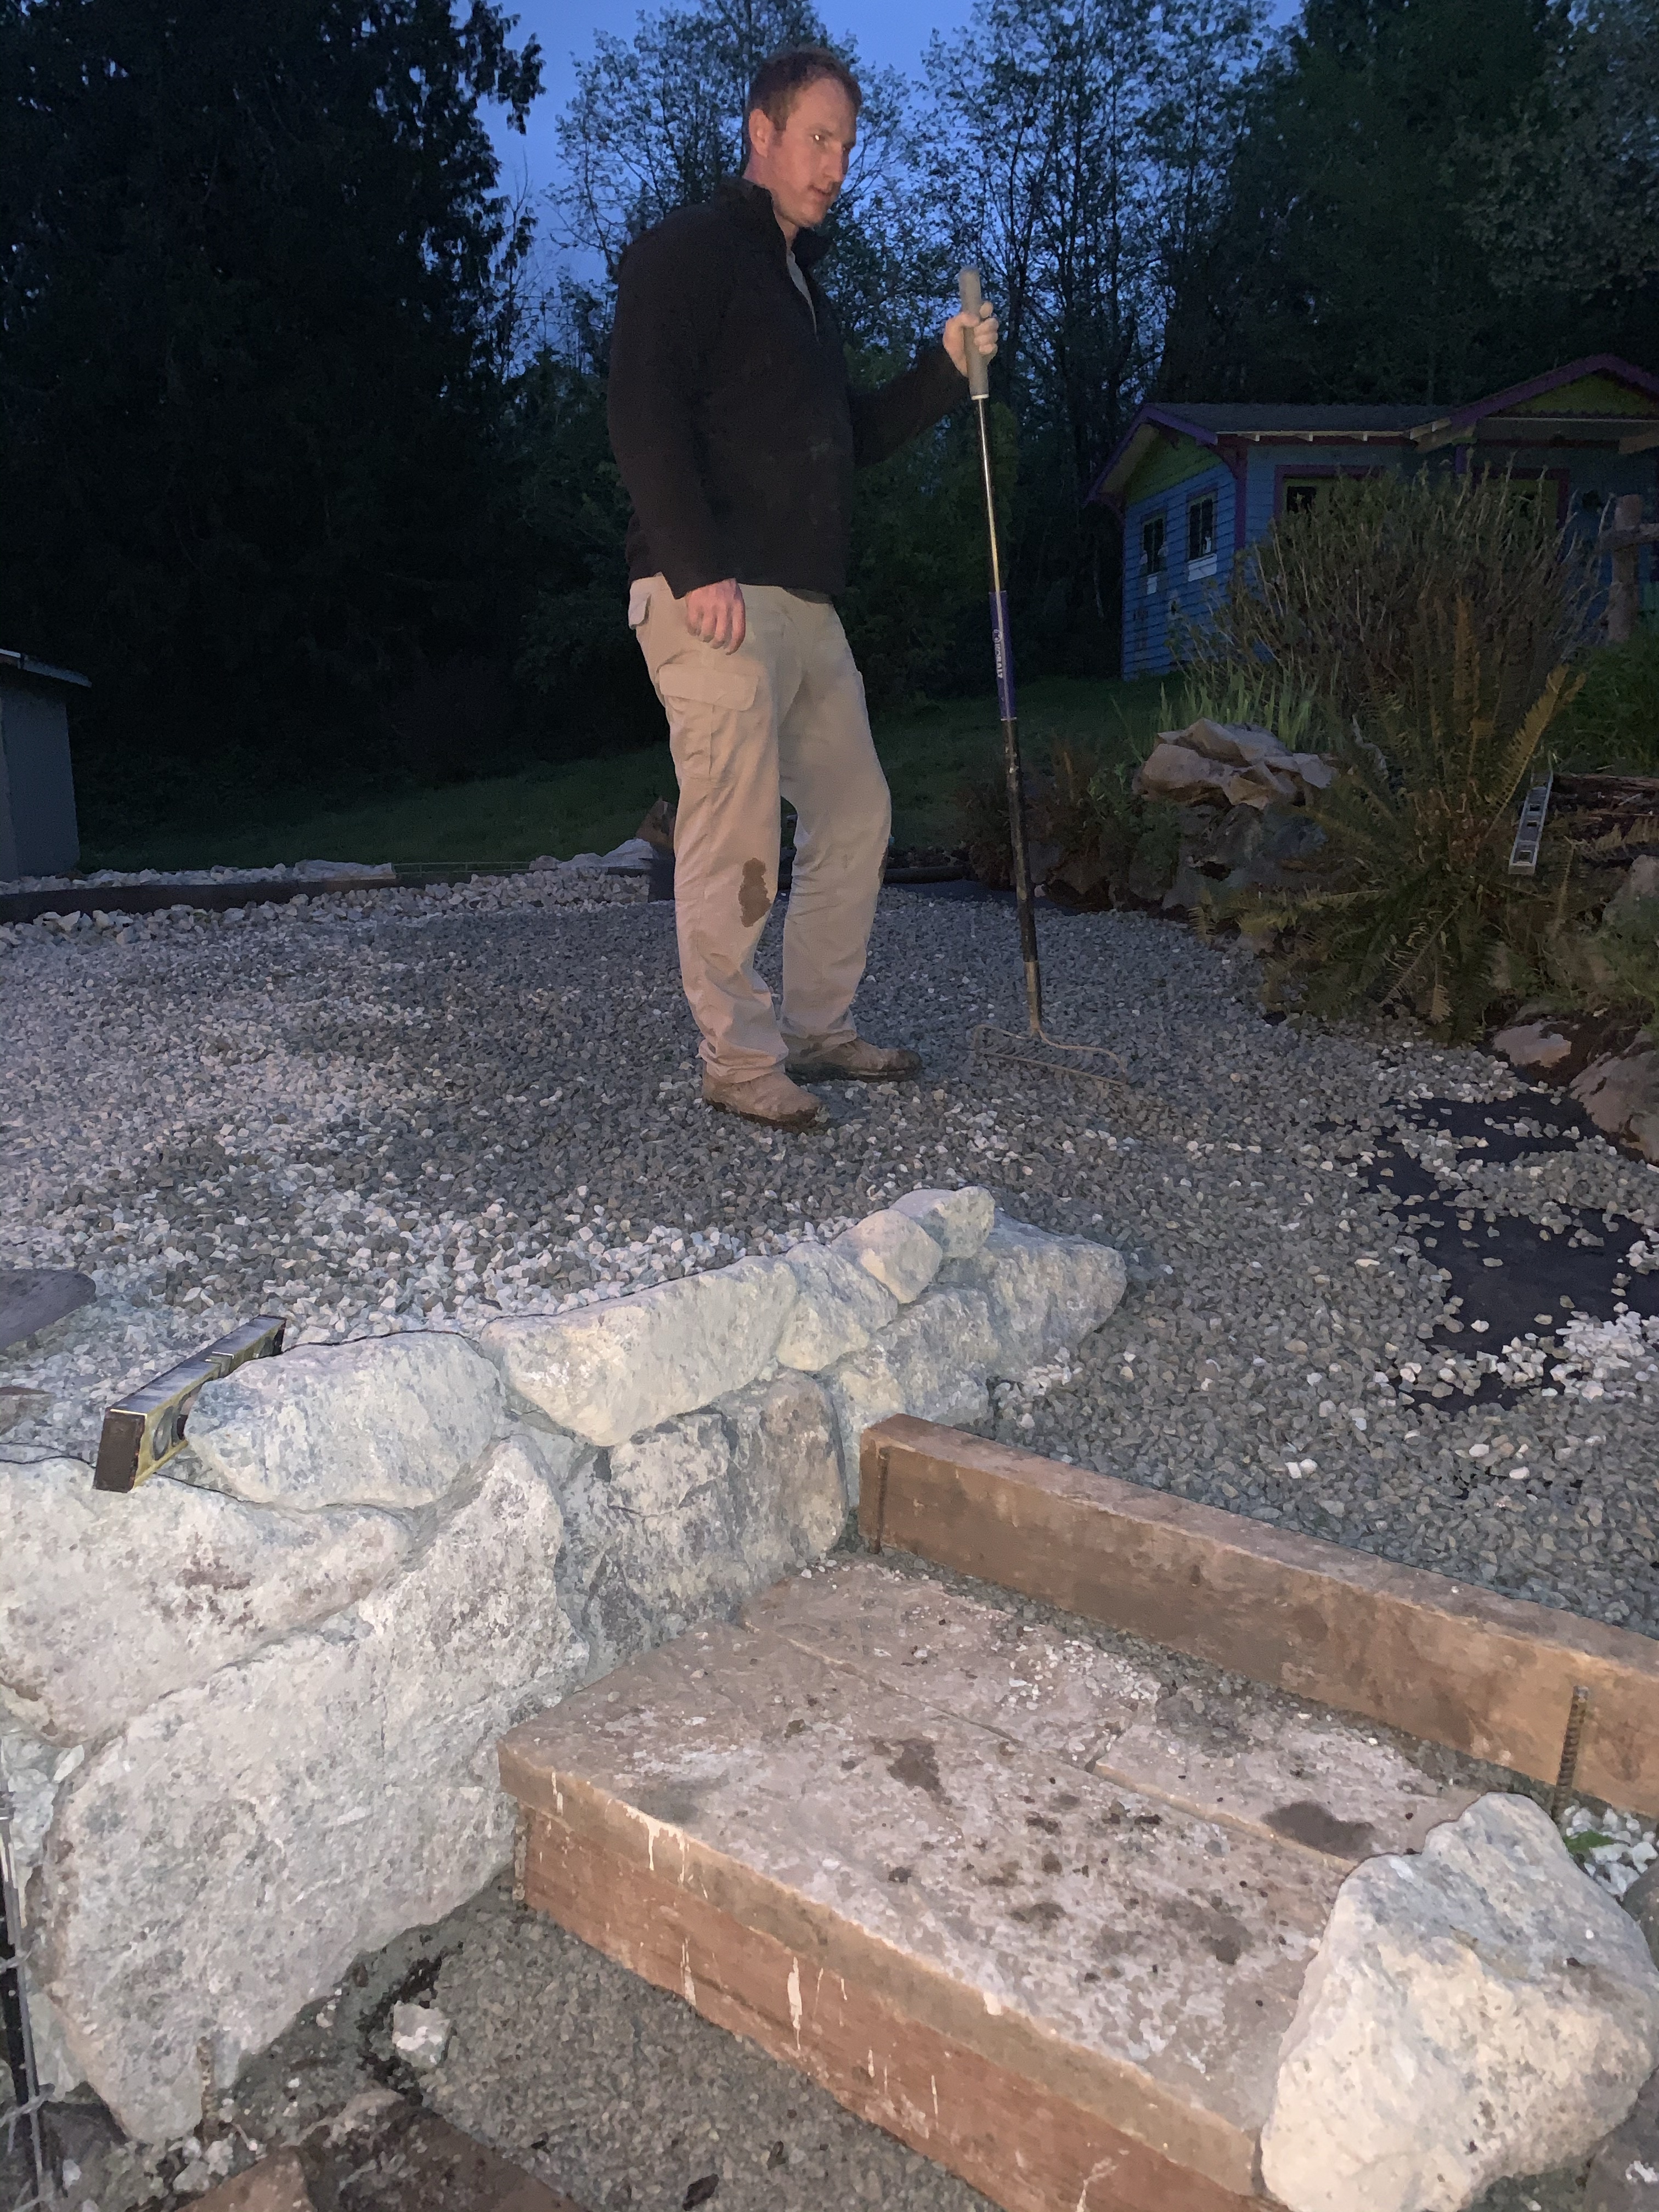
We began by digging out all of the organic material, the bark, weeds and pond junk. Then we determined where we would like the space to end and started to build our wall.
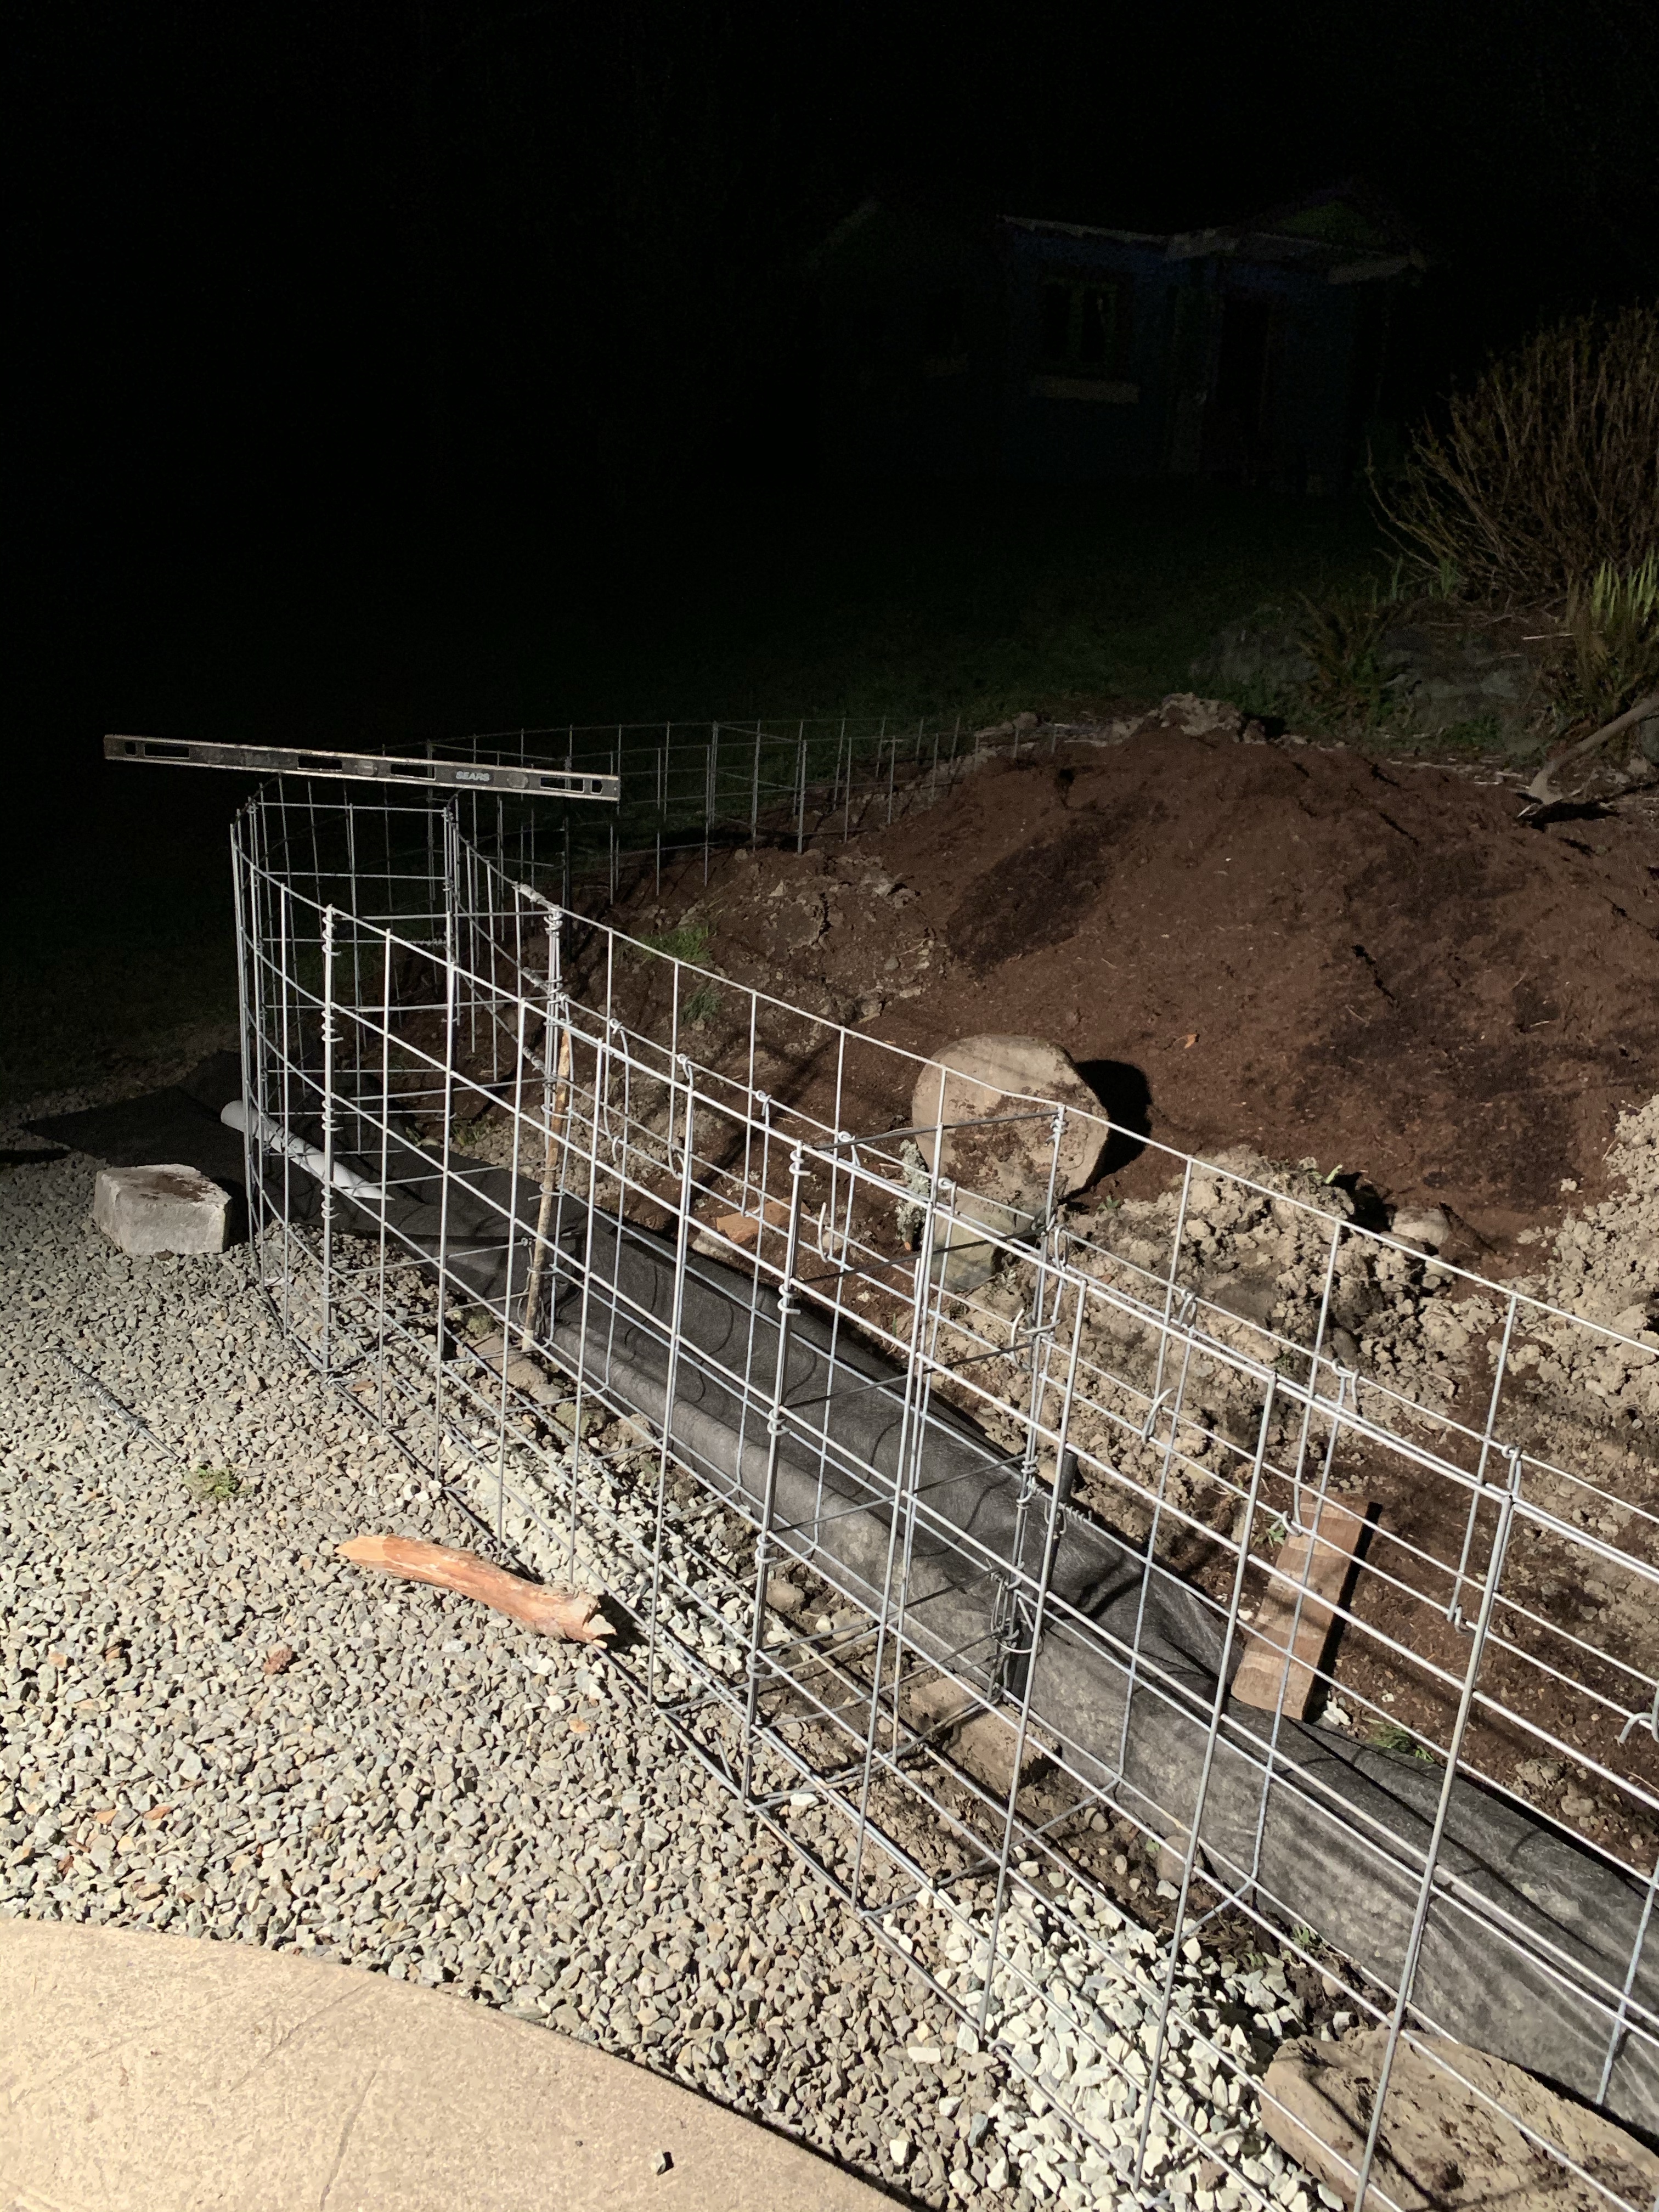
For the wall, we used what we had here at the house. We had cattle panel on hand so we were able to cut it and bend it with a wire bender (3 hole fence tool) to create a “box” for our rock wall. We also put in a French drain behind the wall. Being that we get so much rain and this area has pretty good run off we decided to be safe rather than sorry by adding the French drain.

*Tip: Cattle panel is super stiff. You can use other wire panel that is a little easier to work with. The smaller the holes in your panel the smaller rock you can use.
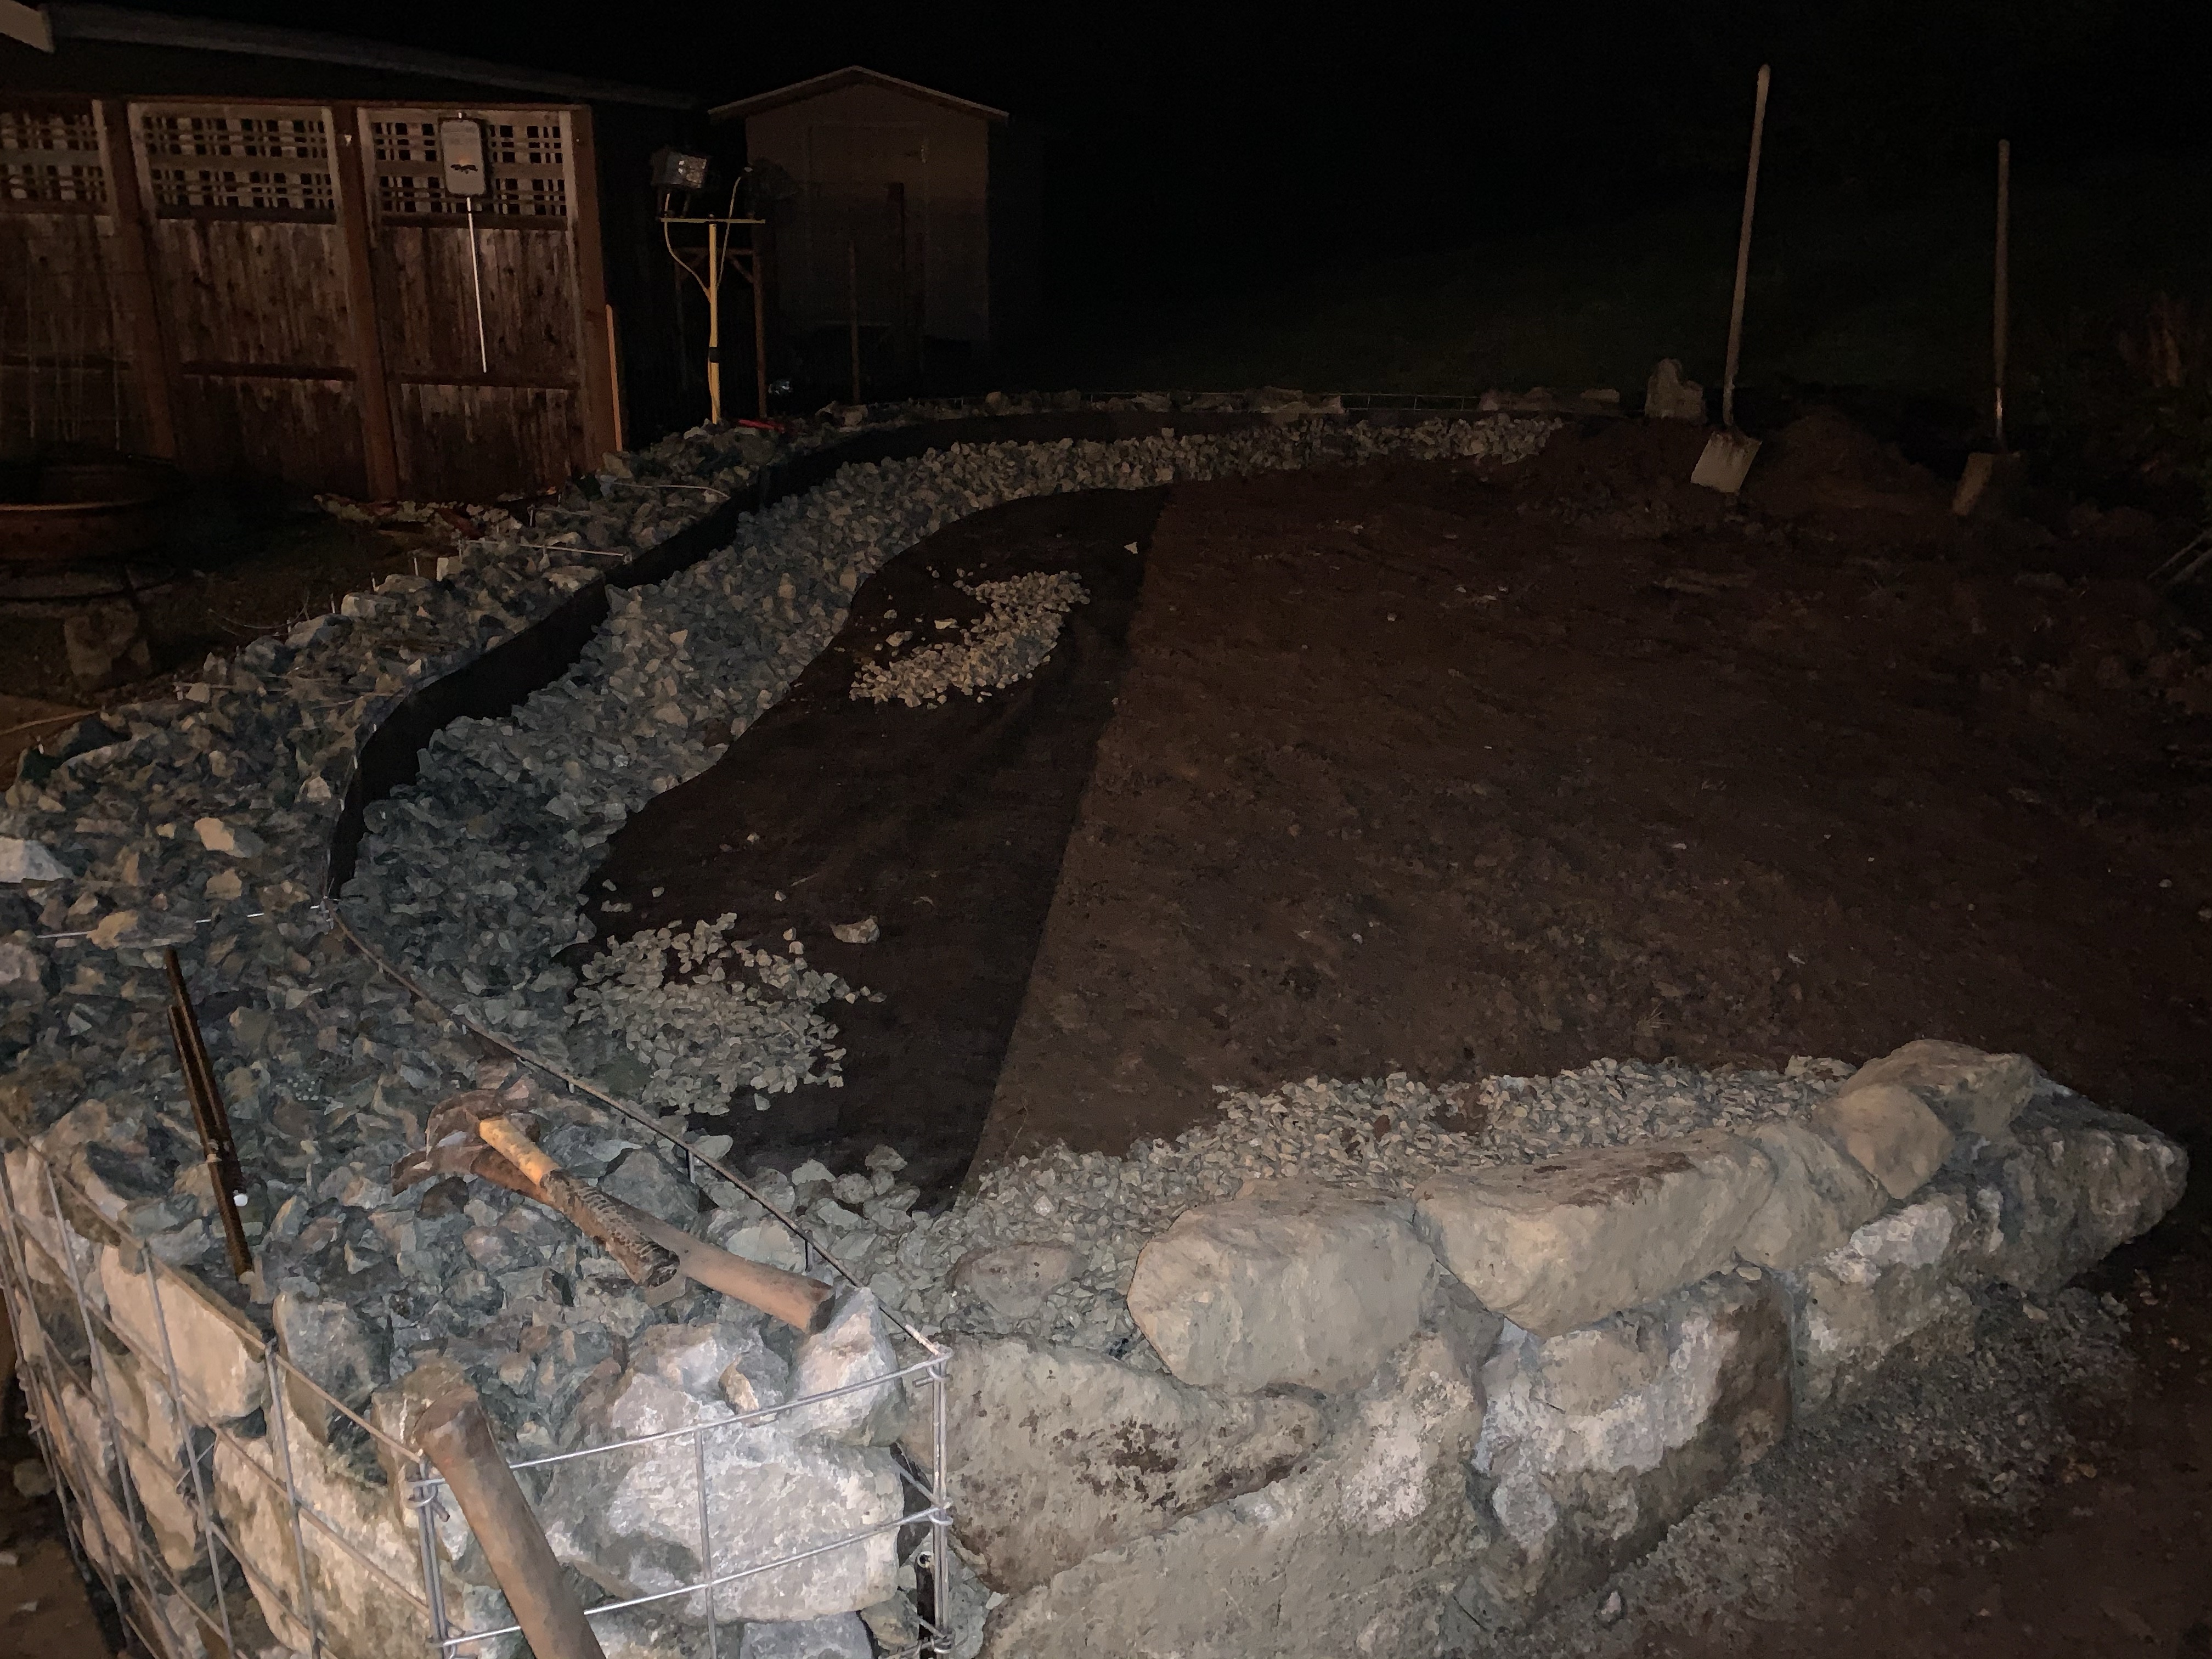
Once the wire panel boxes were in place we could start to load them with rocks. We have some existing rockery so we wanted to match what was already here so we used a local rock quarry. Rocks come in all different sizes so it is important to know what size you are going to use for your project. We used “one man” rocks. They are quite large and not super easy to work with. If you use a smaller wire you could possibly use “half man” rocks or smaller. Most local quarries will let you get a couple samples so you can decide what size is best for your project.
*Tip: If your wall is only going to be visible from one side, consider filling the back with just random rocks from around your property. Save the nice rocks for your project. Also, you want to be sure to use different sizes of rocks so you can fit them together like a puzzle and fill in any gaps you may have.
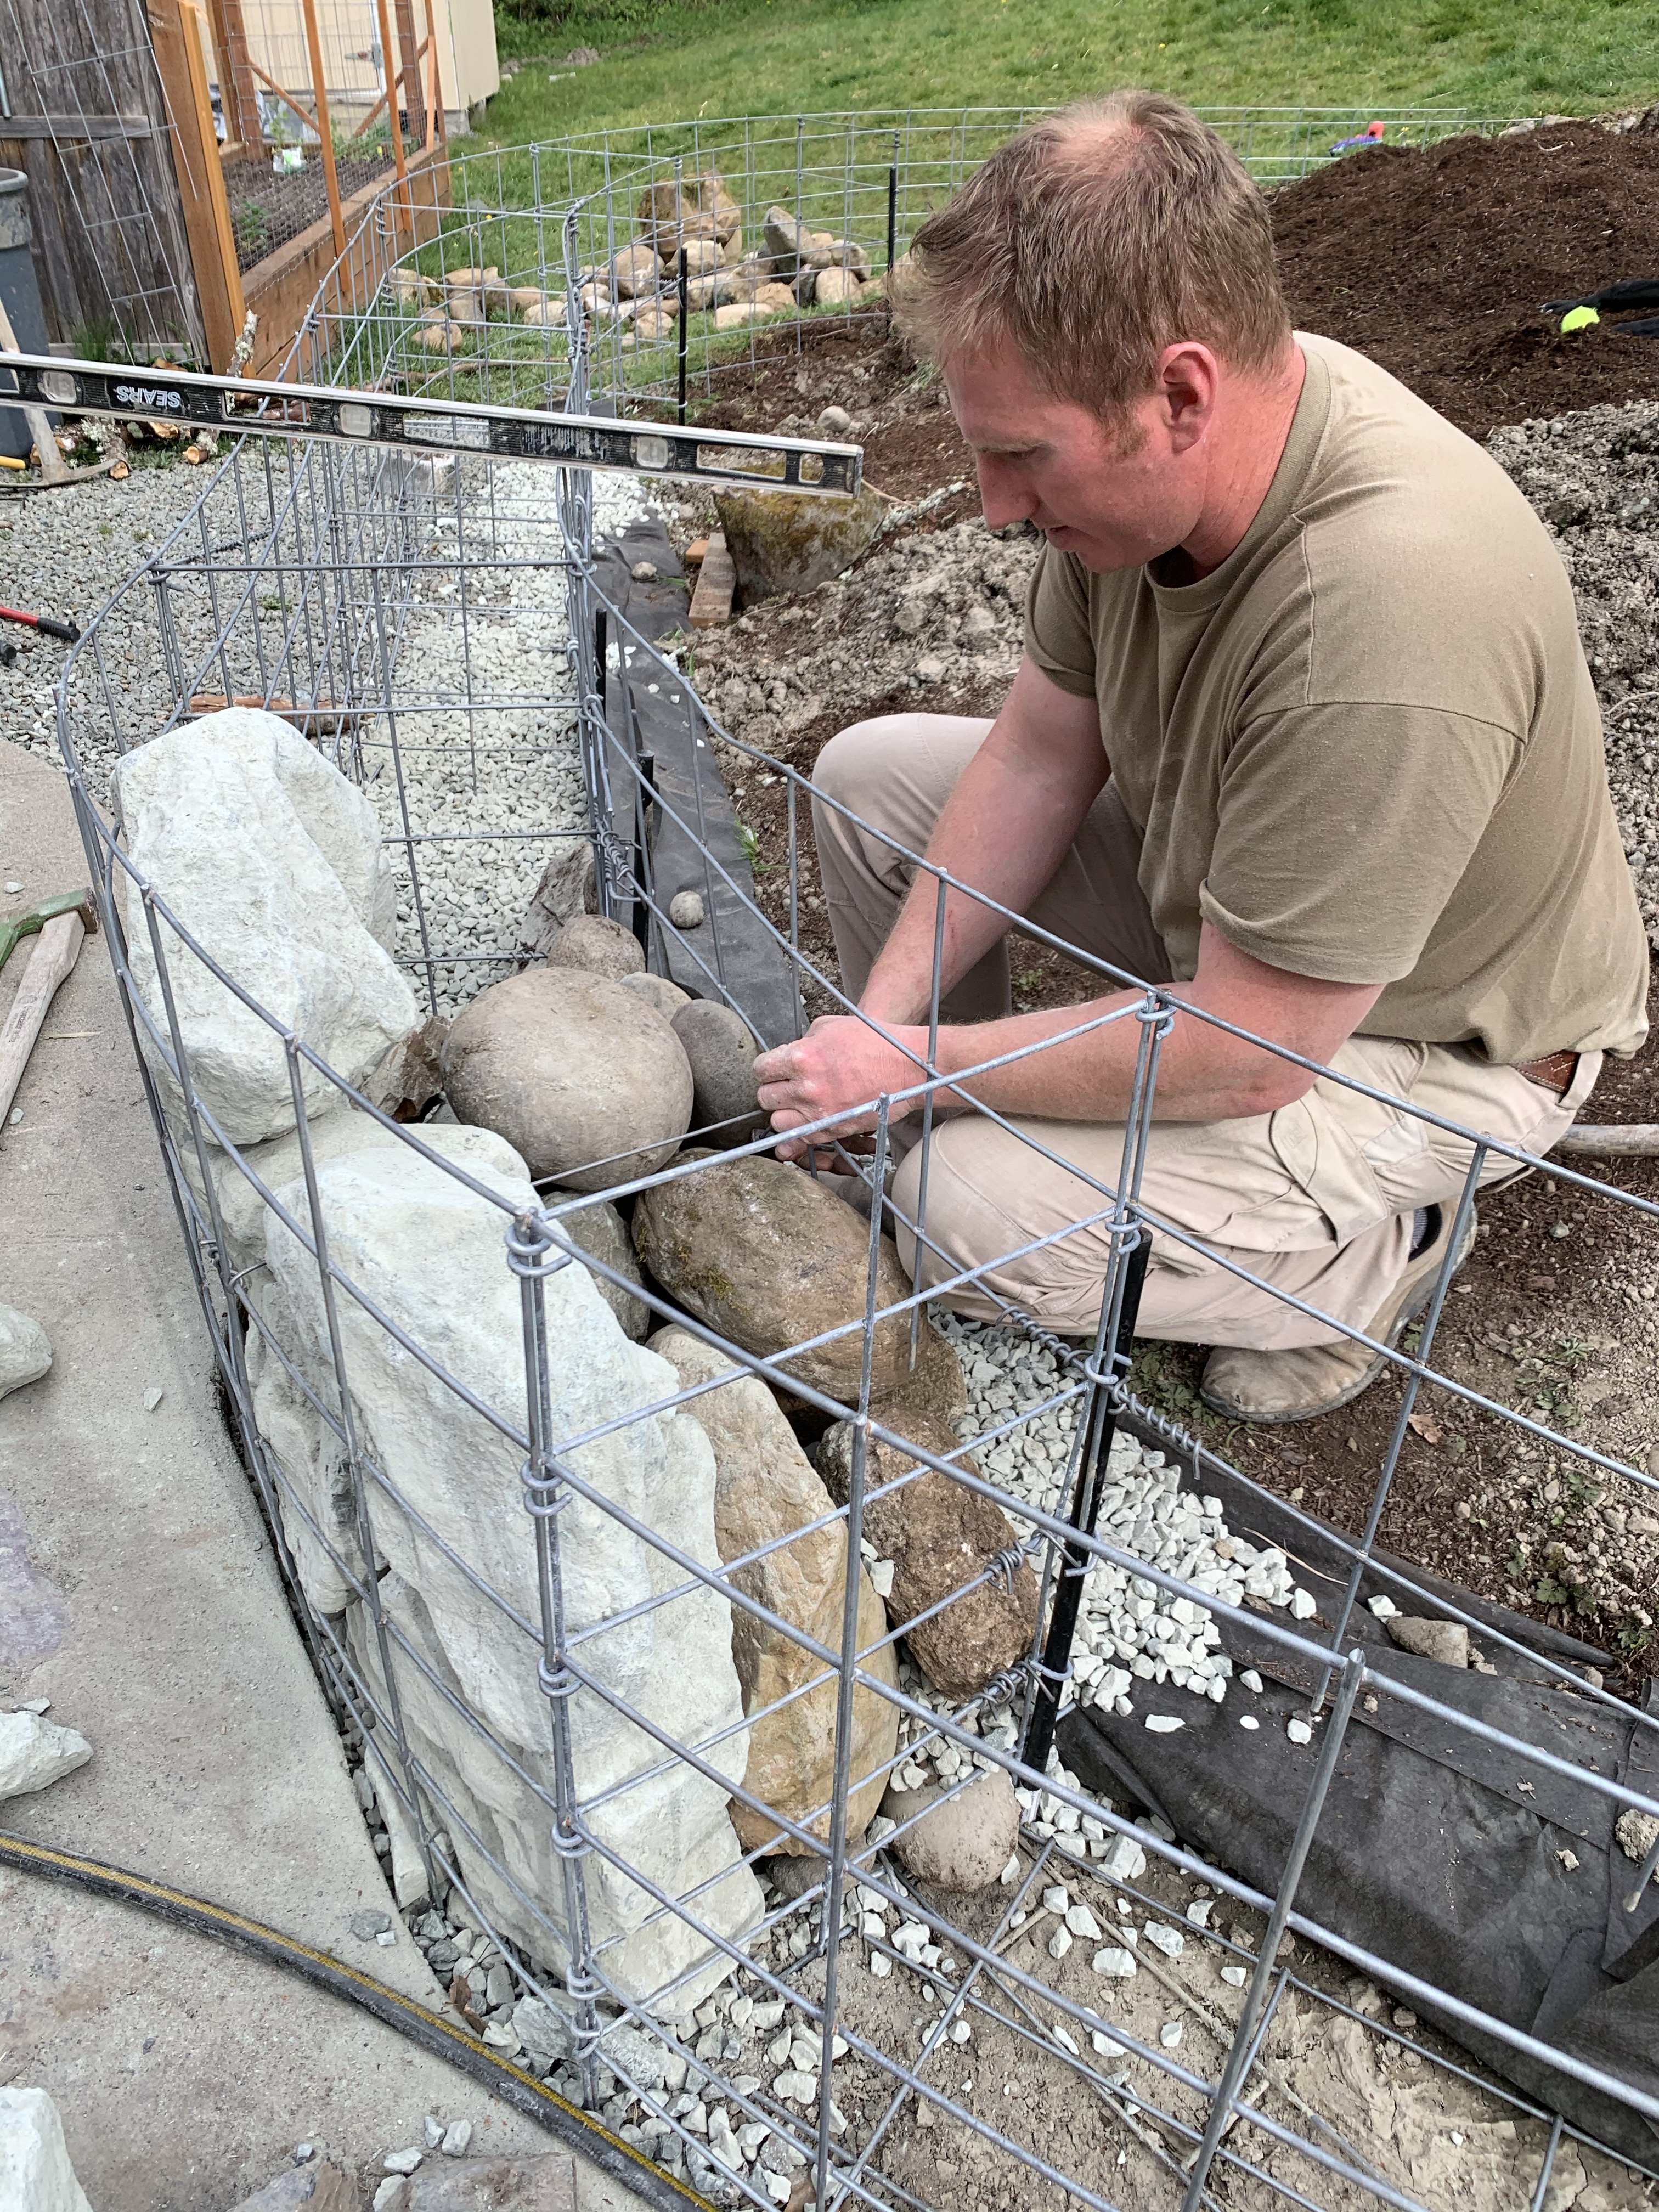
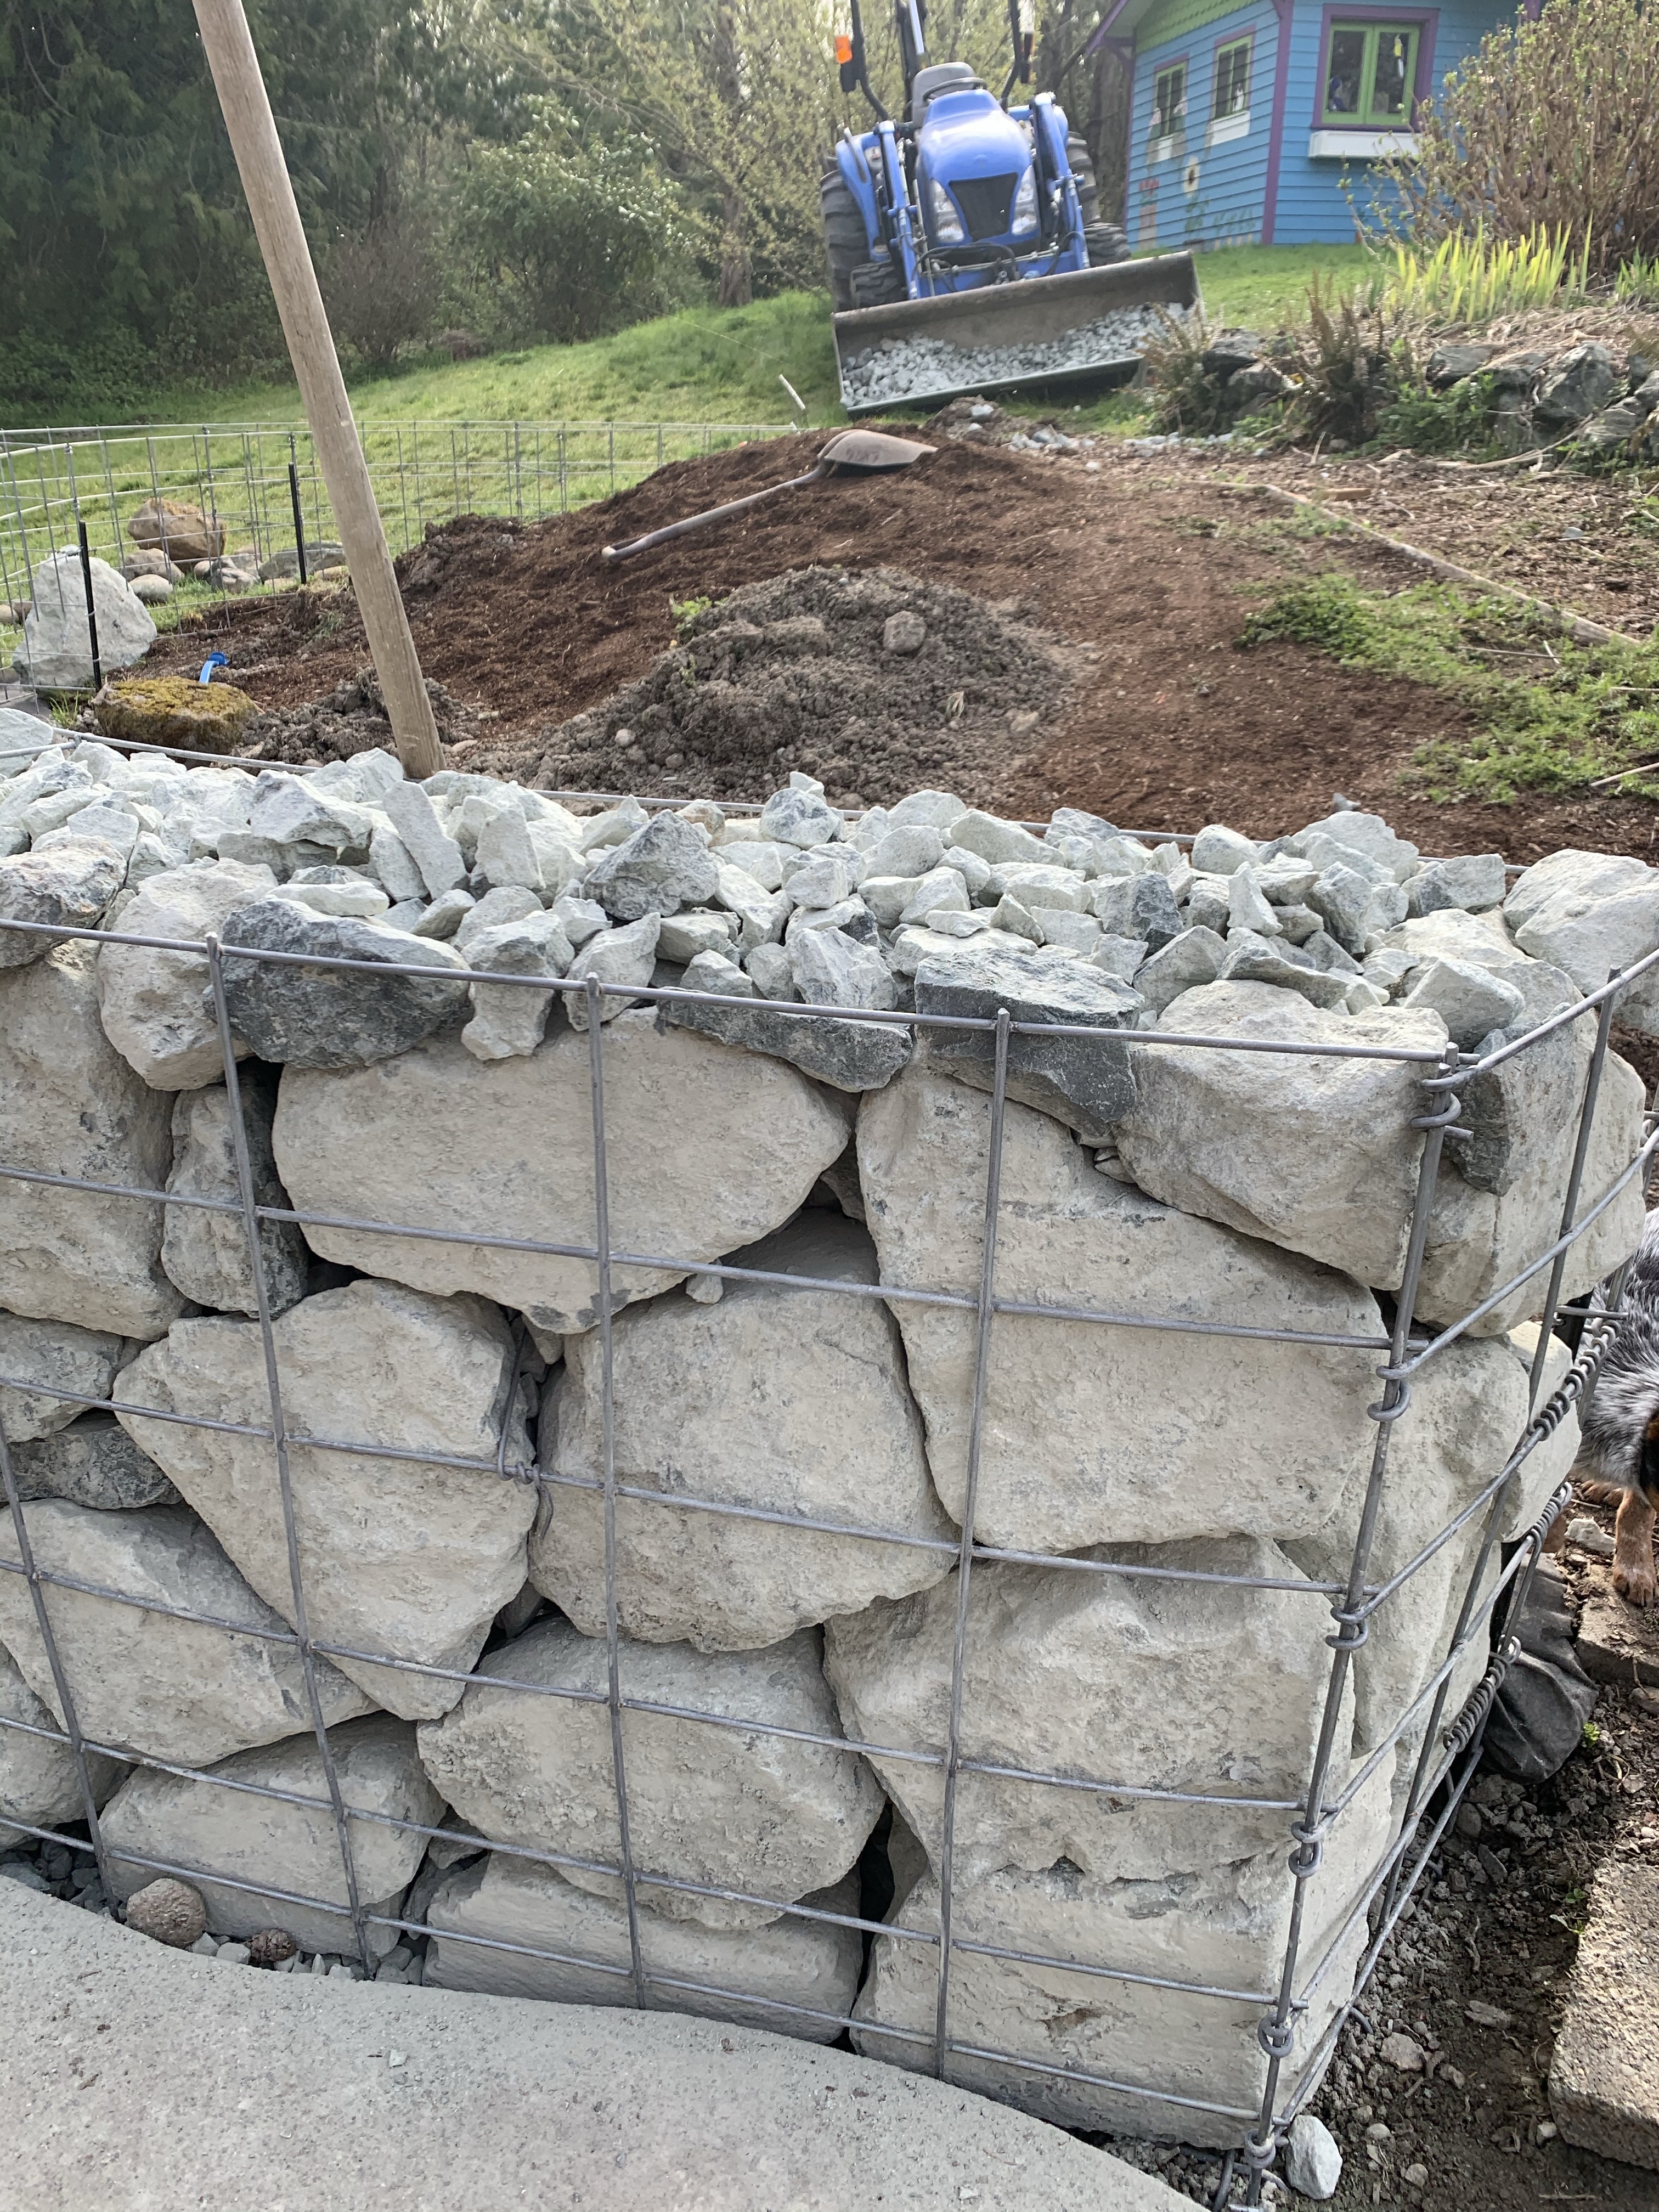
*Tip: Rocks are heavy and even with large gauge wire you will need to put a piece of wire in the middle and along the top as a brace or your rock boxes will bulge out after while and look messy.
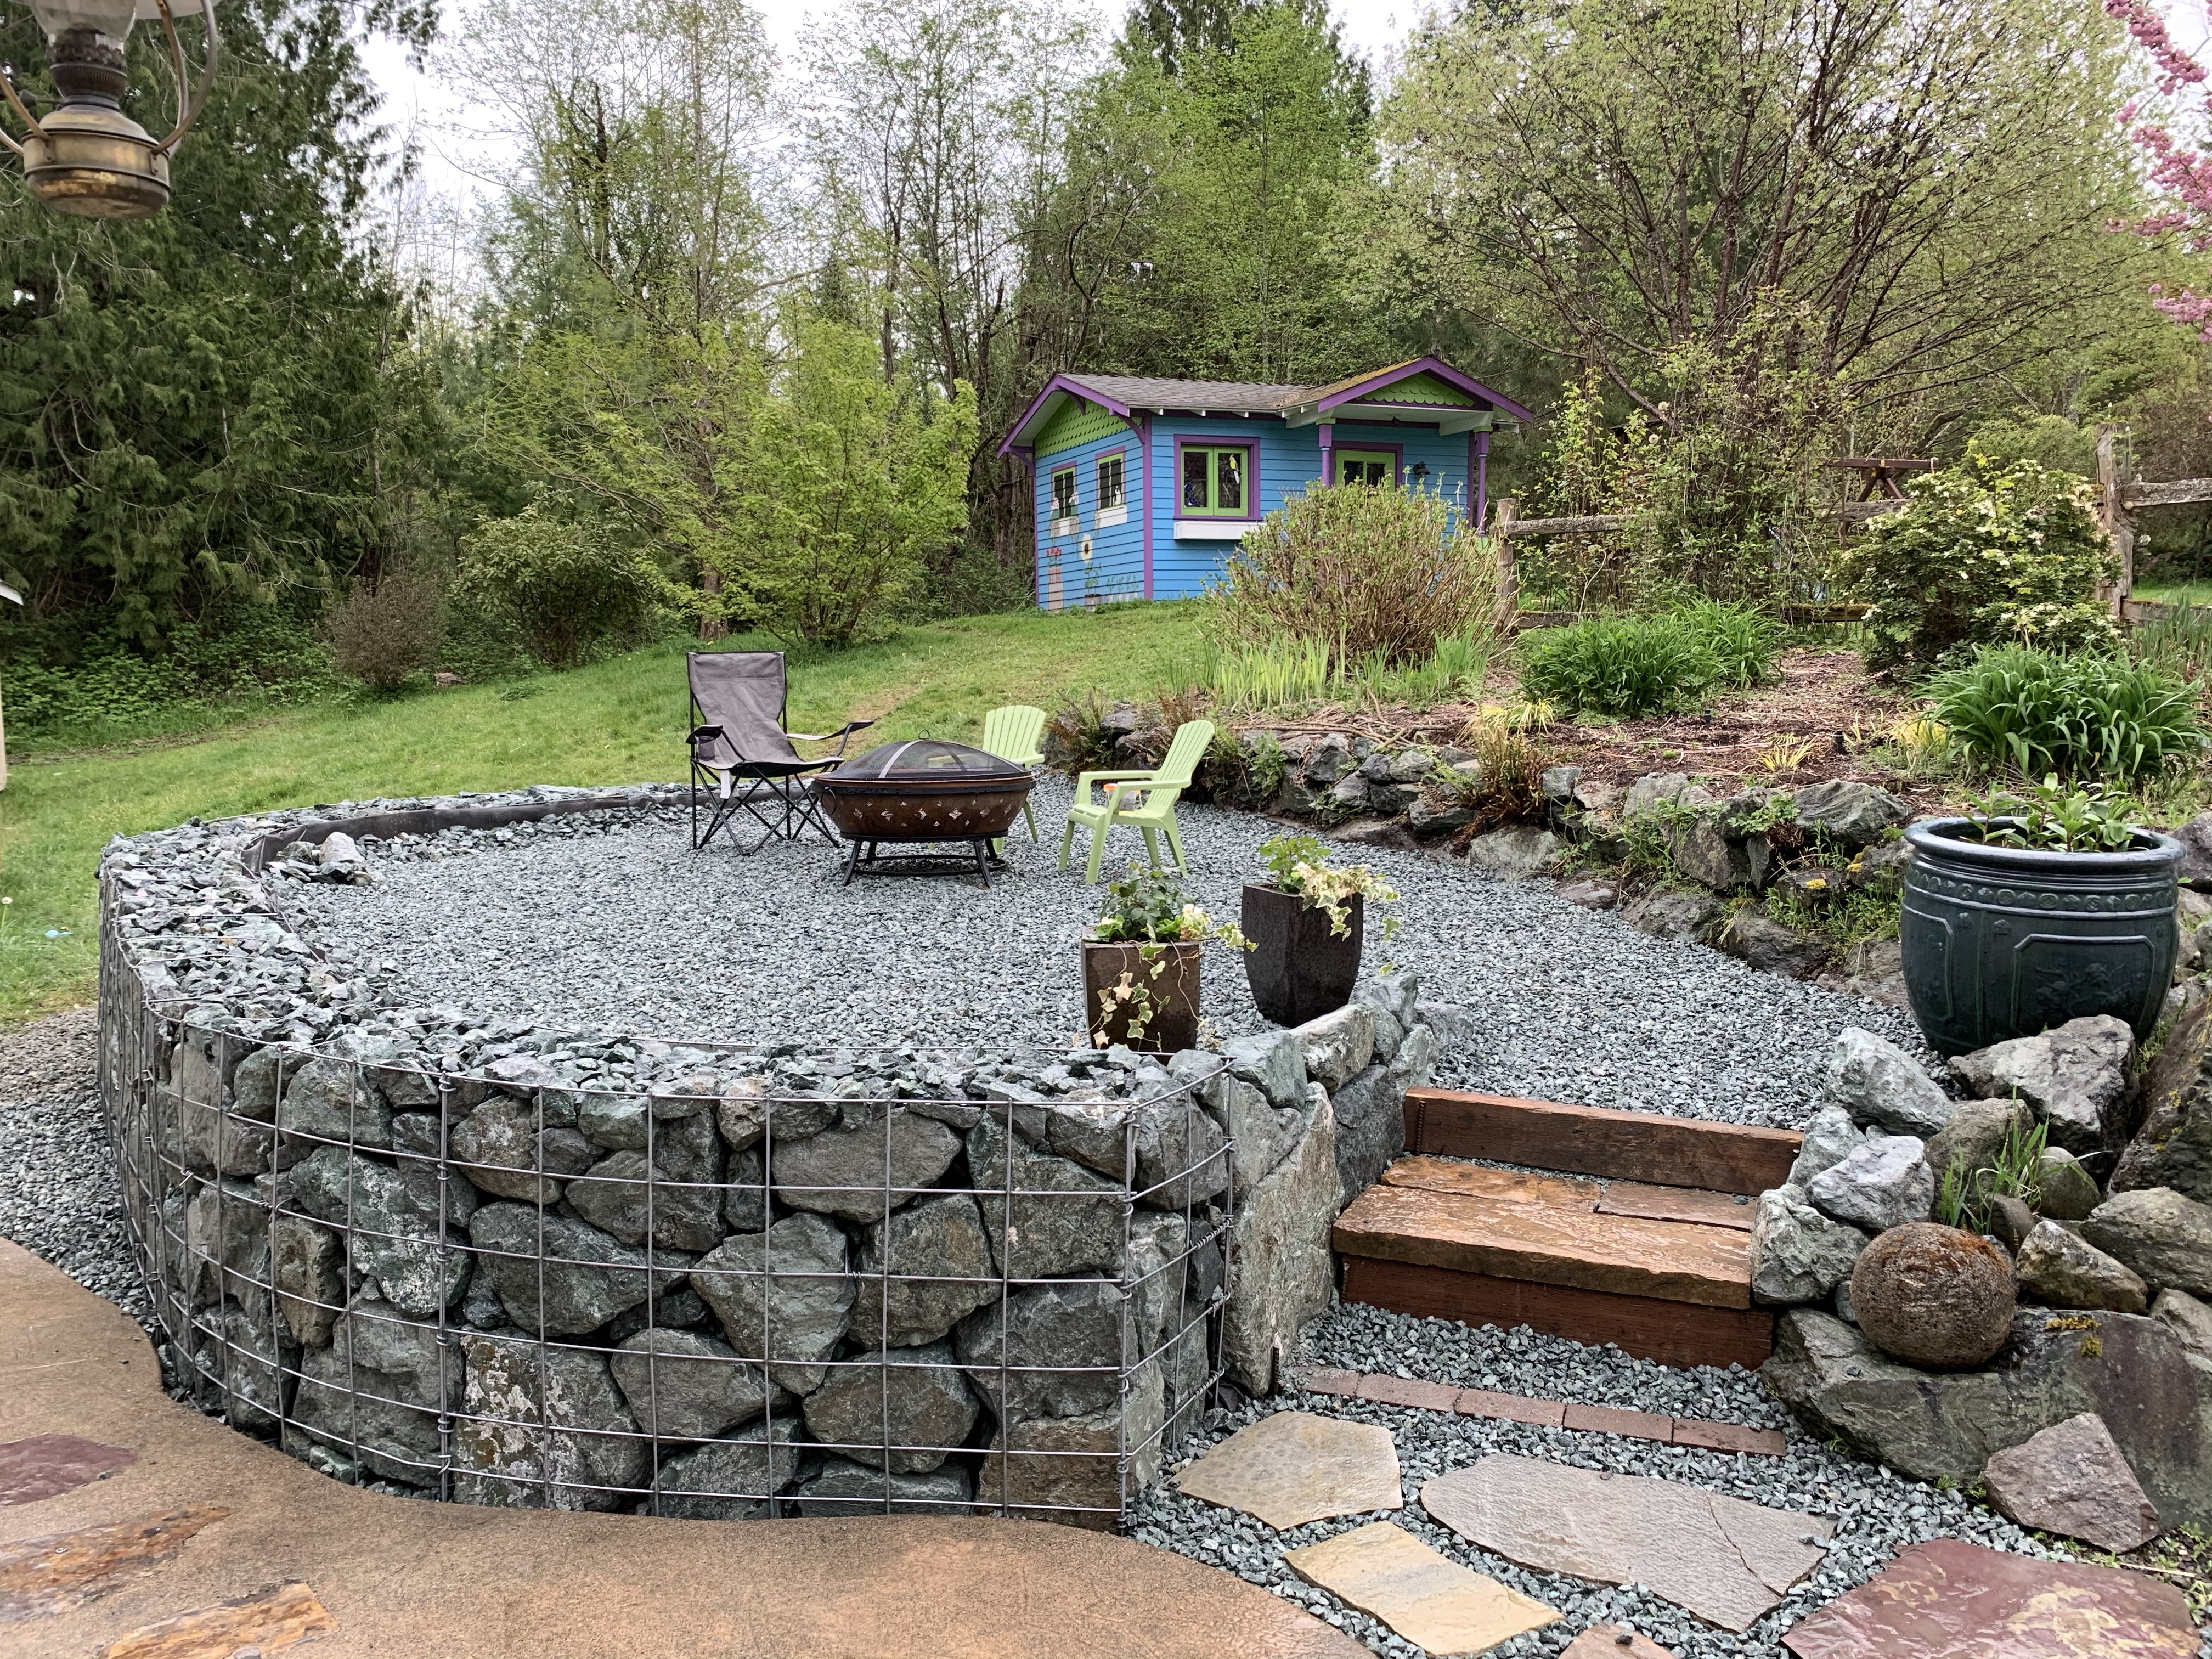
After the baskets were full we began filling in the hillside. We used dirt from around the property from other projects we had left over. Along the backside of the wall we continued with rock as to not cover the drain with dirt. We used “railroad ballast” or “2 inch chip” and then filled in with dirt up to the rock. We laid down landscape cloth and covered it with “5/8 washed rock” because it looks nice and is easier to walk on.
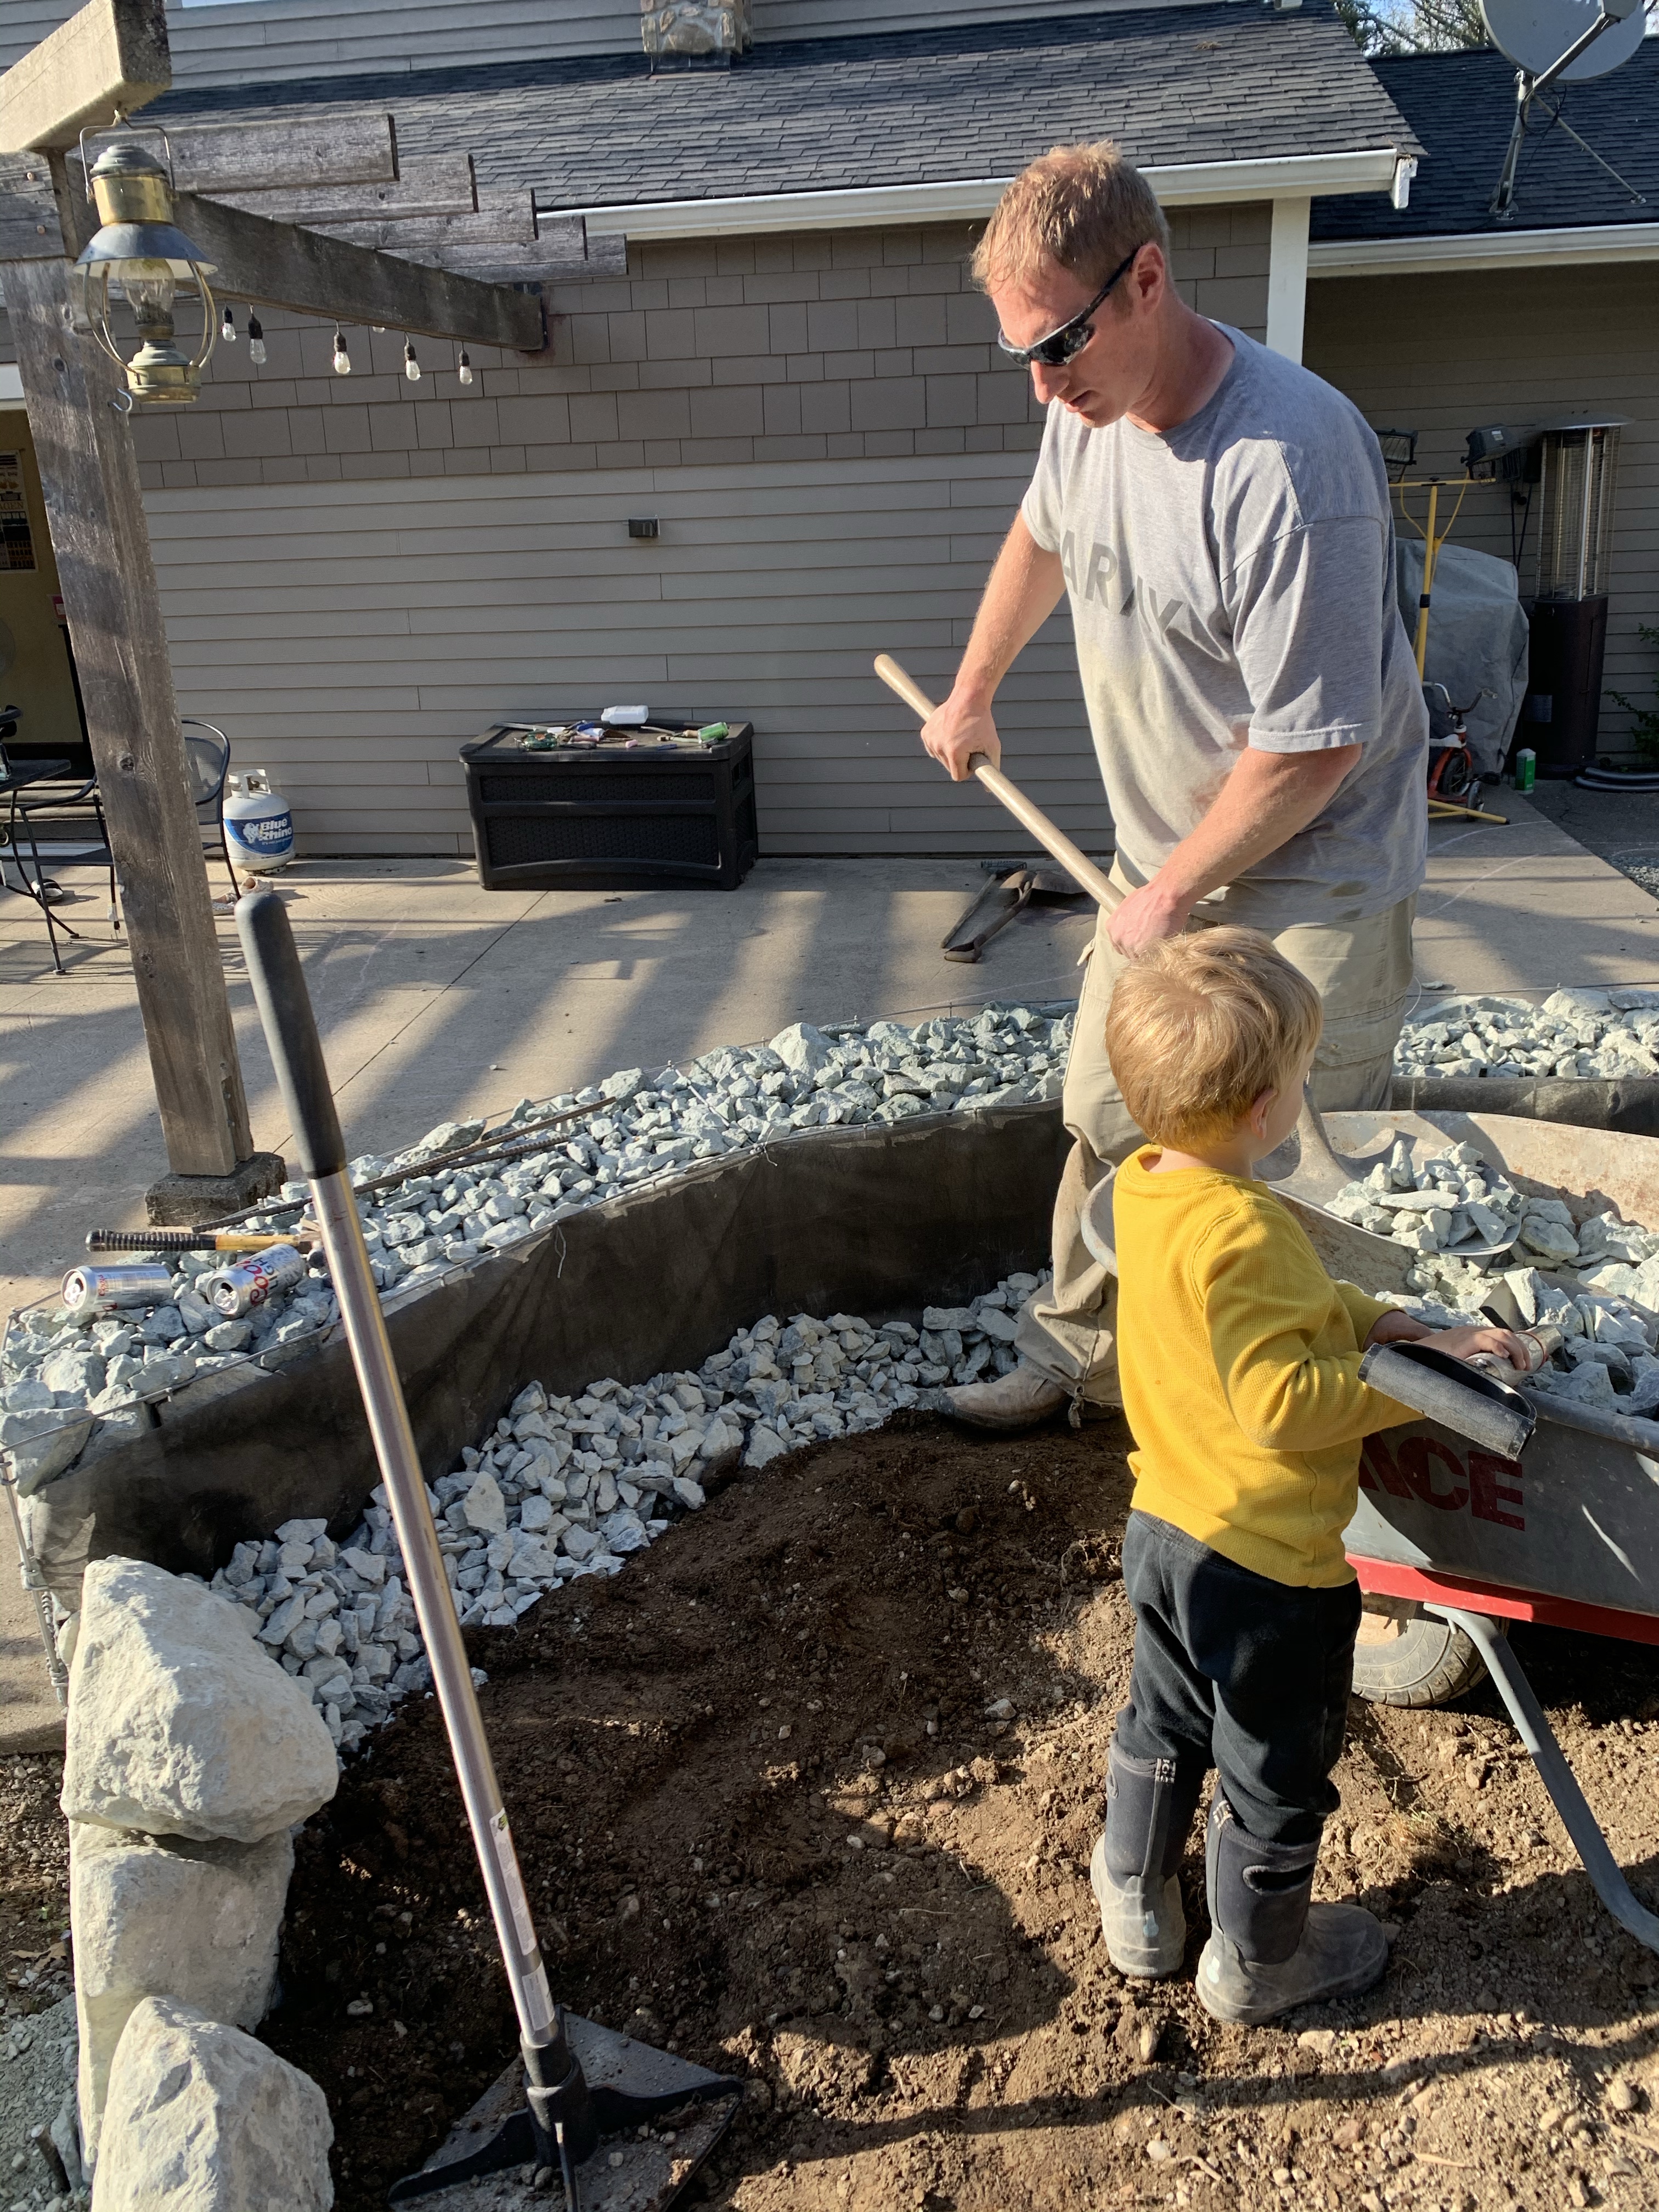
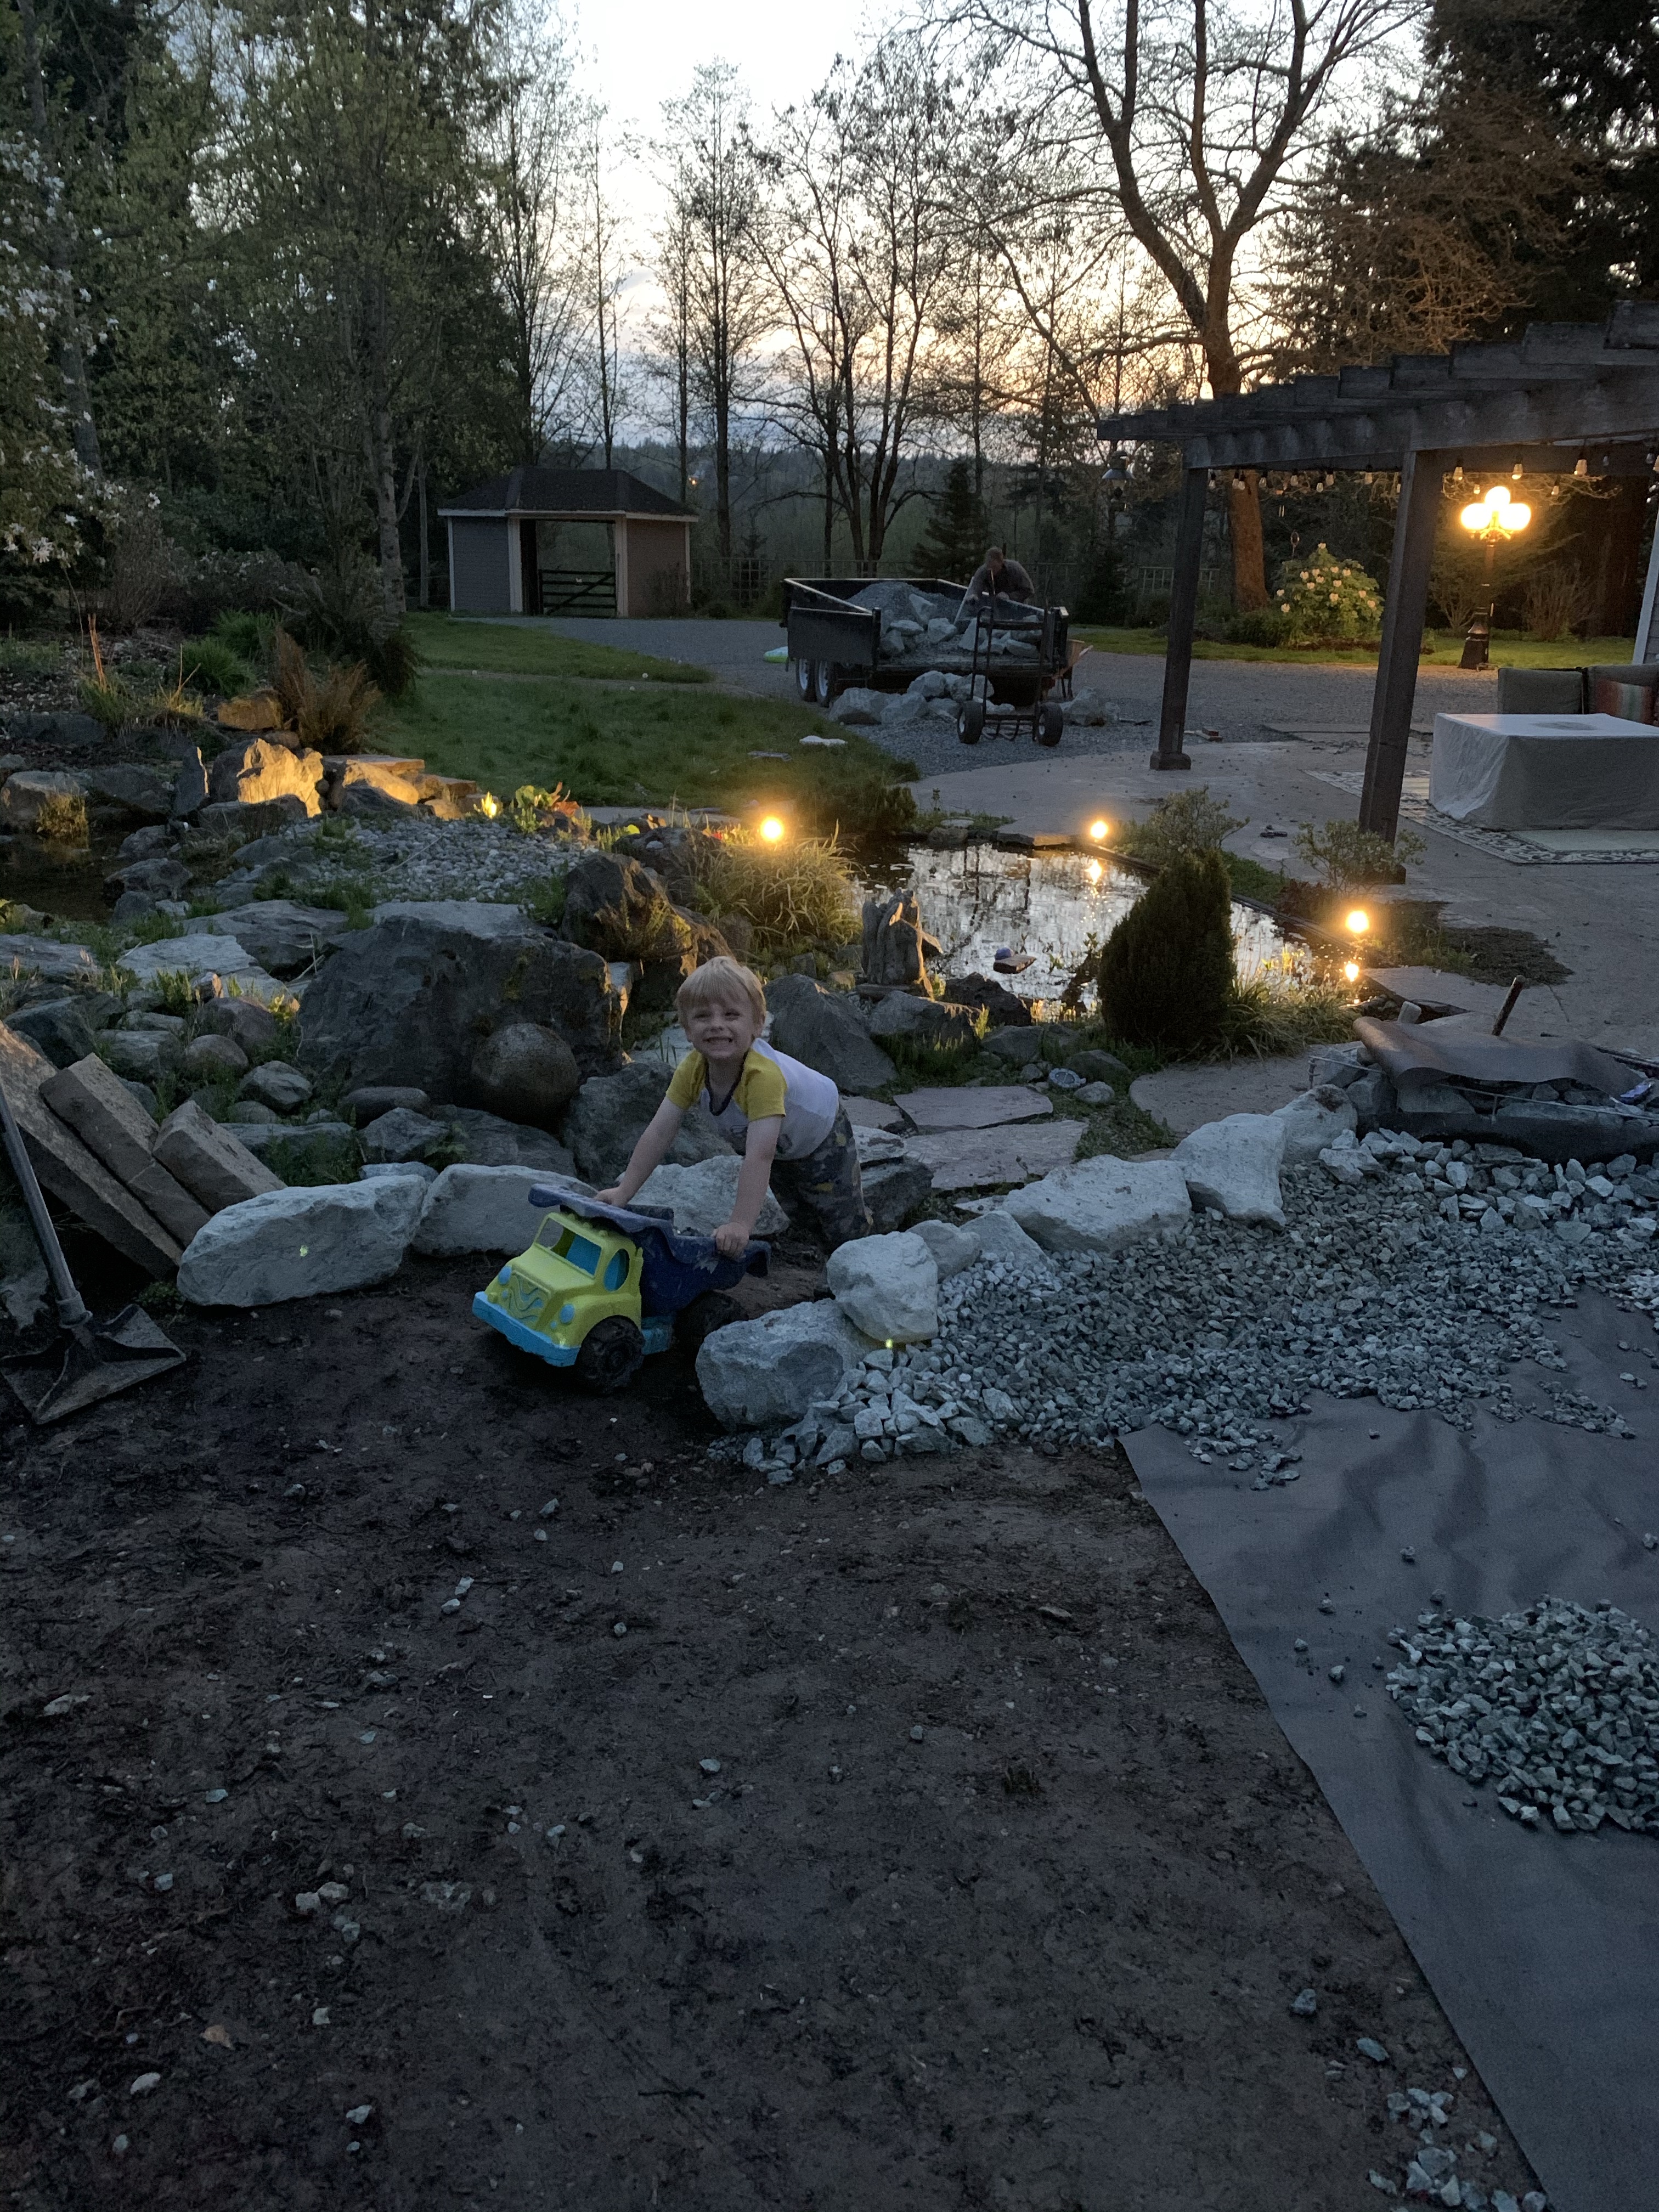
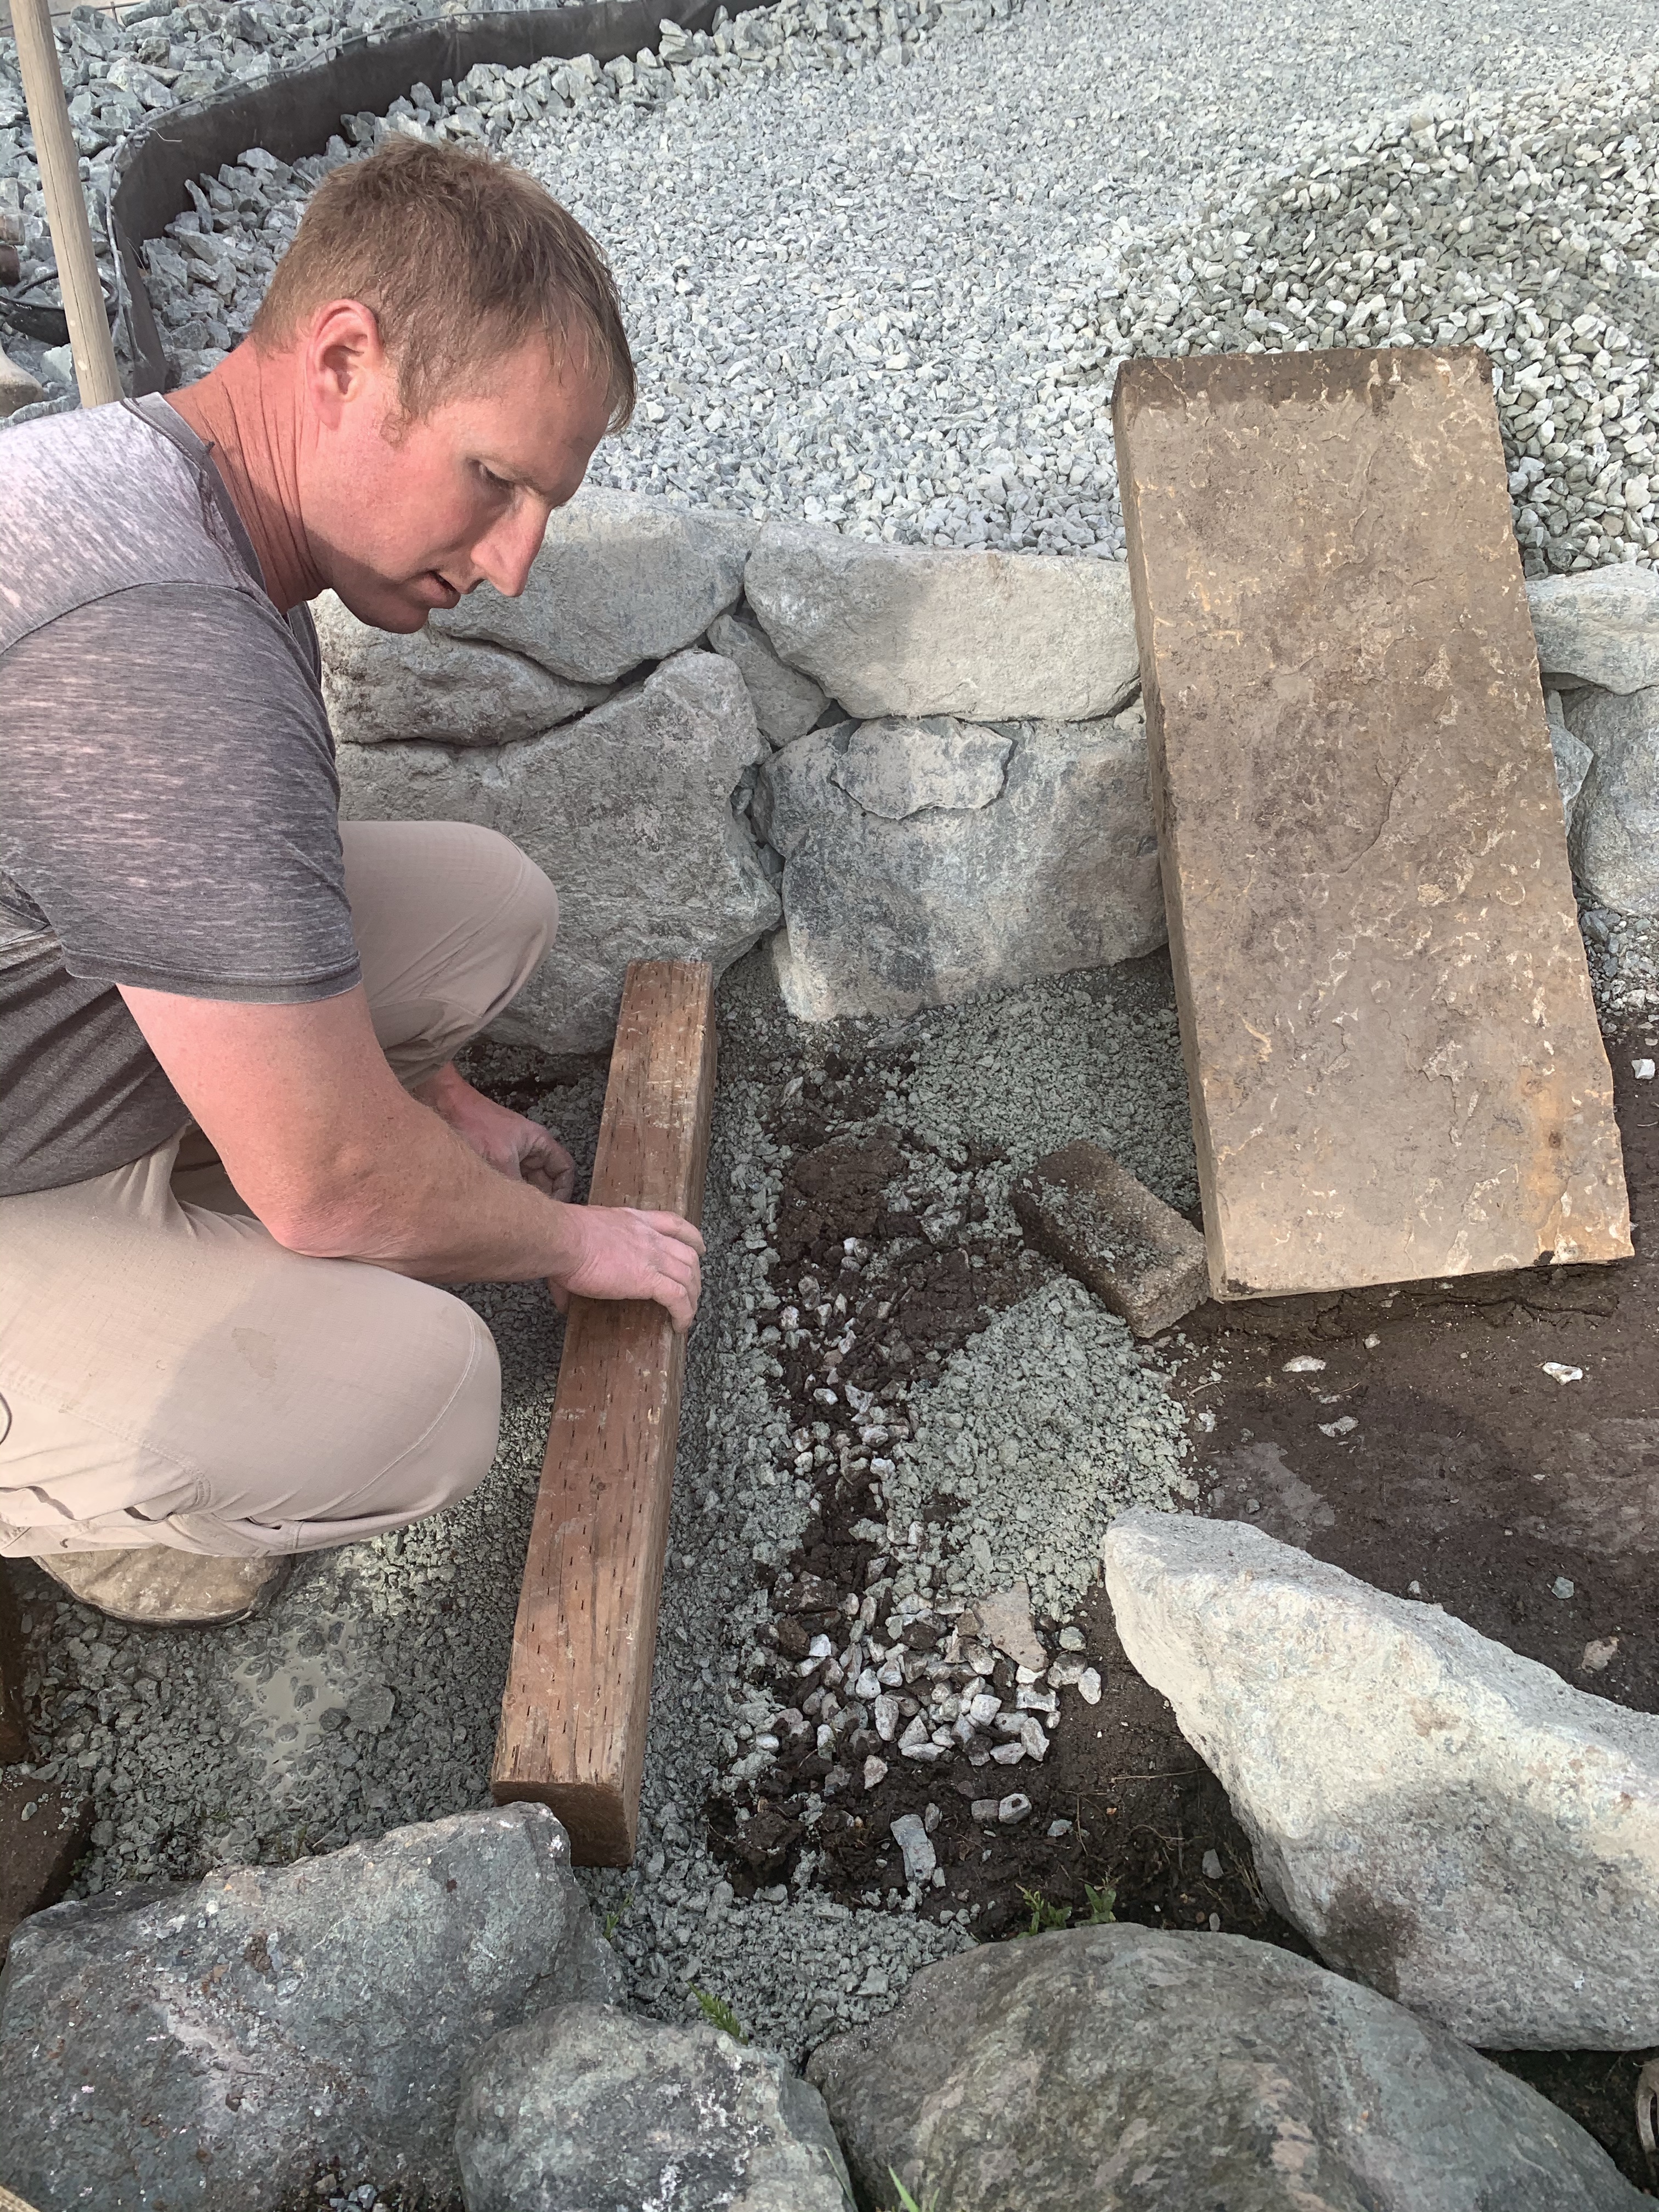
The final part of the project was to build a step. Since the area we were working on was a hill we did not want to just have a ramp. We were afraid the rain would make it slippery and the gravel would create unstable footing. We used some left over pieces of pressure treated boards for the risers. (Have I mentioned we don’t throw anything away?) For the steps we were able to find some stones around the property that had been left over and they matched nicely.
*Tip: Make sure when you are laying bricks for walking paths that you use crushed gravel under them. It is also important to tamp down and pack the gravel so your stones stay level.
Costs of the project:
- Cattle panel: $20/panel, we used three in our space. Different wire may be a little more expensive but not by much.
- One man rocks: $100 total. By going directly to the quarry we were able to save a bunch compared to going to the landscape store.
- 2” chip or railroad ballast: $25 again directly from the quarry
- Landscape cloth: $50
- 5/8” washed rock: $60 from the quarry
- French drain: $20 for the pipe
- Support wire: $15 per roll
Total: $330

Beautiful. Just beautiful. I’m impressed.
LikeLike
This is great! The video of June had me cracking up. Cattle dogs are goons 😂
LikeLiked by 1 person