With all of the drainage issues resolved we were on to the next phase of the project.
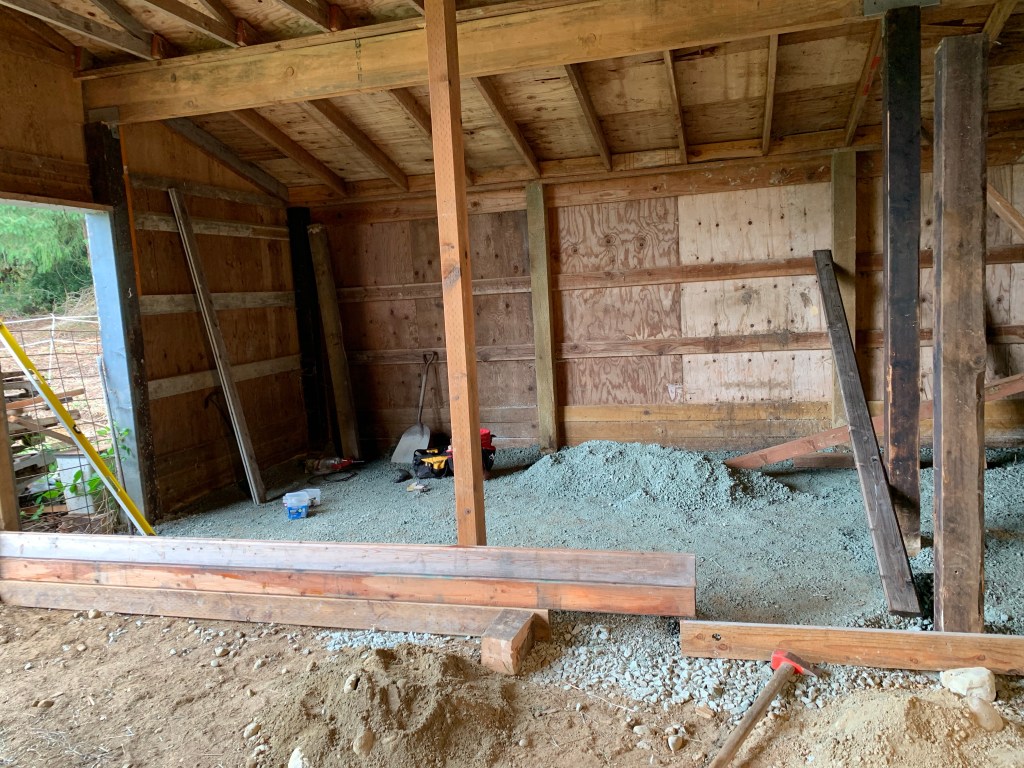
It was time to build the stalls. We started by determining the size of the stalls and planting posts where it made sense. The barn had some existing posts and we tried to utilize those as much as possible. Because of that we ended up with some varying sized stalls. There is one 12×16 and one 12×12. There is also a storage area that is currently being utilized so we left that alone.
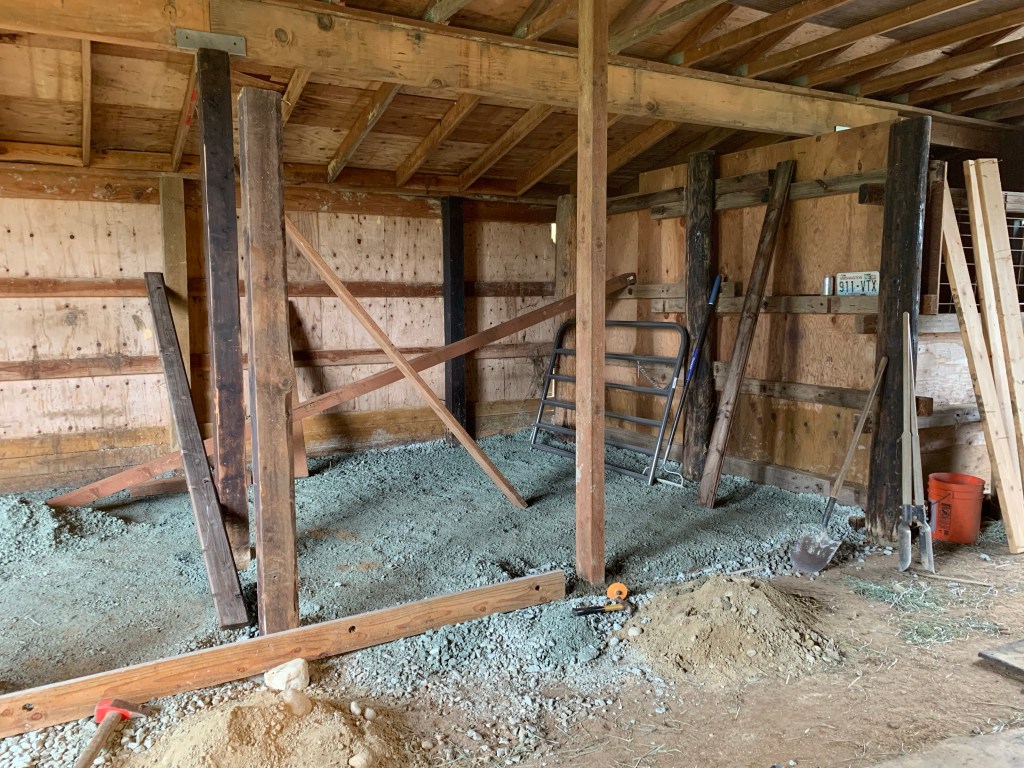
We then dug out the nasty dirt and old manure and replaced it with a rock base that would be good for laying stall mats. We used a 5/8 crush rock and made sure to tamp it down.
Next we laid down the stall mats. We put our base board in place to hold everything in. Then ensuring that the gravel was good and level and nice and tamped down we laid down the stall mats. Even tough we were building two stalls we laid them continuous so that there would be less cutting and less moving as the horses moved about their stalls.

Time to get going on the walls. Remember from a previous post I mentioned that we like to hoard lumber. Well it totally came in handy for this project. We had scored a bunch of tongue and groove boards in one of our purchases so we had plenty of lumber for the stall walls.
We leveled everything up and made sure that the walls were nice and straight. Straight walls make the tongue and groove go together a whole lot easier. Now for the top and the gates.
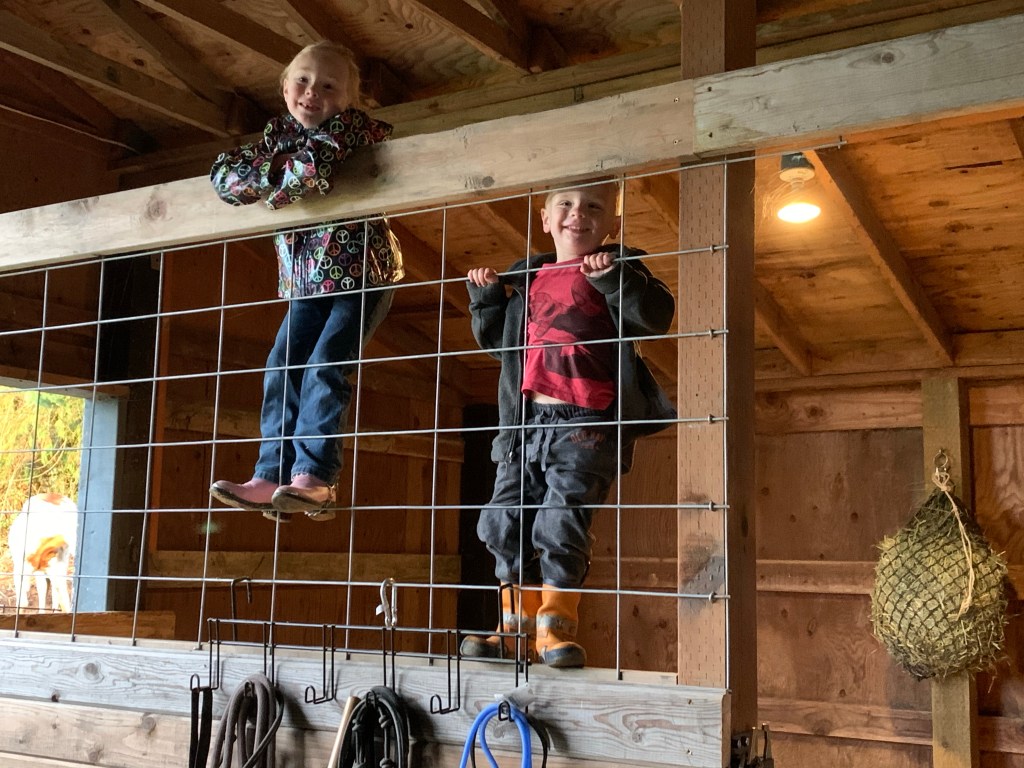
Keeping our budget in mind we decided that the traditional rolling doors and the large bars were outside of our price range. With a little creativity and research we decided to use cattle panel on the top so the horses could see out and we used tube gates with quick entry latches that allow the gates to swing in or out depending on your need.

The barn turned into a beautiful and functional space! It is easy to maintain. It does not leak and everyone stays dry and warm!

