We bought our new house back in June of 2019. When we were shopping for homes the existence of a mud room was a must! We did not have one in our previous house and after years of trying to work around it we finally just broke down and built an addition of a mud room. We knew we did not want to go through that again so it was very important to us that we have a mud room space. We have acreage, animals, kids and mud! And we need a space to trap all of the chaos before they enter the rest of the house and create more mess!
This house had an existing mud room. It was somewhat functional. It had a door to the outside. It had a sink. It had a cabinet. It had electricity. By all accounts it was a reasonable space. It just needed a little help with function, organization and appeal. So, I got to work.
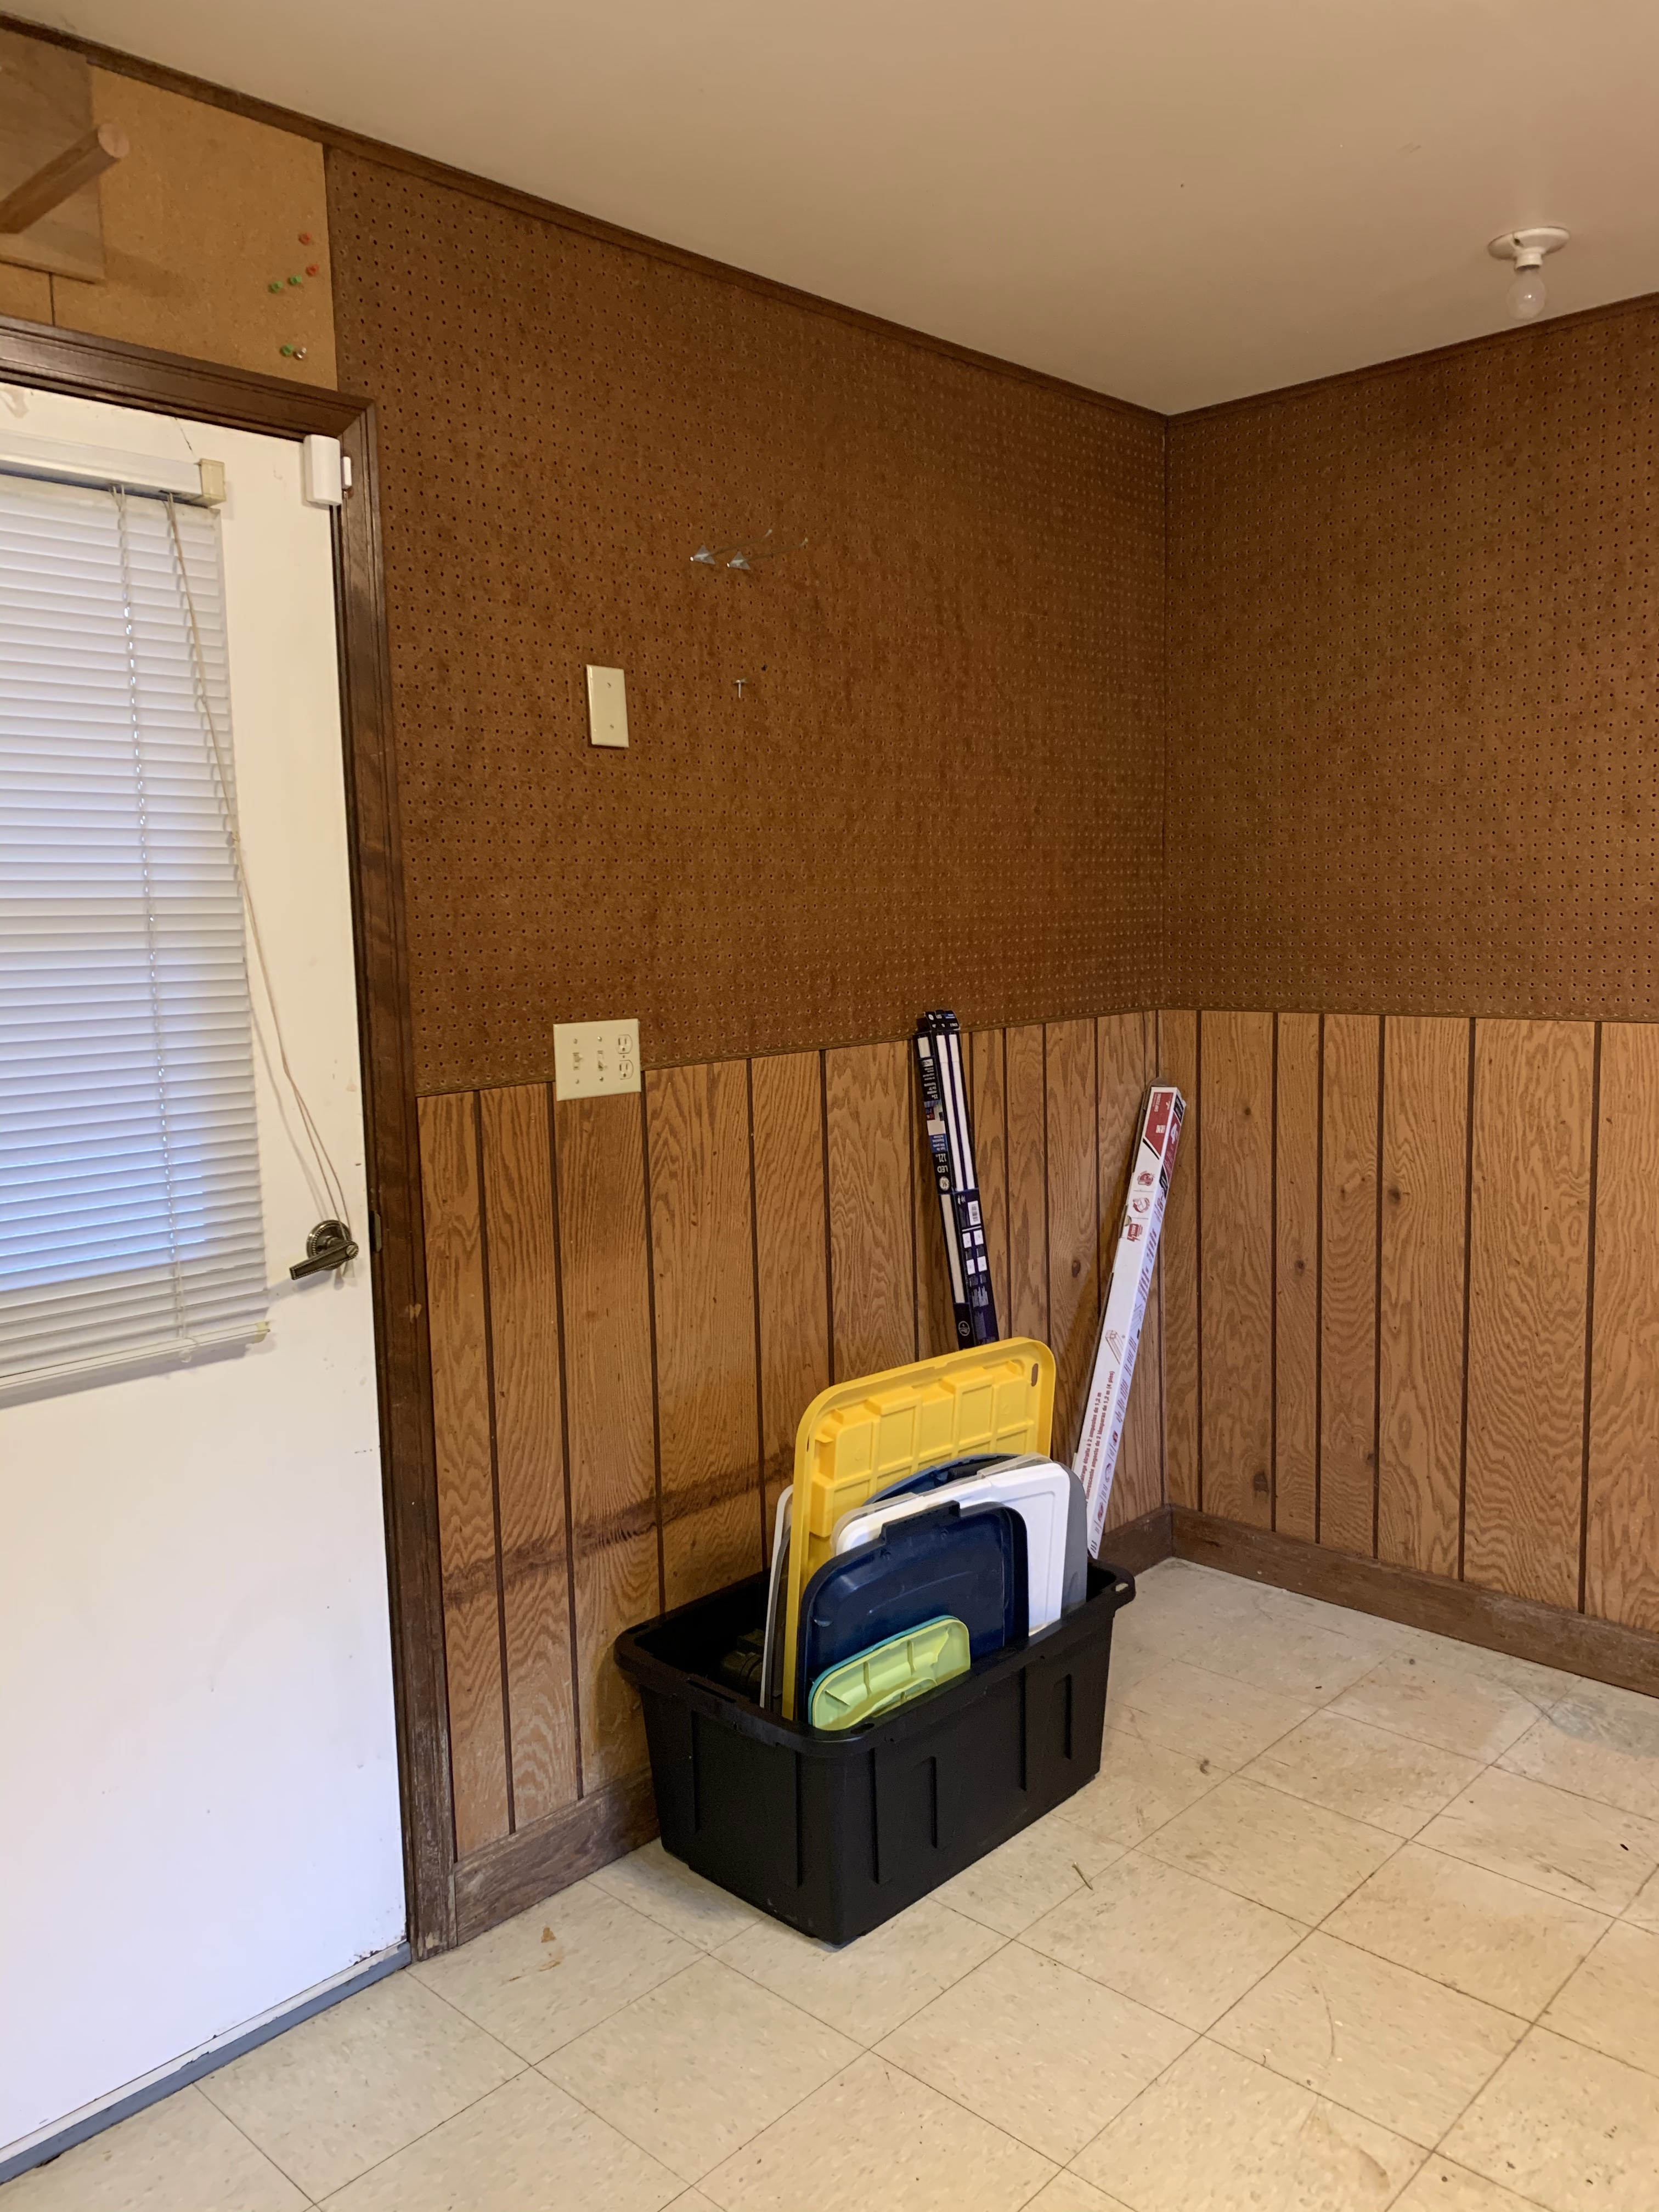
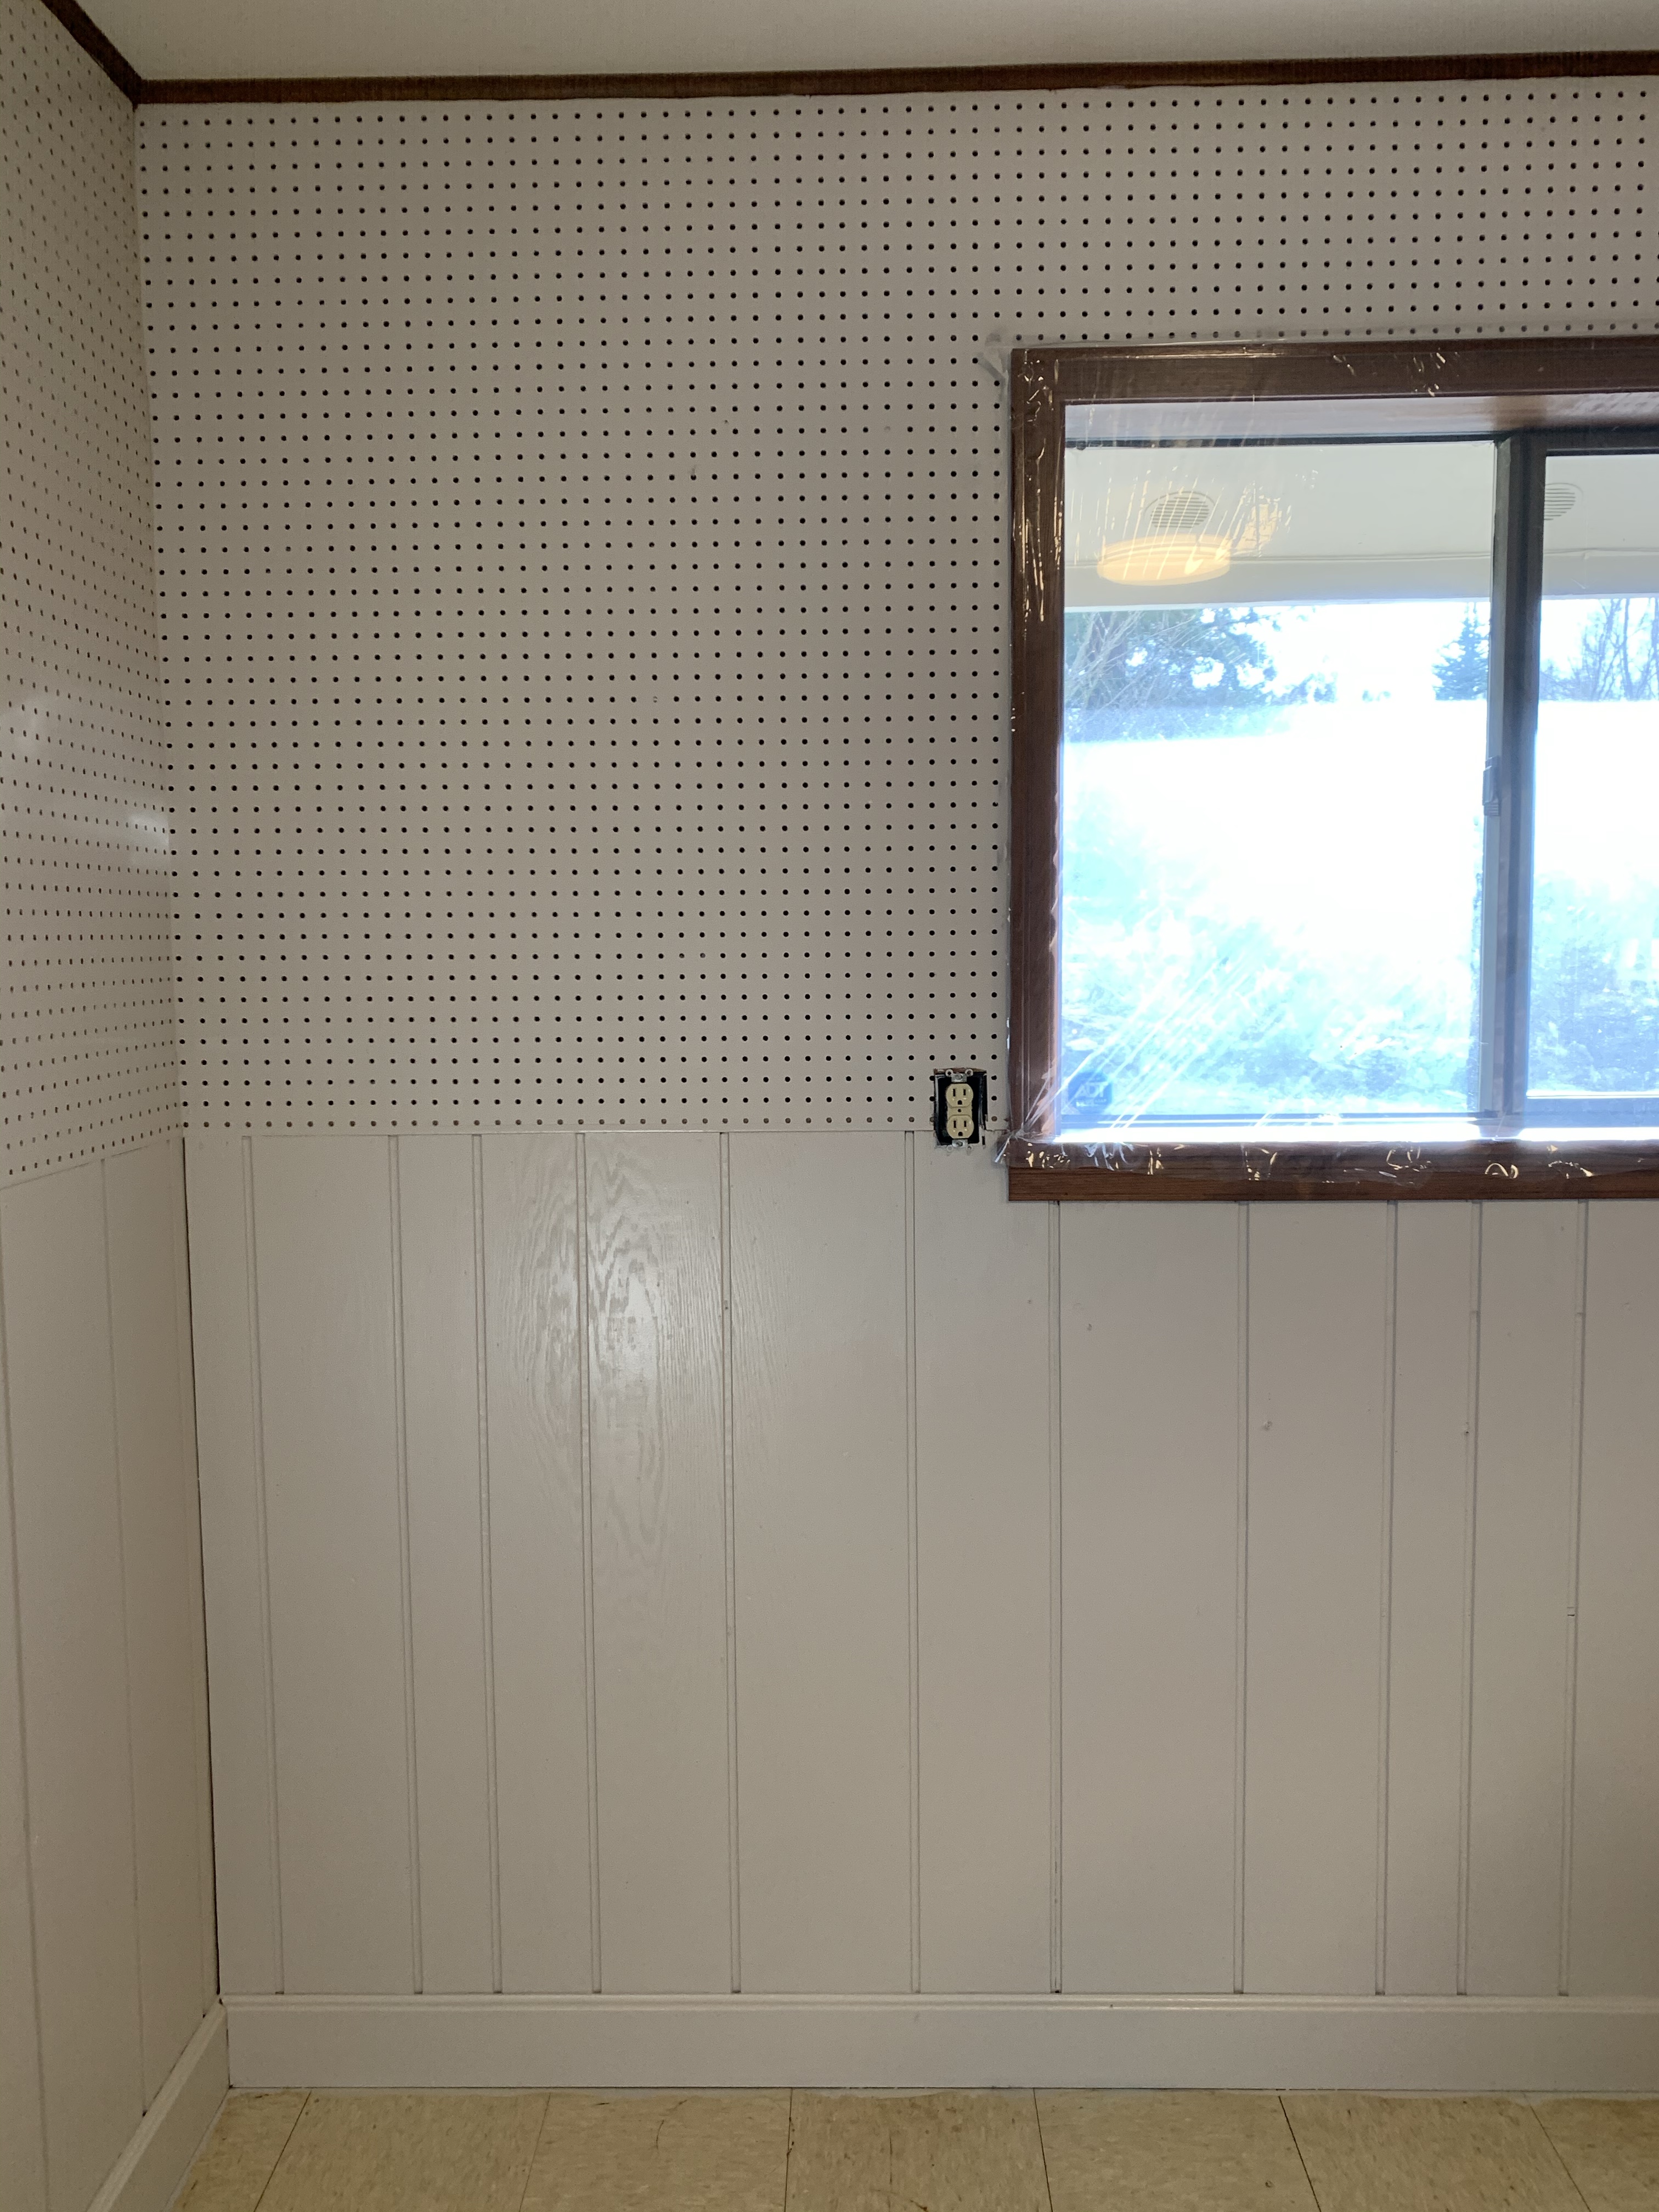
As you can see from the pictures the visual appeal of the room left something to be desired. There were cork board walls, old paneling and peg board. The floors were that old tile that you would expect to find in your middle school art class. Nothing was in bad enough shape to justify tearing it out and replacing, so after extensive research I was able to find a paint for both the walls and the floor that would hold up to the kind of abuse that a mud room takes.
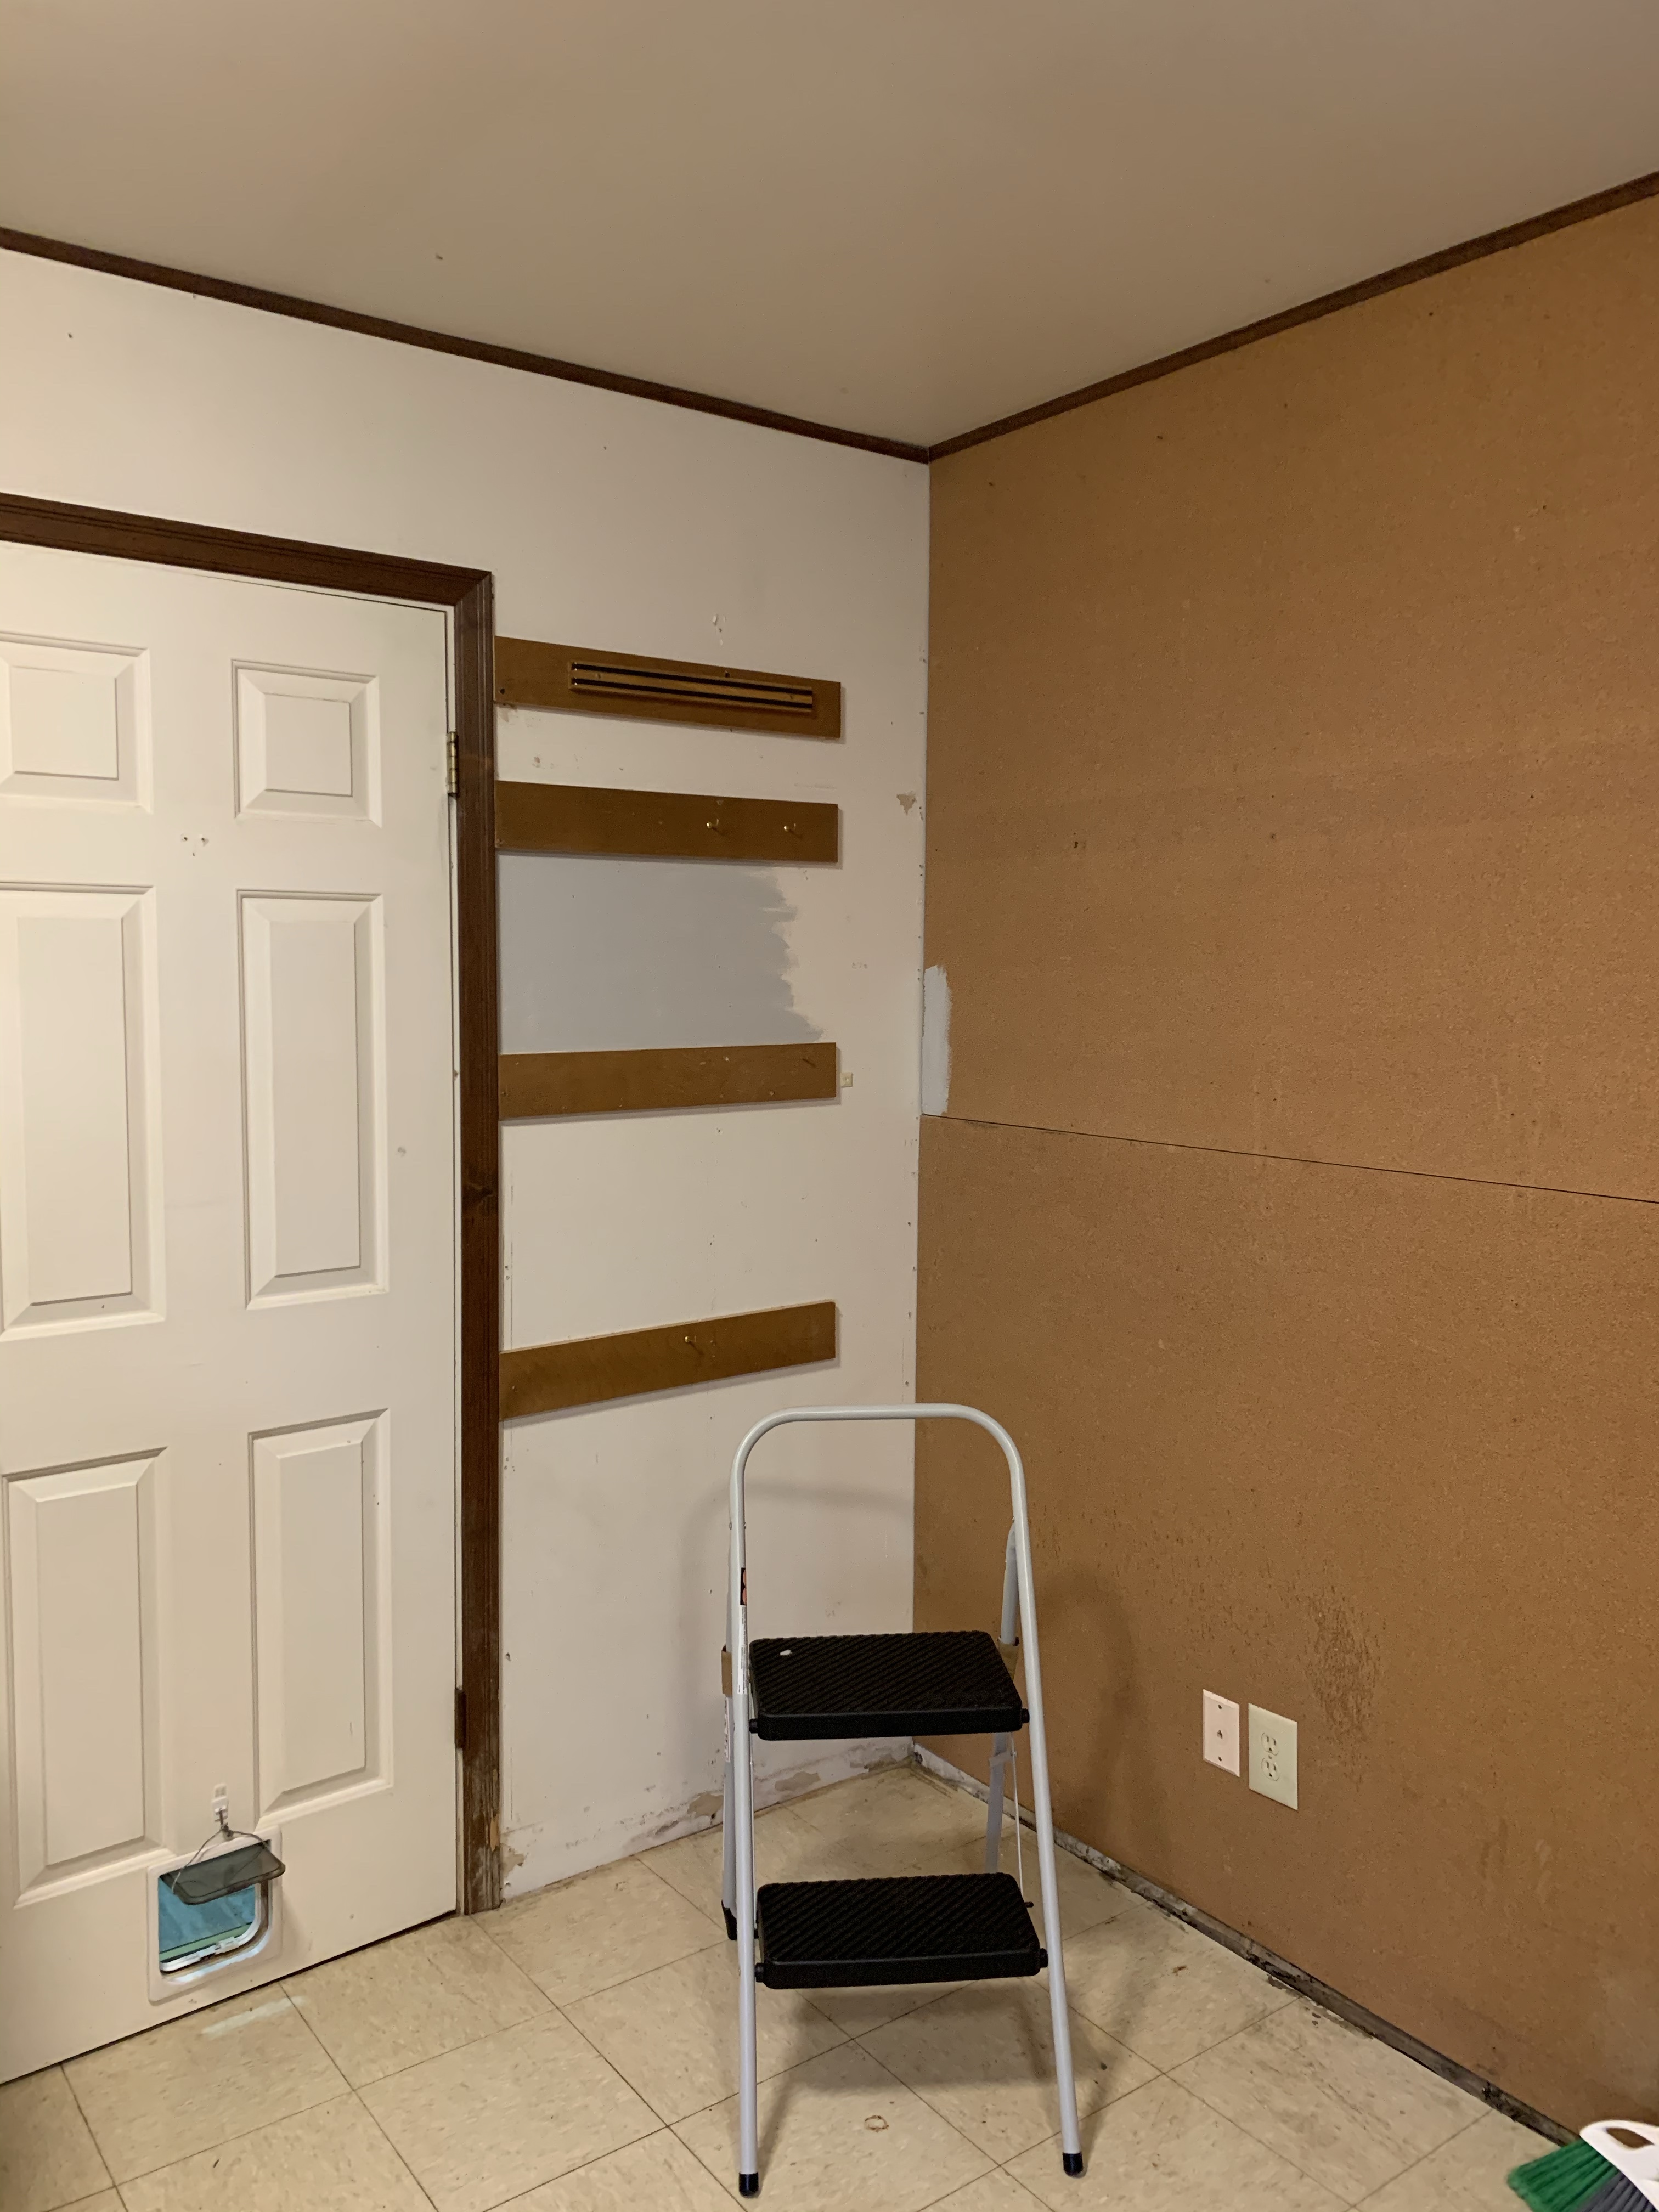
I primed the walls using Valspar Stain Blocking Primer and Sealer. I chose to prime as well as use a paint and primer because the paneling and cork were going to prove to be difficult to cover up.
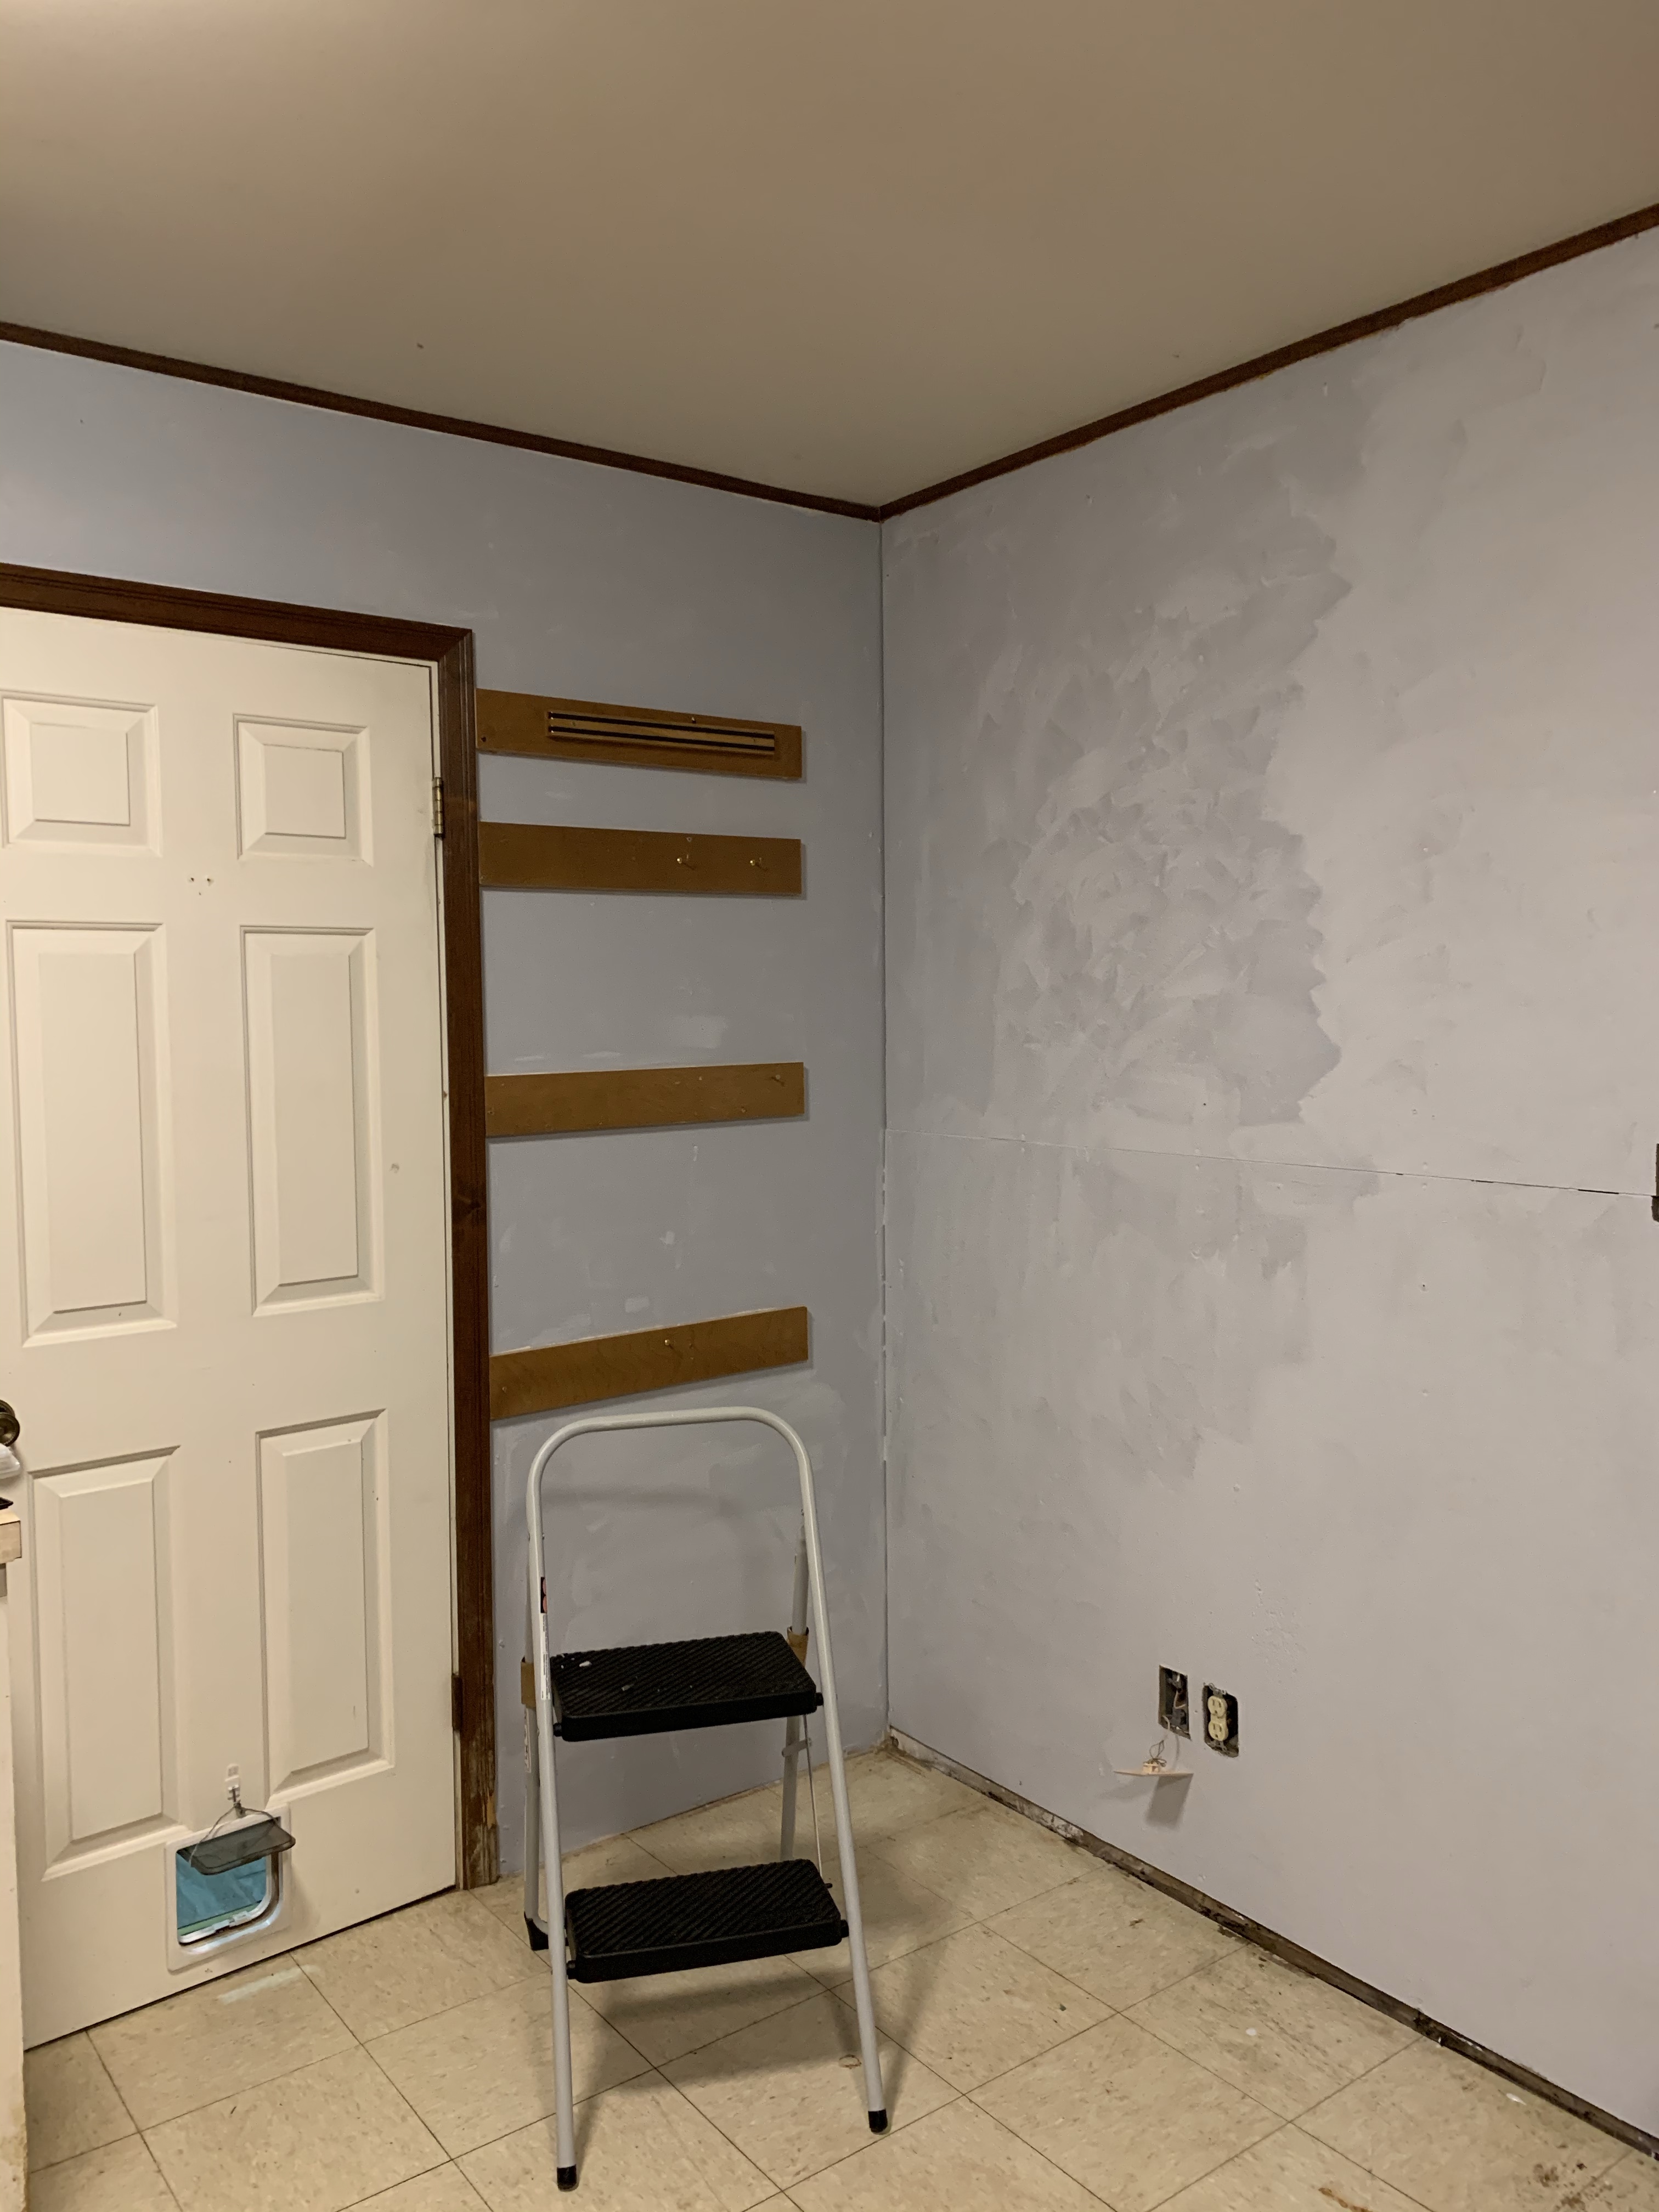
For the wall color I chose “Alpaca” and used Infinity by Sherwin Williams. I loved this paint. It was more expensive than some of the others but it went on like a dream and I only had to do one coat.
**Tip: I never finish a painting project in one day because there is always an interruption. So if you have to hang it up for the night, take your roller or your brush and put them in a ziplock bag and close them up. They will last for several days without having to wash them and then you can clean them up when your project is finished and they are less expensive than the “roller or brush keepers”.

For the floors I decided to paint them rather than rip them out and replace them. They were in good shape but they were just ugly. The prep work was the most difficult for the floors. I chose to paint them using Valspar Porch, Floor and Patio Latex Paint. I had to make sure that the paint was going to stick so I got down on my hands and knees and sanded, by hand, the floor. I had to remove all of the shiny surface of the floor to ensure that the floor paint would stick and cure to the floor. I used a hand held sander with the biggest grit of sand paper that I could find.
*Note: Be sure to not cut out or skimp on the prep. This will make or break the project.
After I sanded, I had to make sure that I had all my mess cleaned up. I vacuumed up the dust with the shop vac and then, again on my hands and knees, scrubbed the floor, cleaning and making sure I did not miss any area where I may have left it shiny. Once that was done, it was time to paint!


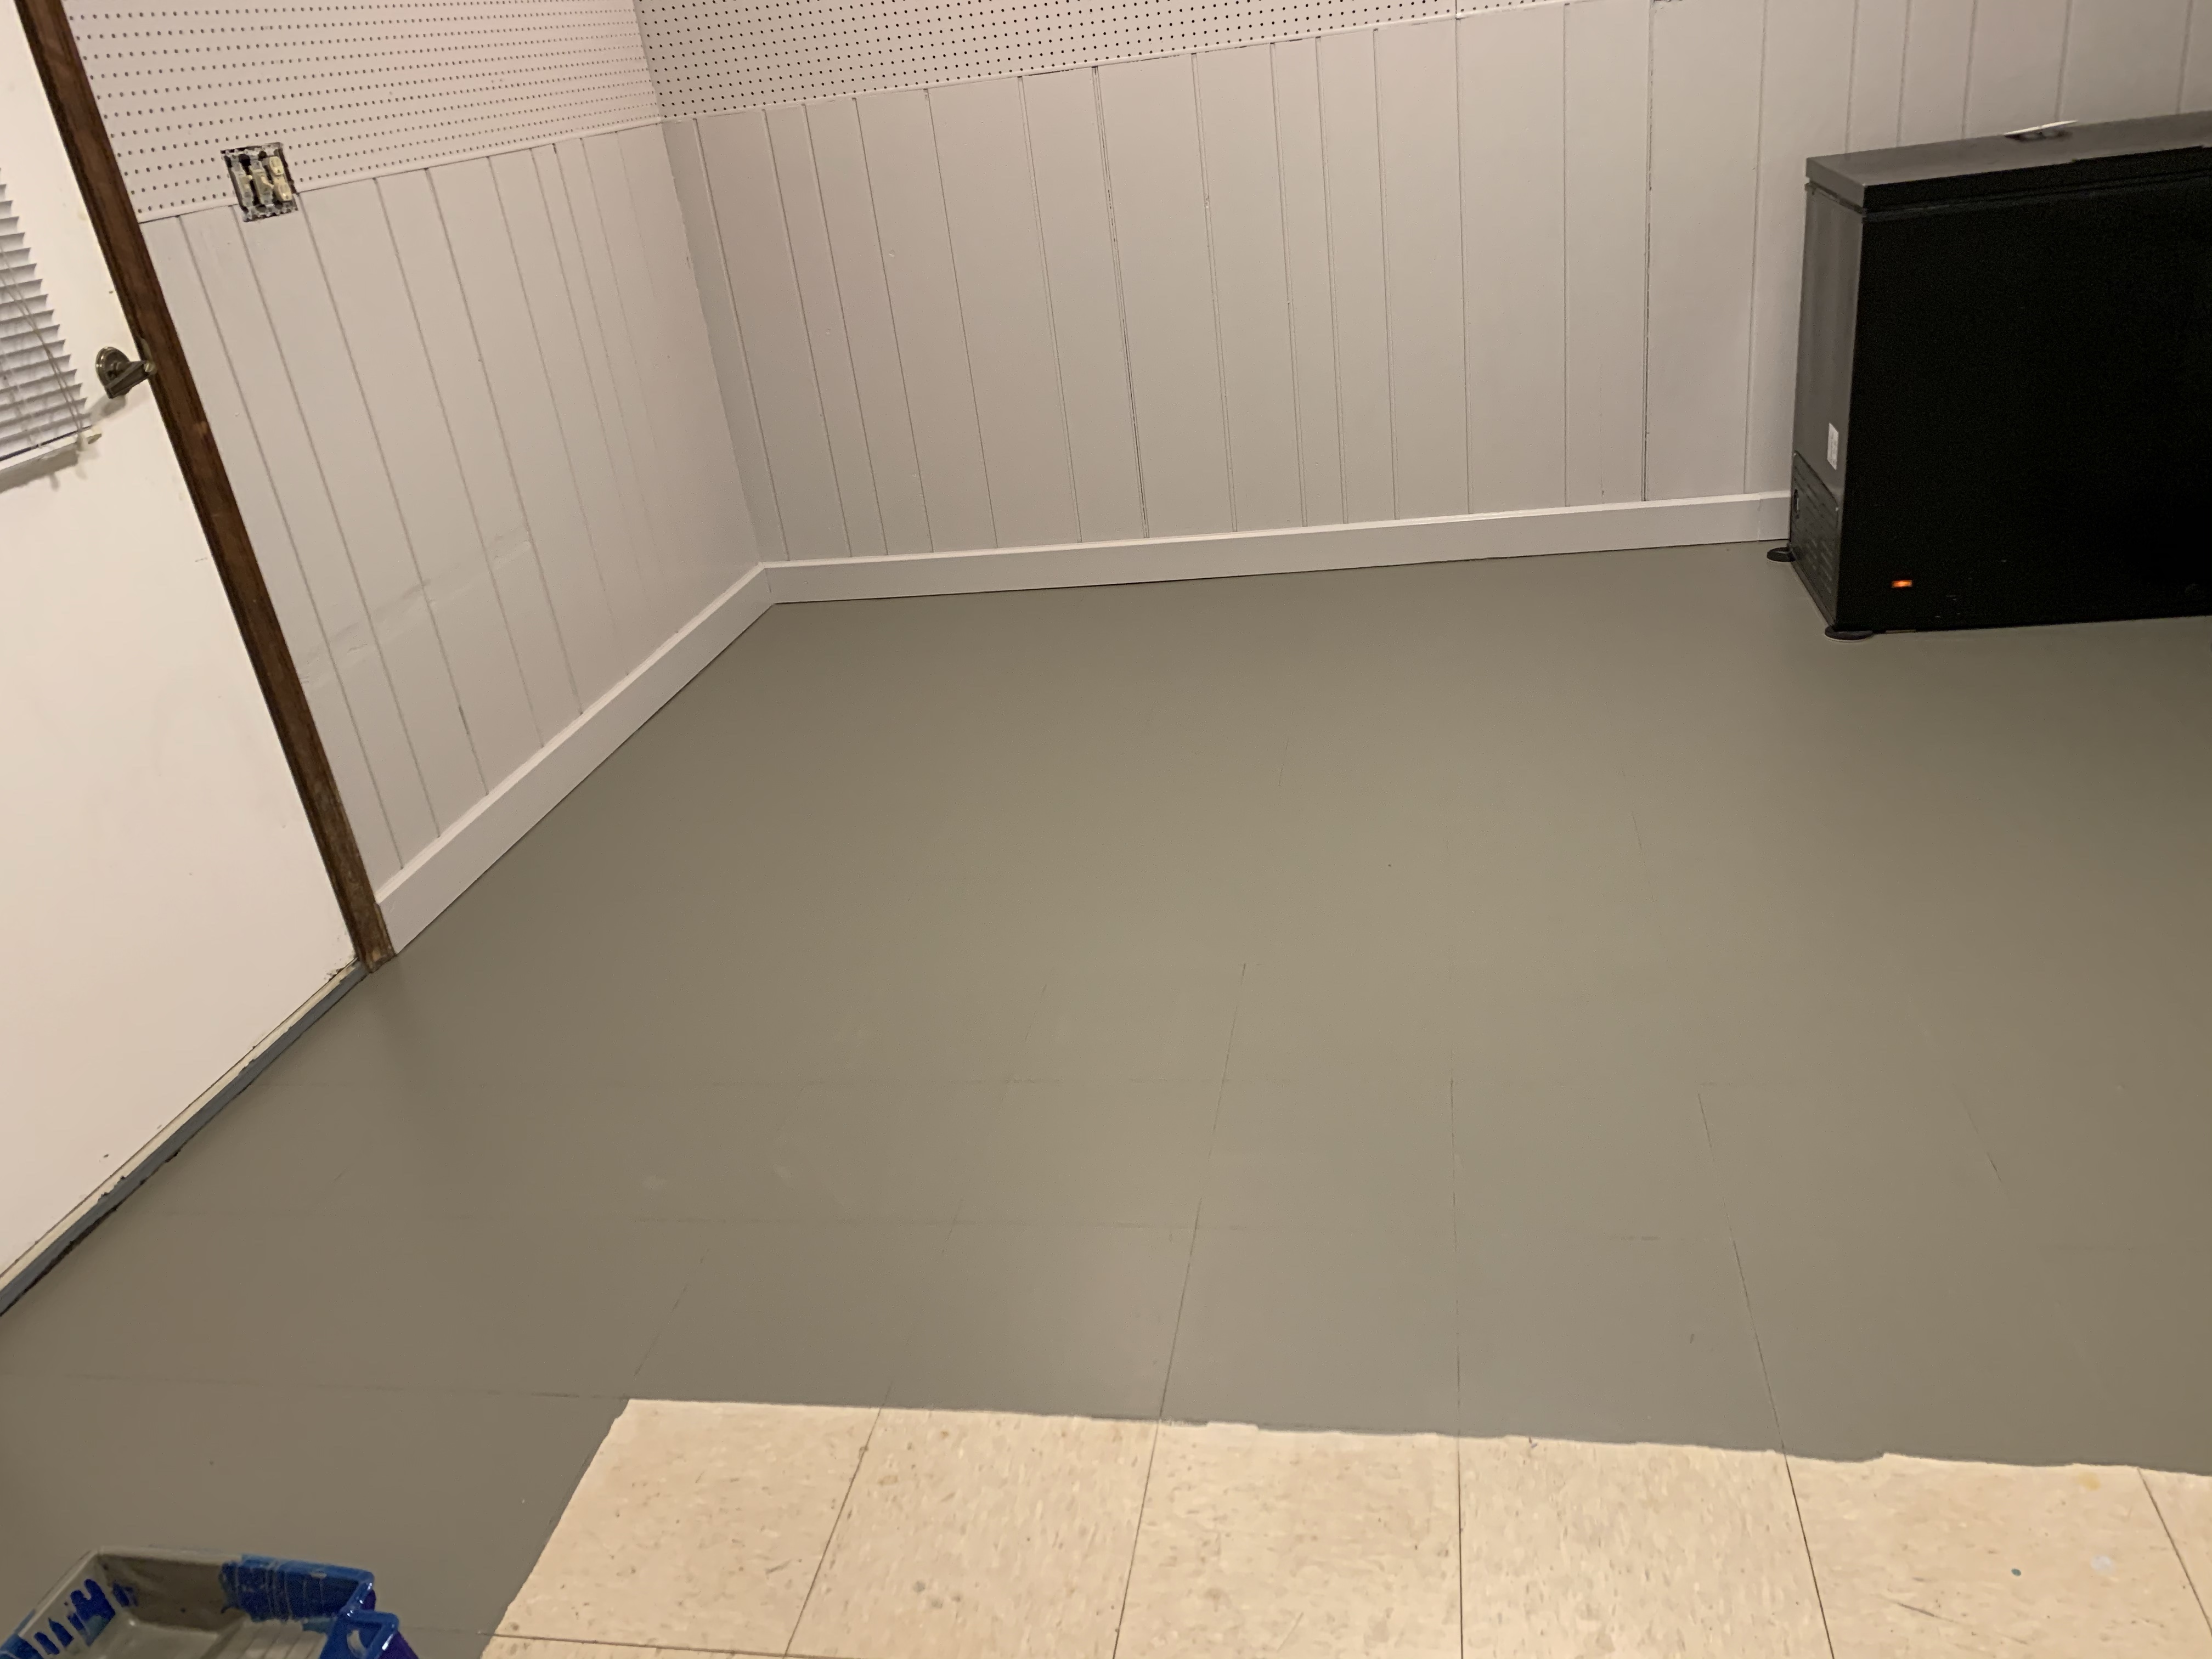
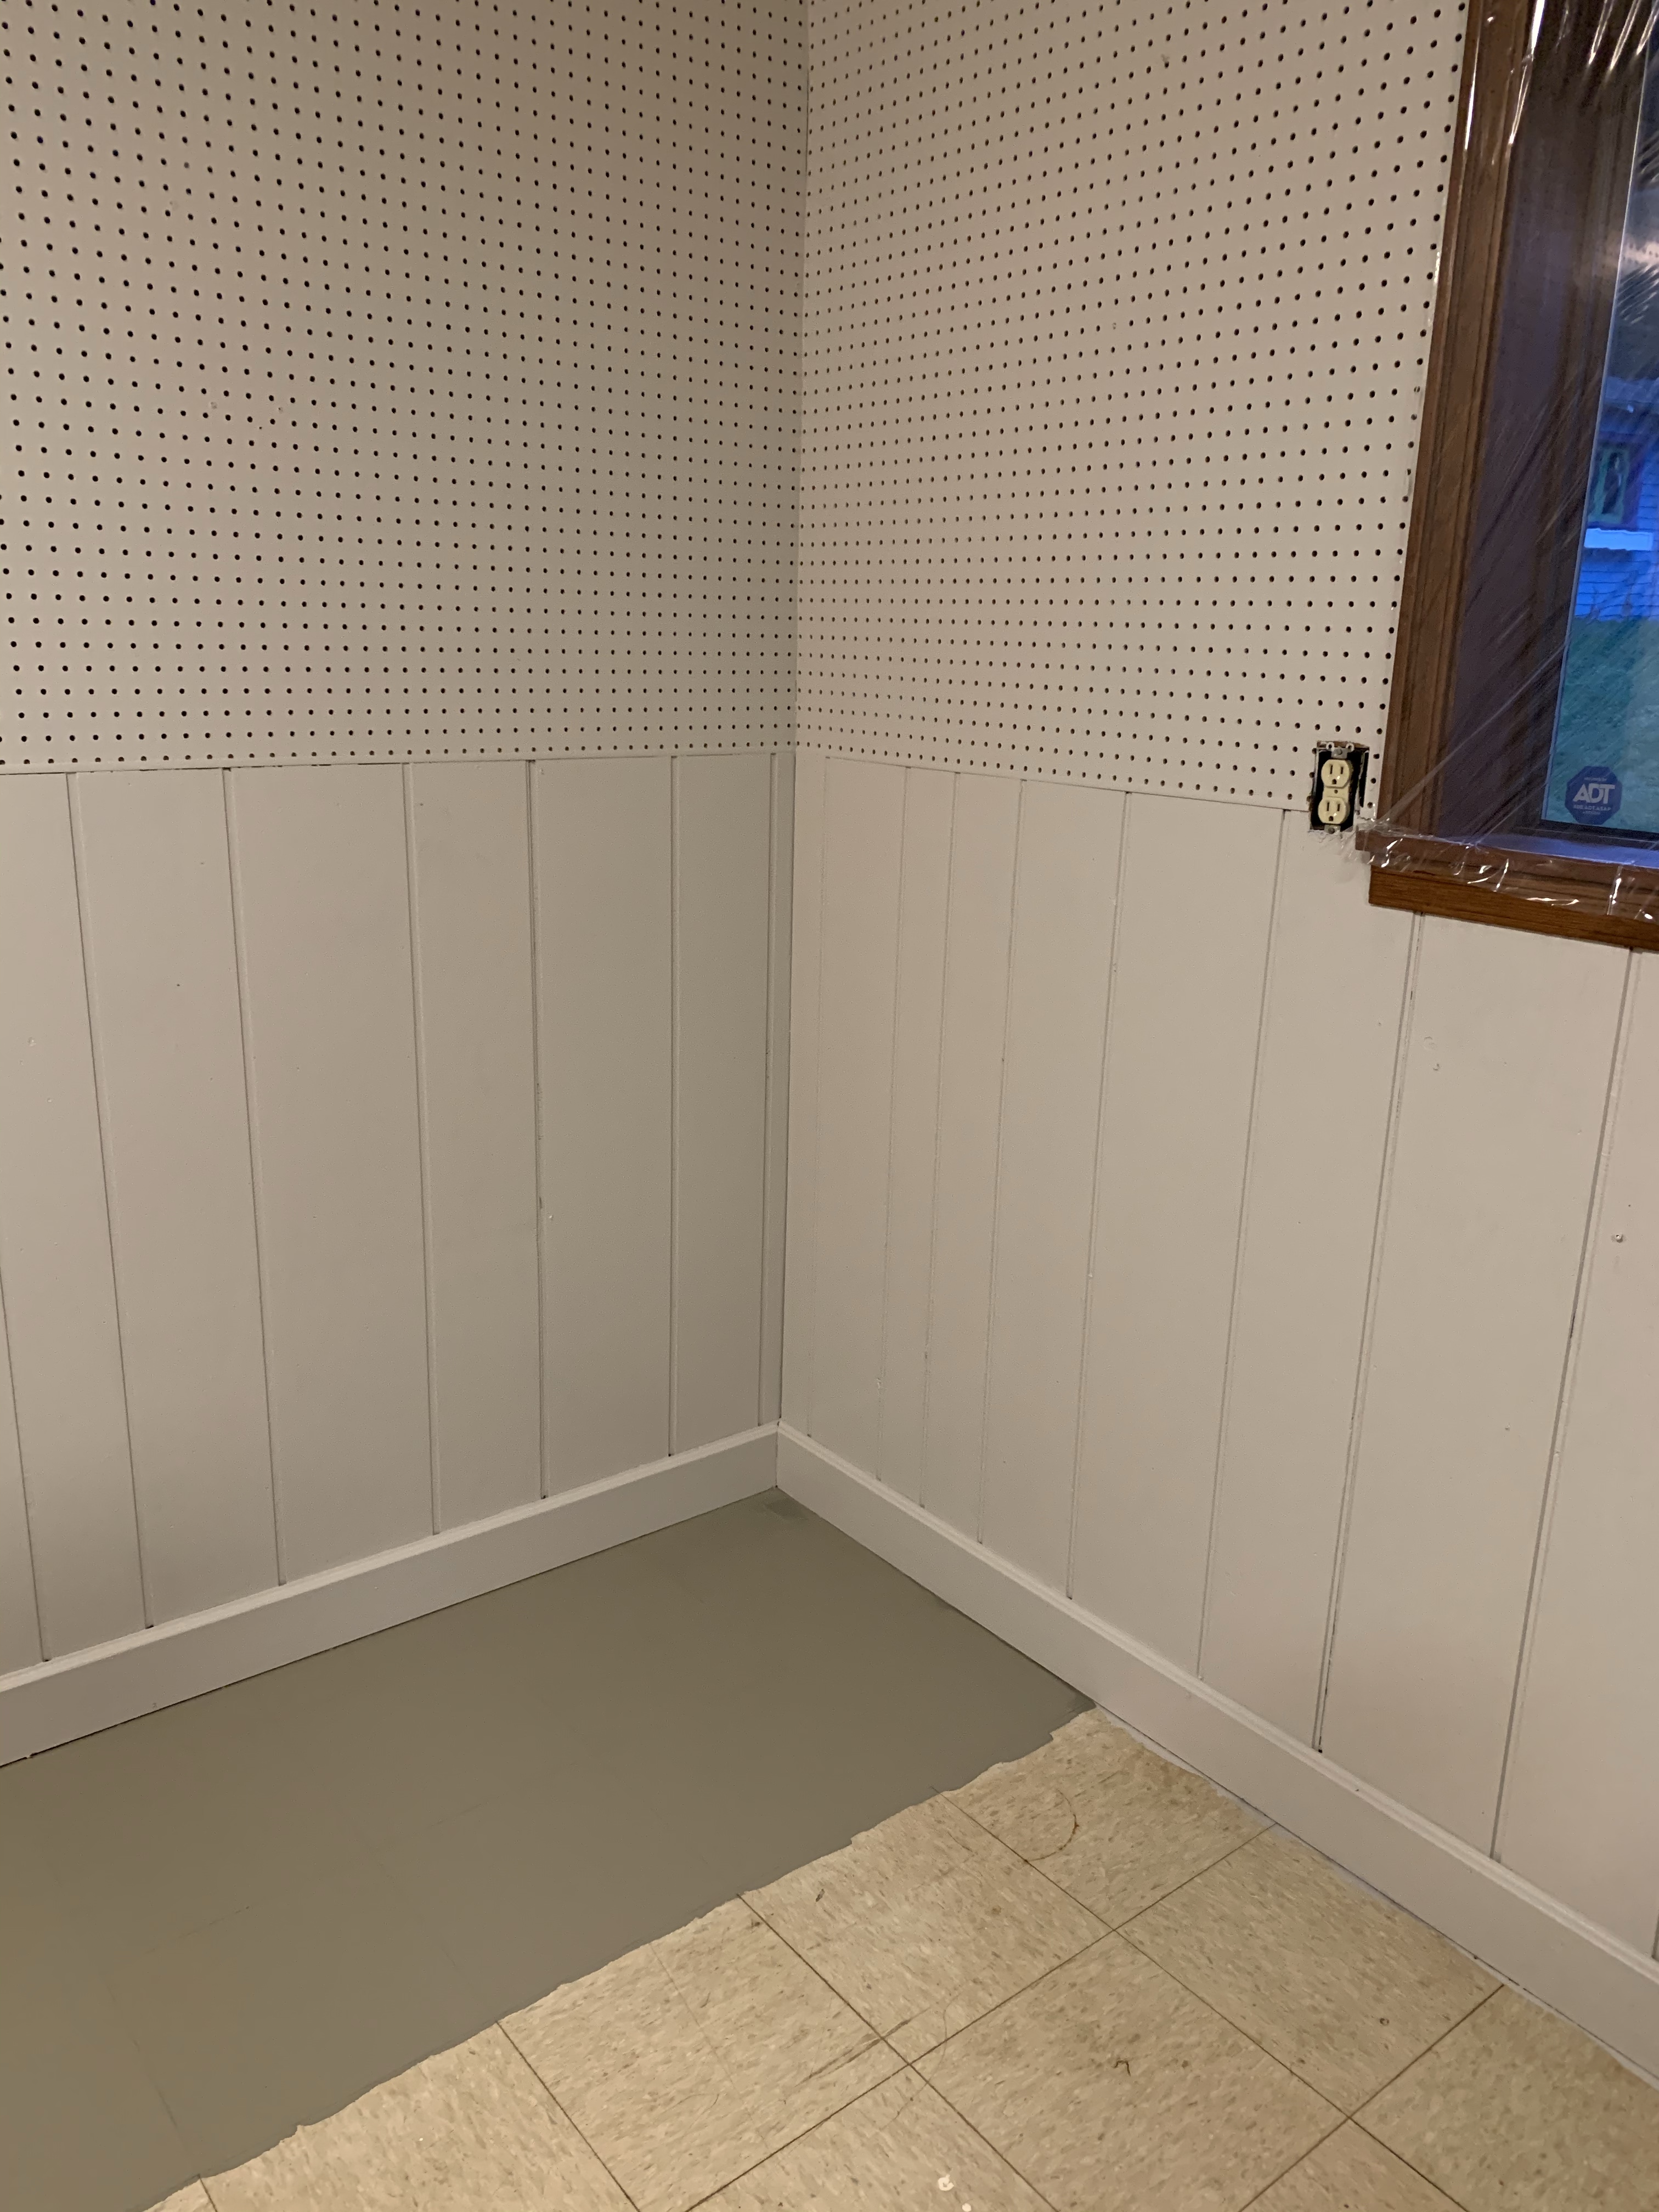
I painted the floor in sections. This was mostly due to time and I wanted to make sure that I was going to like what I had going on. I decided that it was looking good and that it was time to wrap up my project. I let the floor dry and cure for about a week. The paint said it would be foot traffic ready in 24 hours but it was cold so it took longer than the 24 hours.
•Product review:
- Valspar Stain Blocker Primer– I give this 4 stars. It is a good product. Easy to work with. Easy to clean up. Only thing is that the smell is strong so if you are sensitive that may be something to note.
- Infinity by Sherwin Williams – I give this product 5 stars. It was easy to use. Clean up was simple and it did not have a super strong odor. Just keep in mind when using it that it is substantially thicker than regular paint but the fact that it covers in only one coat and looks amazing is worth the extra money to me.
- Valspar Porch, Floor and Patio Latex Paint – This product I would give 3 stars. I chose this as my back up because the one I really wanted was on backorder for a while and I needed to get my project wrapped up. It is easy to use. It does require at least 2 coats to really get the coverage. The reason for the lower rating is because it took forever to seem like it cured and stayed tacky for weeks. It was not until after a few cleanings that the tacky feeling went away. It does seem to be holding up to the pets and kids at this point though.
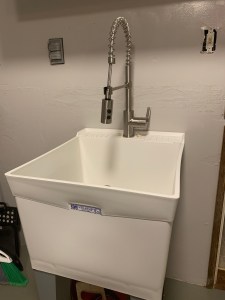
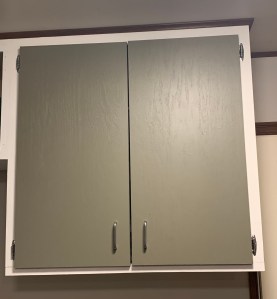
I ripped out the old nasty lower cabinet and replaced it with a nice deep sink that is more functional for us. The deep sink was not expensive. We chose just a heavy duty plastic tub from Lowe’s and it was easy to install and use. I kept the upper cabinets and painted them white with the doors the same color as the floors. I am cheap so I even used the same paint and it worked out great.
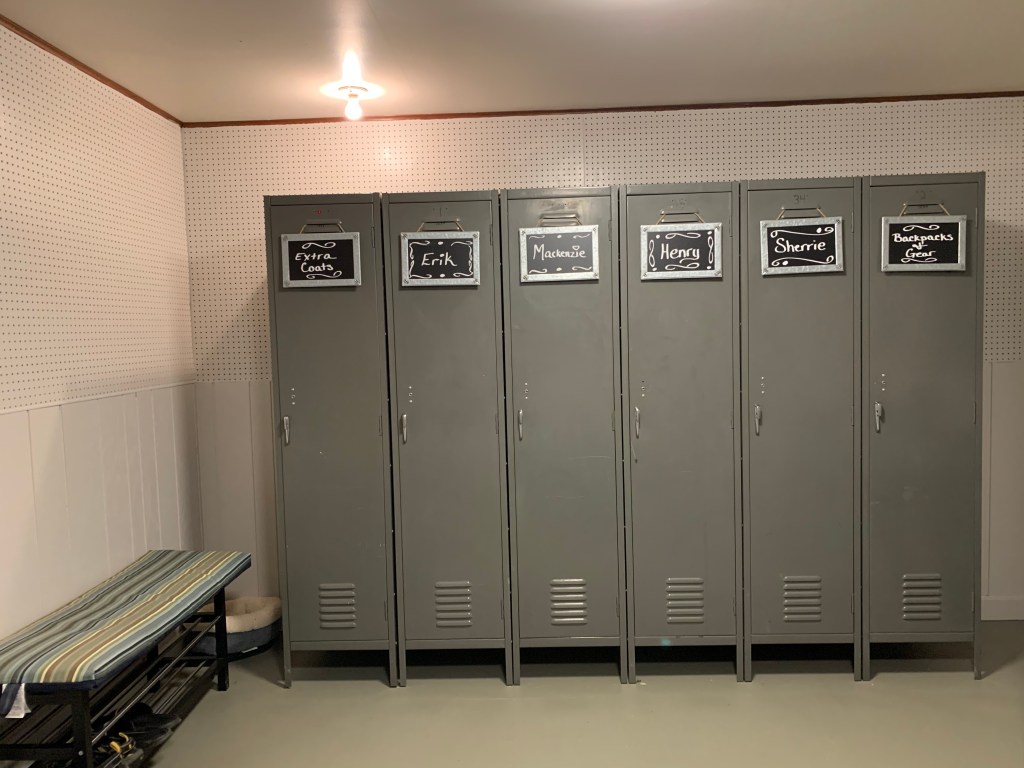
We were able to get our hands on some FREE full sized lockers for storage. Erik was not sure of the vision at first but in the end he has been pleased and we have a great space full of storage and functionality.

Looks awesome! I love the floor!
LikeLike